
Hook & TL;DR
Quick inspiration: A fresh headboard can change the whole feel of your bedroom without a full remodel, and a couple of focused weekend hours can deliver a custom result that reflects your taste.
Key Takeaways
- Small effort: You can make a stylish headboard in a single weekend with basic tools.
- Budget variety: Options range from thrift-friendly to splurge-friendly so you can pick what suits your room and wallet.
- Personal touch: Fabric, finish, and hardware choices let each project feel unique.
Introduction
Why a headboard matters: The right headboard anchors the bed visually and can define an entire design direction, turning a plain mattress into a focal point that feels curated and welcoming.
How these projects fit your schedule: Each concept here is scoped so you can finish on a weekend, with options that suit beginner to intermediate skills and a modest set of supplies.
Design thought: Choosing scale, texture, and color up front keeps a weekend build focused and satisfying instead of open-ended.
Tools & Materials
- Basic toolkit: Tape measure, pencil, electric drill, screwdriver, level, stud finder, and clamps.
- Cutting and finishing: Circular saw or jigsaw, orbital sander or sandpaper, wood glue, screws, and finishing nails.
- Comfort and style: Foam, batting, upholstery fabric, plywood, reclaimed wood planks, paint or stain, and mounting hardware.
- Optional items: Upholstery staple gun, tufting buttons and needle, decorative trim or molding, wall-clearing hardware for floating styles.
Project 1: Padded Upholstered Headboard

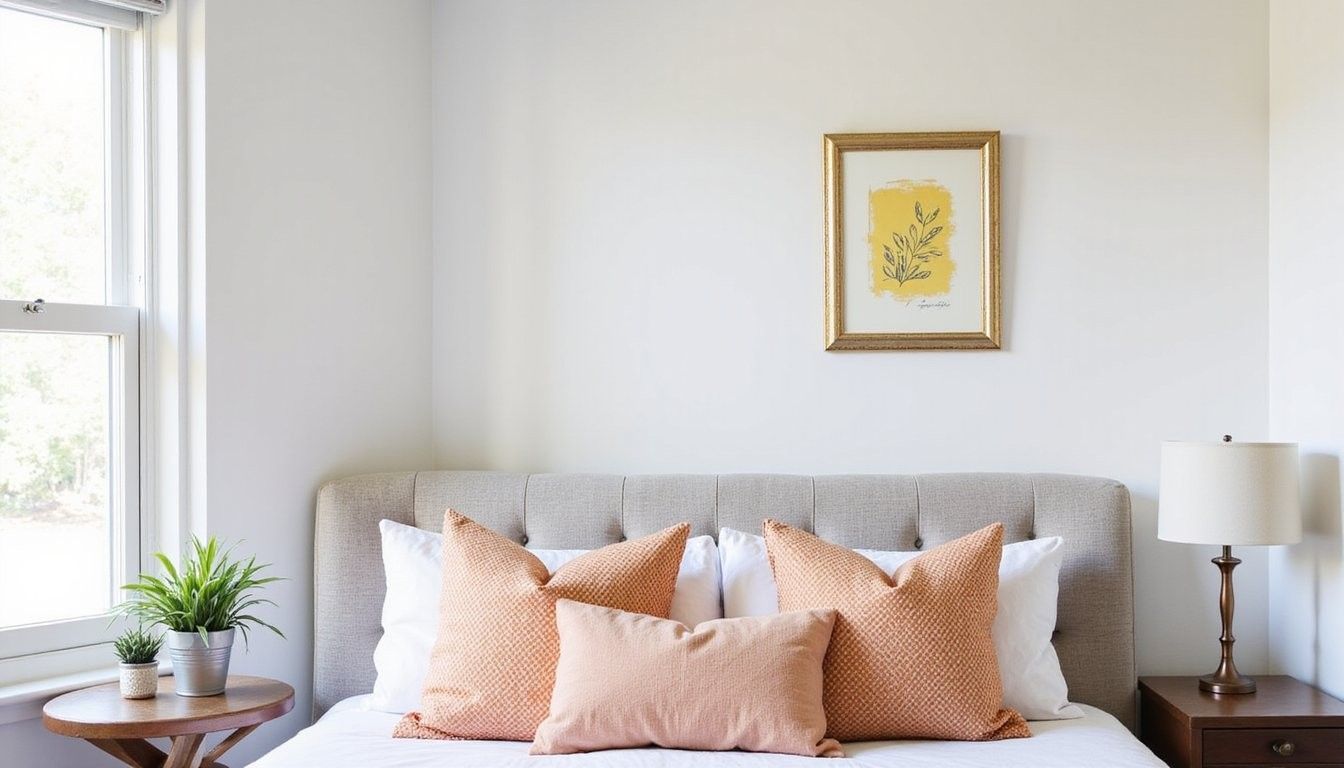
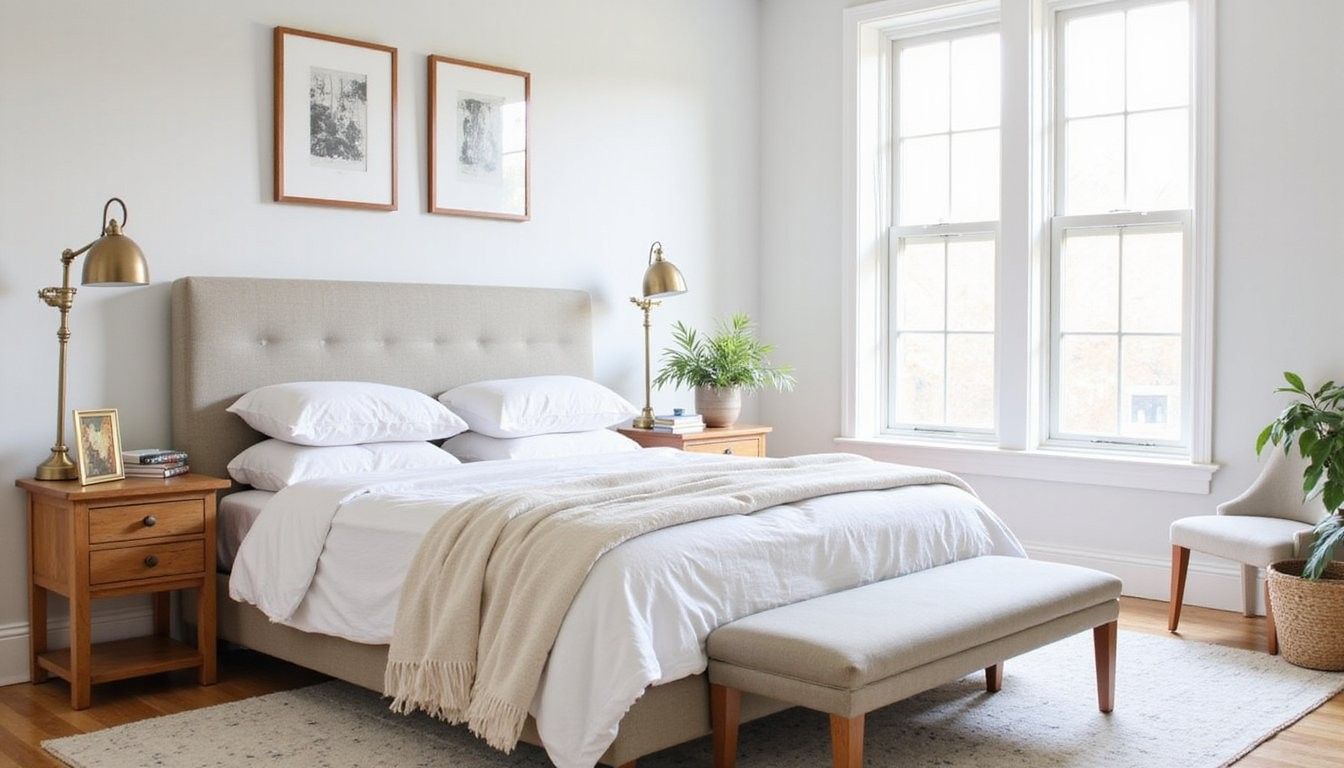
Project overview: A padded upholstered headboard offers soft texture and color that warms a bedroom and creates a hotel-like feel without heavy construction.
Materials and steps: Cut a plywood backing to bed width, glue and staple foam and batting, pull and staple fabric smoothly, and mount to wall or bed frame for a clean finished look.
Why choose this: Upholstery lets you match bedding and curtains for cohesion, and you can add tufting or trim for an elevated bespoke look that hides framing imperfections.
Project 2: Reclaimed Wood Plank Headboard
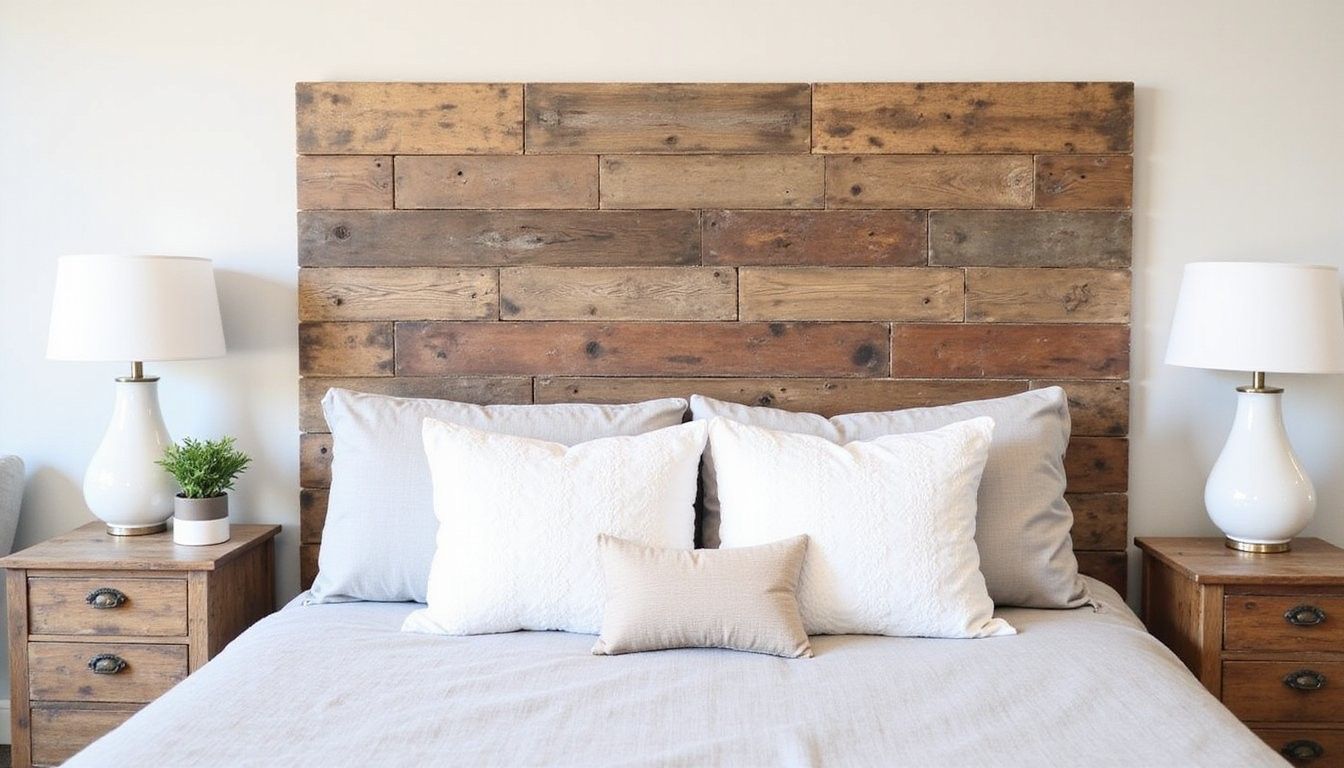
Project overview: Reclaimed wood planks form a rustic, textured backdrop that adds character and can work with modern or country styles depending on finish and layout.
Materials and steps: Select straight planks, sand and de-nail, arrange for grain variation, attach to a plywood substrate or directly to wall studs, then seal or lightly stain to protect the wood.
Design choices: A horizontal layout elongates the room, while a vertical layout adds height; a staggered pattern brings organic rhythm without complex joinery.
Project 3: Simple Panel Headboard with Trim
Project overview: A framed panel headboard with simple molding looks tailored and can mimic the appearance of high-end built-ins at a fraction of the cost and time.
Materials and steps: Cut a central MDF or plywood panel to size, route or add trim around the edges, sand smooth, prime and paint for a crisp, furniture-quality finish, and anchor to the wall or frame.
Customization ideas: Paint a contrasting color, add a fabric-covered inset, or use a gloss for a modern spin that reads as purposely designed rather than DIY.
Project 4: Floating Shelf Headboard
Project overview: A floating shelf headboard combines surface and storage so you can display books, plants, or bedside essentials and free up nightstand space in compact rooms.
Materials and steps: Build a sturdy ledge from plywood and face it with trim or wood veneer, fasten using heavy-duty French cleats or bracket systems into studs, and finish to match room decor.
Practical benefits: This style keeps your essentials close at hand while offering layered styling options through books, artwork, and small lamps that sit flush with the wall.
Design and Finish Decisions
Choosing a scale: Headboard height should relate to ceiling height and bed scale, with taller pieces creating drama and lower profiles feeling tucked and relaxed.
Material finishes: Natural wood, painted MDF, or upholstered fabrics each influence the room temperature visually, and selecting complementary textures ensures cohesion across bedding and curtains.
Mounting options: Mounting directly to studs gives the sturdiest result, while cleats allow easy removal and alignment without relying on the bed frame for support.
Comparison Tables
Quick comparison: The tables below offer a compact way to weigh cost, time, and visual impact so you can pick a project that fits your priorities.
| Type | Estimated Cost | Weekend Time | Style Impact |
|---|---|---|---|
| Padded Upholstered | $50–$250 | 6–10 hours | High warmth and softness |
| Reclaimed Wood | $20–$200 | 6–12 hours | High texture and character |
| Panel with Trim | $30–$120 | 4–8 hours | Tailored and refined |
| Floating Shelf | $40–$150 | 4–8 hours | Functional styling |
| Feature | Best For |
|---|---|
| Softness & Comfort | Upholstered |
| Character & Warmth | Reclaimed Wood |
| Elegant Finish | Panel with Trim |
A Quick Boolean Guide
At-a-glance suitability: This compact table shows which headboard types match common practical needs so you can filter options fast.
| Need | Upholstered | Wood | Panel |
|---|---|---|---|
| Soft backrest | Yes | No | Optional |
| Budget friendly | Sometimes | Often | Yes |
Installation and Safety Notes
Stud mounting: Whenever possible, anchor heavy headboards into wall studs to prevent shifting or tipping, which keeps the installation secure through daily use and accidental tugs.
Weight consideration: Calculate combined weight of materials, especially reclaimed wood and shelving, and choose hardware rated above the expected load for a margin of safety.
Finishing Touches
Trim and edging: Adding simple trim or a painted profile around an edge elevates a weekend build to a furniture-quality statement and hides raw plywood edges cleanly.
Styling the headboard: Once installed, layer pillows, a decorative throw, or a pair of coordinated wall sconces to integrate the new piece into the room so it feels purposeful and polished.
What to Avoid
Typical errors: Cutting corners on backing or skipping pilot holes leads to split wood and misaligned seams that are harder to fix after mounting than during assembly.
Time investment: Trying to finish too quickly often produces sloppy paint or visible staples, so plan your weekend with realistic time for gluing, curing, and dry time where needed.
Budgeting and Sourcing Materials
Thrift and salvage: Sourcing reclaimed wood, discounted fabric remnants, or secondhand hardware saves money and adds character, especially when a slight imperfection enhances the aesthetic.
New materials: Buying plywood and foam new gives predictable results and often speeds installation since sizes are exact and materials are consistent, which helps if you value a polished finish.
Time-Saving Shortcuts
Pre-cut and pre-finished boards: Using pre-cut plywood or already-finished planks reduces sanding and staining time so you can assemble and mount faster during a single weekend.
Modular assembly: Build the headboard flat on a work surface and then lift as a single unit to the wall to save alignment time and simplify attachment in place.
Advanced Options for a Weekend Upgrade
Integrated lighting: Adding LED strips behind a floating headboard or integrated reading lights means planning for wiring early, but low-voltage systems can be tucked into channels for a clean install without an electrician in many cases.
Tufting and button details: Hand-tufted upholstery raises visual impact, and a simple template for button placement keeps spacing consistent so the effect looks professional rather than improvised.
Care and Maintenance
Cleaning fabric heads: Regular vacuuming and spot cleaning preserve fabric surfaces, and removable coverings or slipcovers make deeper refreshes simple when seasons change.
Protecting wood finishes: A light coat of clear sealant or wax protects reclaimed or raw wood from moisture and dust while keeping grain visible and appealing over time.
Sustainability Considerations
Reclaimed materials: Choosing salvaged wood or repurposed fabric reduces waste and gives each headboard history and texture that mass-produced pieces lack.
Low-waste builds: Plan cuts to minimize offcuts and consider donating scraps or saving pieces for future projects to extend material life beyond a single build.
Troubleshooting Quick Fixes
Gaps and misalignment: Use filler strips or thin shims behind panels to even faces and then trim flush for a seamless visual plane rather than forcing misaligned pieces into place.
Wrinkled fabric: Remove tension staples, restretch the fabric from the center outward, and re-staple to avoid visible puckers that draw the eye.
Pro vs Con Quick View
Weighing decisions: The short table below offers a snapshot of benefits and trade-offs for each headboard approach so you can choose with intention rather than impulse.
| Style | Pros | Cons |
|---|---|---|
| Upholstered | Softness, color options | Requires fabric skill |
| Reclaimed Wood | Warmth, character | May need extra prep |
| Panel | Polished look, faster paint finish | Less texture |
Finishing Checklist Before Hanger Up
Pre-mount checklist: Confirm backing is flat and square, check that all fasteners are countersunk or hidden, and give paint or glue proper curing time to prevent slips or smudges when lifting into place.
Final alignment: Use a laser level or a long level and a helper to mark exact mounting points so you lift once and secure in a single smooth motion.
Final Styling Suggestions
Pillow layering: Mix scales and textures for pillows to balance the headboard visually, placing larger pillows at the back and a contrasting lumbar pillow in front for a boutique feel.
Artwork and symmetry: Flank the headboard with matching wall pieces or lamps to create symmetry, or use an oversized single art piece to complement a dramatic headboard without cluttering the visual field.
Extra Pro Tip Panel
Mobility benefit: A detachable design also keeps deposits and rental restrictions in mind while offering a secure feel close to the bed.
FAQ
How long does a typical project take? Most of these weekend projects can be completed in a single weekend if you prep materials ahead, with simpler panels and shelves often finishing faster and upholstery taking a little more hands-on time.
Do I need an electric saw? A circular saw or jigsaw speeds cutting and gives cleaner edges for plywood and planks, but you can have boards cut to size at many lumber yards if you prefer to avoid power tools.
Can I DIY electrical lighting behind a headboard? Low-voltage LED strips can often be installed safely by a confident DIYer, but for hardwired fixtures or in-wall wiring consult a licensed electrician to comply with codes and ensure safety.
Closing Notes
Weekend impact: A well-planned headboard project delivers high visual return on a modest time investment and makes the bedroom feel intentional and refreshed without large expense or upheaval.
Encouragement: Start with clear measurements, a basic plan, and the confidence to tackle small imperfections that add charm rather than hiding the creative work you put in.