
Story Hook
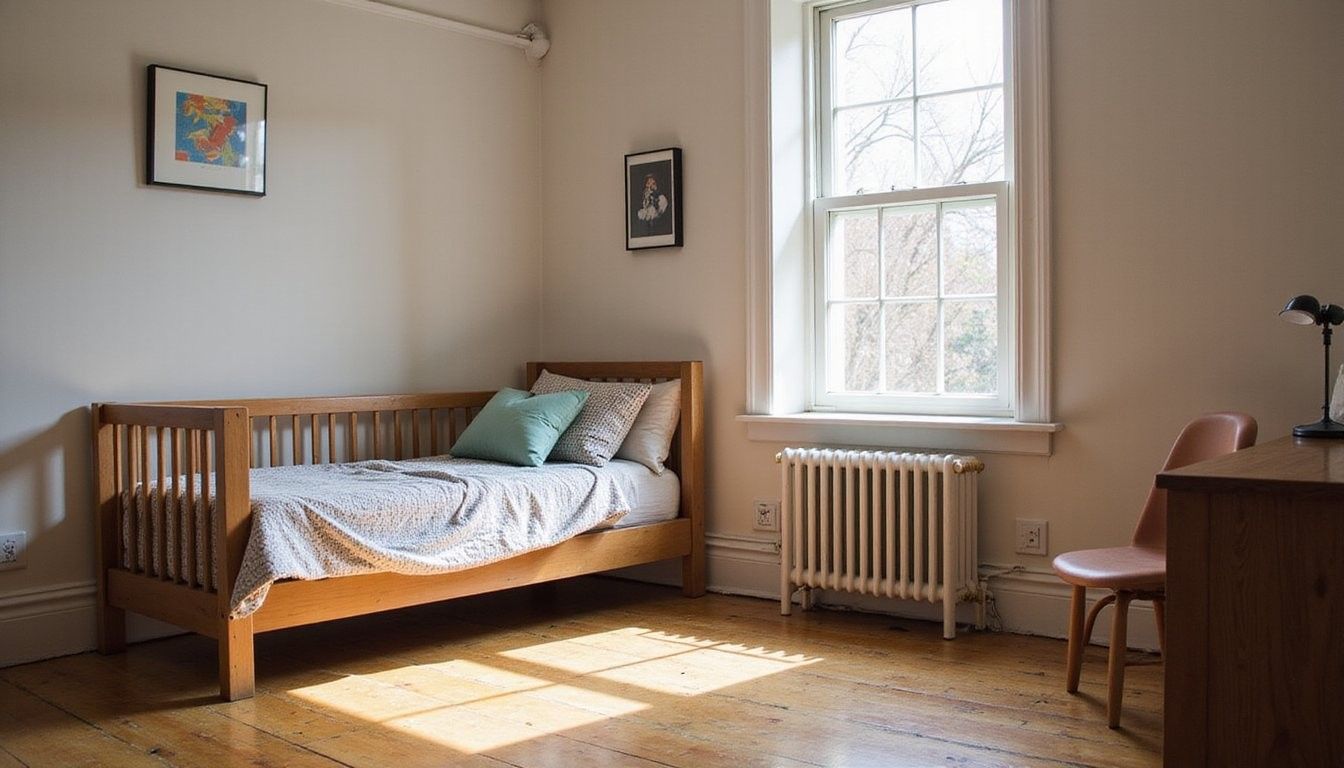
I remember when I first moved into my tiny studio and set my bed against the radiator because I thought I had no choice, and the place felt like a single-purpose box with no personality.
That awkward first month pushed me to experiment with furniture placement, rugs, and lighting until the space began to feel like a small home with clear areas for sleeping, cooking, working, and relaxing.
One night I sat on a rug with a cup of tea and realized the rug had become my living room simply by giving the sofa and lamp a visual home to anchor them to.
Why It Matters

Living in a studio is about living with intention because the way you place things determines how you move through the day, how restful your sleep is, and how productive your work hours feel.
Creating zones without building walls maximizes flexibility so your space can serve multiple roles while feeling calm and ordered instead of chaotic and cluttered.
Introduction
Designating zones in an open studio is a creative exercise that blends practical decisions about furniture and storage with aesthetic choices about texture, color, and light to make each zone feel purposeful.
This article shares a narrative approach with concrete ideas you can apply whether you rent or own, and it walks through tools, layout strategies, textile tricks, storage solutions, lighting cues, and pitfalls to avoid.
Tools & Materials
Gather a short list of flexible items before you start so changes feel intentional and inexpensive rather than frantic and wasteful.
- Area rugs in different textures and sizes to anchor each zone.
- Sofa or daybed that can double as sleeping and seating furniture.
- Open shelving or bookcases for subtle division and storage.
- Room screens or tall plants for soft visual separation.
- Task and ambient lighting such as floor lamps and pendant lights.
- Foldable or nesting tables to expand surfaces when needed and tuck away when not.
- Under-bed storage bins and multipurpose furniture to keep clutter hidden.
Buying smarter means choosing pieces that earn their keep by serving more than one function, like a bench that stores blankets or a desk that doubles as a dining table.
Layout & Furniture Placement

Start by sketching the room and identifying natural sight lines so you can place larger items where they create separation without blocking light or traffic flow.
Place the bed away from the main entrance when possible and use the sofa or a low console as a soft divider to create a living area that faces away from the sleeping space.
Floating furniture creates instant boundaries by allowing circulation behind a sofa or bookcase, which reads as a separate zone without closing anything off visually.
Orient the bed and sofa so each has a distinct focus—a window, a view, or a media wall—so each spot feels like a destination rather than part of a jumble.
Visual Dividers: Rugs, Shelving, and Screens
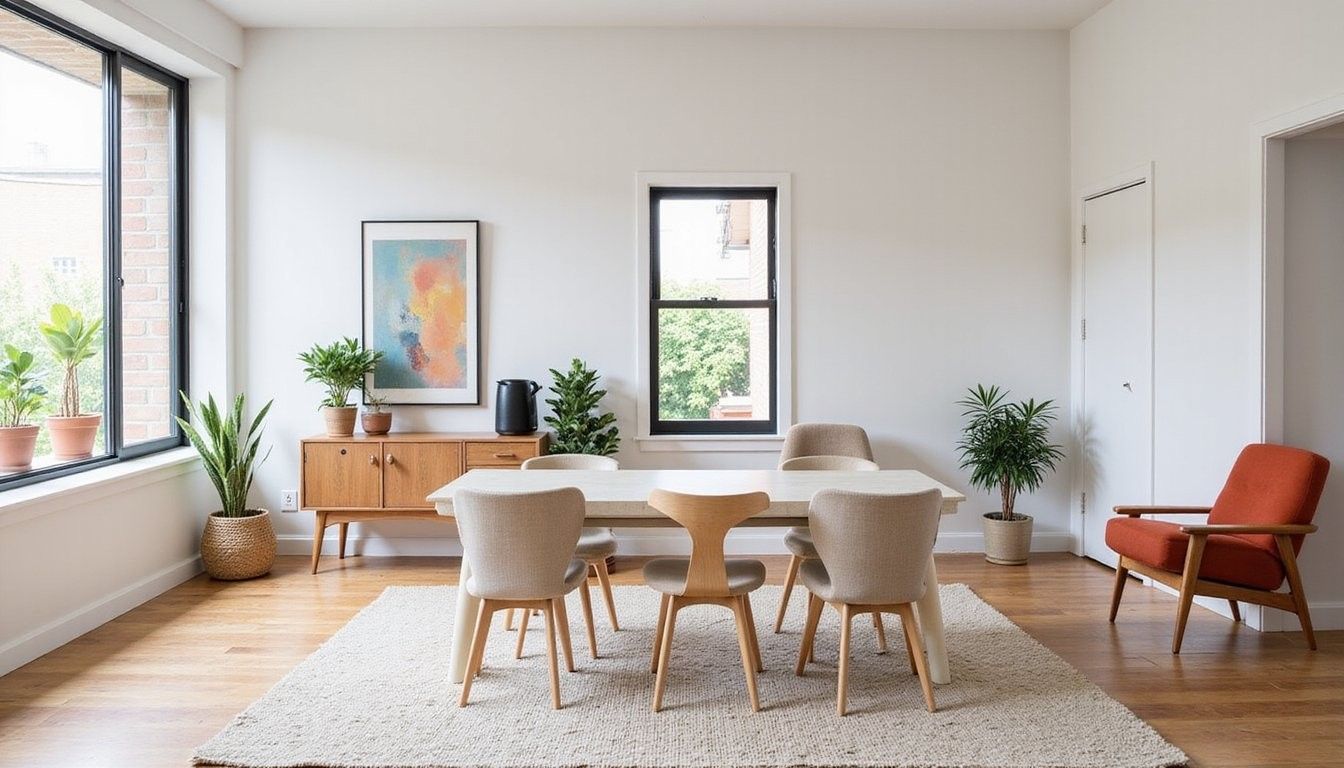
Rugs are powerful because they signal a zone through texture and color and they are reversible investments that can be swapped seasonally to refresh the room.
Open shelving or bookcases allow light to pass while defining space and create an opportunity for storage and display that contributes to the room’s personality.
Folding screens and tall plants add softness and mobility so you can change the room’s flow for guests, workdays, or rest without heavy-duty installation.
Layering a rug under a seating arrangement and in front of the bed sets two tactile zones that read differently underfoot and visually from a distance.
Storage & Multi-Functional Furniture
Storage determines whether zones feel intentional or cluttered because visible clutter blurs boundaries and makes the whole room feel smaller and less restful.
Choose pieces that hide items while serving daily needs such as ottomans with lids, beds with drawers, or wardrobes with built-in shelves to keep each zone tidy and purposeful.
Vertical storage is an ally in a studio because you save floor space while creating visual anchors that mark where one area ends and another begins.
Lighting & Color Zoning
Light tells the brain how to use a space so layer lighting—ambient, task, and accent—to make each zone feel right for its function, like bright task light for a desk and warm ambient light for a sleep area.
Color and finish choices help zone without erecting barriers by repeating a palette in each area but varying intensity, for example a soft neutral bed area and a slightly deeper hue in the living corner to create contrast.
Accent lighting, like a directional floor lamp or wall sconce draws attention to a group of furniture and helps a seating cluster read as its own place even when adjacent to other zones.
Textiles & Personal Touches
Textiles soften transitions and add intimacy so use curtains, throws, cushions, and rugs to change the feel of a zone without adding weight or permanence.
Group items with similar textures or colors in each zone so the eye reads intention rather than randomness, which makes small areas feel curated and cohesive.
Keep a few personal objects in each area to signal purpose—lamp and side table by seating, a tray by the bed for nighttime items, and a small plant near the desk.
Rotating textiles seasonally keeps the studio interesting while letting you test which combinations make a zone feel most restful or productive for your habits.
Flexible Work & Dining Solutions
In a studio, surfaces must multitask gracefully so choose desks and tables that fold or expand and chairs that stack or tuck under to keep your footprint adaptable.
Create a dedicated work spot that can convert into a dining area by using a desk against a wall with chairs that can move to a table when you host a meal, preserving the sense of separate activities.
Consider a console or narrow table behind a sofa that serves as a desk during the day and a buffet at night to maintain zone clarity without extra furniture.
Designate a place for work tools to live when not in use by using baskets, trays, or a small drawer so the workspace dissolves into the living zone visually at the end of the day.
What to Avoid
Each of these mistakes collapses distinct activities into one uncomfortable experience and makes the whole studio feel less livable even when square footage would allow clear separation with smarter choices.
Comparison Tables
Use simple comparison tables to weigh choices such as permanent built partitions versus mobile dividers, or investment in custom storage versus multipurpose furniture, to clarify what matters most for your lifestyle and budget.
| Option | Cost | Impact on Flexibility |
|---|---|---|
| Permanent partition | High | Low |
| Open shelving divider | Medium | High |
| Rugs and textiles | Low | Medium |
The table helps you see trade-offs at a glance and encourages choices that match your priorities, whether that’s saving money, keeping things flexible, or creating a clearer separation.
| Feature | Pro | Con |
|---|---|---|
| Open shelving as divider | Light, airy, storage | Requires styling to avoid cluttered look |
| Screens and plants | Portable and soft | May not fully block light or noise |
Small Experiments That Make a Big Difference
Try short experiments to see what feels right such as swapping rug positions, turning a bed away from the doorway for a week, or moving a lamp to change focus, because small changes reveal how you live better than theory alone.
Keep notes on what works and what feels awkward so you don’t repeat moves that collapse a zone or create new blind spots, and adjust until movement feels intuitive and restful.
Layering Scents and Sound
Scent and sound reinforce activities so use a gentle diffuser or a playlist to cue a zone; for example, calming scents and soft music in a sleep corner help the brain register that it’s time to rest.
Consider a small speaker or white noise machine for the bedroom area if street noise bleeds into the studio, because acoustics affect how private and separate a zone feels even without walls.
Final Styling and Maintenance
Once zones are in place, edit and edit again by removing items that confuse the reading of a zone and keeping surfaces clear so each area reads as intentional and welcoming every time you walk in.
Schedule small weekly maintenance tasks like clearing a desk, folding blankets, and resetting cushions so zones stay distinct without a big monthly overhaul that feels like a chore.
Quick Troubleshooting
If a zone feels off, look for visual clutter first because unresolved piles or mismatched items quickly dissolve the sense of separate places and make the studio feel chaotic.
Try swapping one element at a time such as changing a lamp or rug rather than everything at once, so you can identify the specific change that improves flow and comfort.
When to Invest in Bigger Changes
Consider larger investments when small fixes no longer support your daily life such as built-in storage or a semi-permanent partition if you work from home full-time or need real separation for sleep and concentration.
Weigh the cost and the potential resale or rental impact because some changes require landlord approval or might not be worth it if you plan to move in a short time, so choose interventions that can move with you when possible.
Sourcing and Budgeting
Set a simple budget that favors adaptable pieces and track what brings the most functional and visual improvement so you can prioritize purchases that have the biggest positive effect on daily life.
Look for secondhand quality finds and multiuse pieces which save money and often bring character to a space faster than buying everything new would.
Mindful Living in a Zoned Studio
Zones support routines that sustain energy and calm because when you enter a space that feels set up for a task, your brain more easily slips into the mode you want, whether rest, cooking, or focus.
Treat the studio as a small house with distinct rooms to protect your time and attention and you’ll find that even a modest square footage can deliver a richer daily experience.
Additional Inspiration and Next Steps
Collect photos of studio layouts that feel right to you and note what specific elements appeal—rugs, shelving, or color choices—so you can adapt the idea to your footprint and budget.
Make a plan with small milestones such as choosing a rug, arranging major furniture, and adding storage, which keeps progress manageable and satisfying rather than overwhelming.
Frequently Asked Questions
How can I make a studio feel bigger without tearing down anything? Use light colors on walls, choose low-profile furniture to keep sight lines open, and place rugs to suggest separate areas so the eye moves purposefully through the room rather than getting stuck on clutter.
Where should I place a bed if I have only one window? Position the bed so it benefits from light while avoiding the main traffic path, and create a visual buffer with a rug or low shelving to give the bed a sense of privacy and restfulness.
What is the best way to reduce noise between zones? Add soft surfaces like rugs and textiles to absorb sound, place bookshelves against noisy walls to add mass, and try a white noise machine near the sleeping area to improve sleep quality.
Can a studio be both a workspace and a restful home? Yes, by giving work tools a dedicated spot with storage and a routine to clear the area at the end of the day, you train your brain to separate work time from rest time even without physical walls.
How do I keep zones feeling fresh over time? Rotate textiles, update one decorative object per season, and reassess storage needs quarterly so the studio evolves with your life while keeping zones clear and purposeful.