
Hook & TL;DR
Refresh an old piece by learning a few patient, hands-on steps that turn worn wood into a fresh focal point, and even if you have not tackled this work before you can follow clear stages to get a beautiful result.
Key Takeaways
- Assess first: Check condition, wood type, and value before starting.
- Prep matters: Clean, stabilize, and protect surrounding areas before stripping or sanding.
- Finish smart: Match stain, sealer, and topcoat to the piece and its use.
- Safety first: Use gloves, mask, and ventilation when using chemicals or sanding.
- Start small: Practice on a hidden area or scrap wood to build confidence.
Introduction
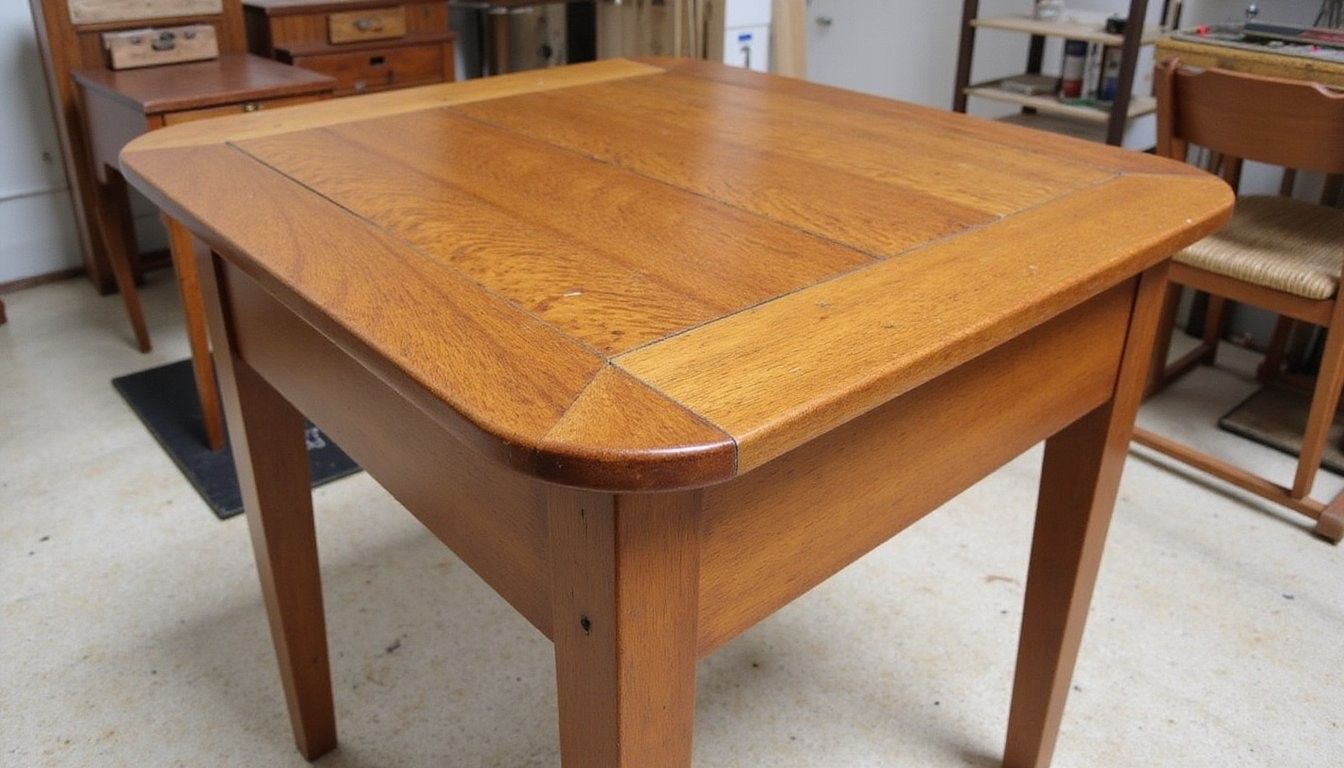
Refinishing wood is an approachable craft for a person ready to invest time, patience, and simple tools to restore character and function to a cherished item, and it rewards attention to detail with results that brighten a room and extend the life of a piece.
Confidence builds through a handful of repeatable steps—inspect, clean, remove old surface, smooth, apply color or paint, and protect—and understanding why each step matters helps prevent mistakes that cost time or harm the wood.
Tools & Materials
Gather supplies before you begin so the project flows smoothly and you avoid mid-task delays, and having the right items reduces the risk of damage while improving the final look and durability of the surface.
- Cleaning: mild dish soap, white vinegar, lint-free rags
- Stripping options: chemical stripper, plastic scraper, old toothbrush
- Sanding gear: orbital sander, sanding blocks, grit sequence 80/120/220
- Safety: nitrile gloves, respirator mask rated for organic vapors, eye protection
- Staining/painting: pre-stain conditioner, wood stain, paintbrushes, foam brushes
- Finishing: wipe-on polyurethane, oil finish, tack cloth, lint-free finishing rags
- Extras: wood filler, wood glue, clamps, painter’s tape, drop cloth
Assessment & Prep
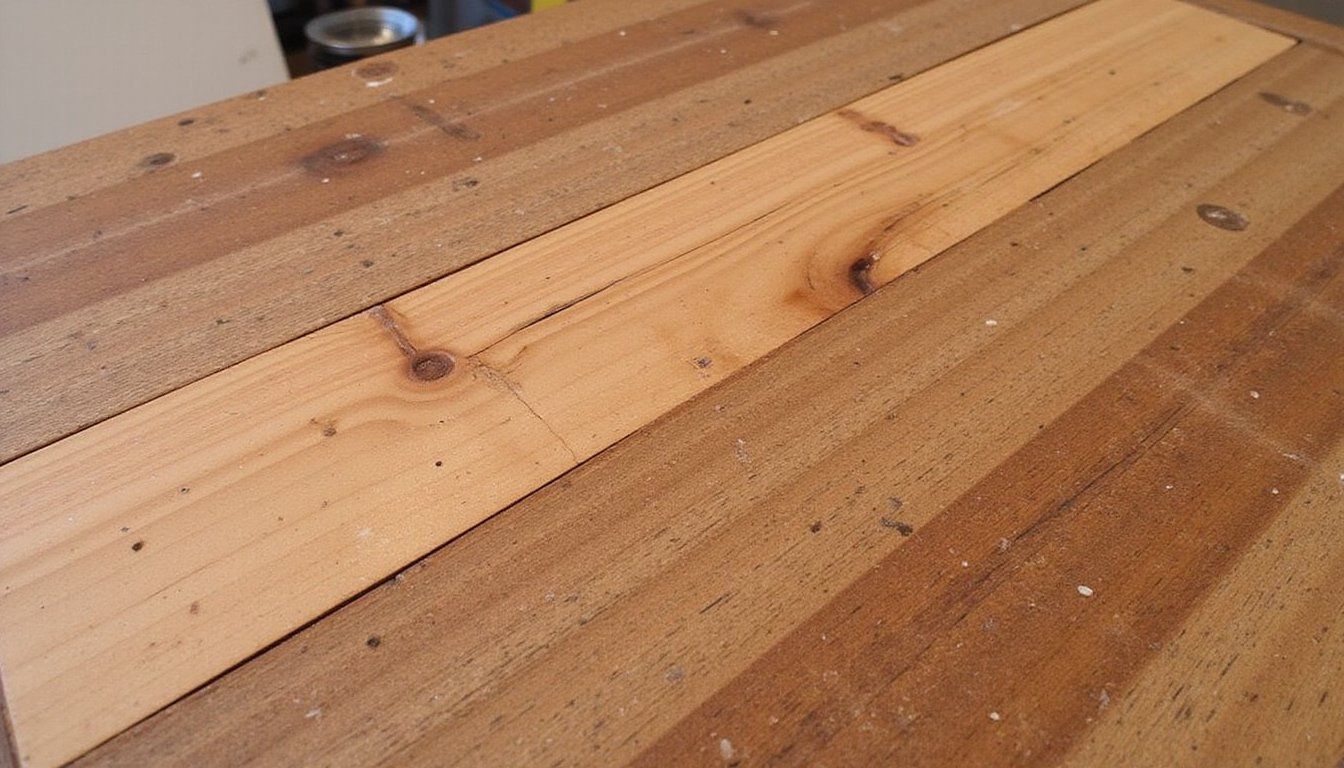
Start with a careful inspection to determine the wood species, structural condition, existing finish type, and any repairs needed because these details guide whether you strip to bare wood, sand through finish layers, or simply clean and refresh the surface with a light refinishing approach.
Prepare the workspace by moving the piece to a well-ventilated area, laying down a protective drop cloth, and removing hardware or drawers so you can work safely and keep dust and chemicals confined, and label parts if reassembly could be confusing.
Removing Old Finish
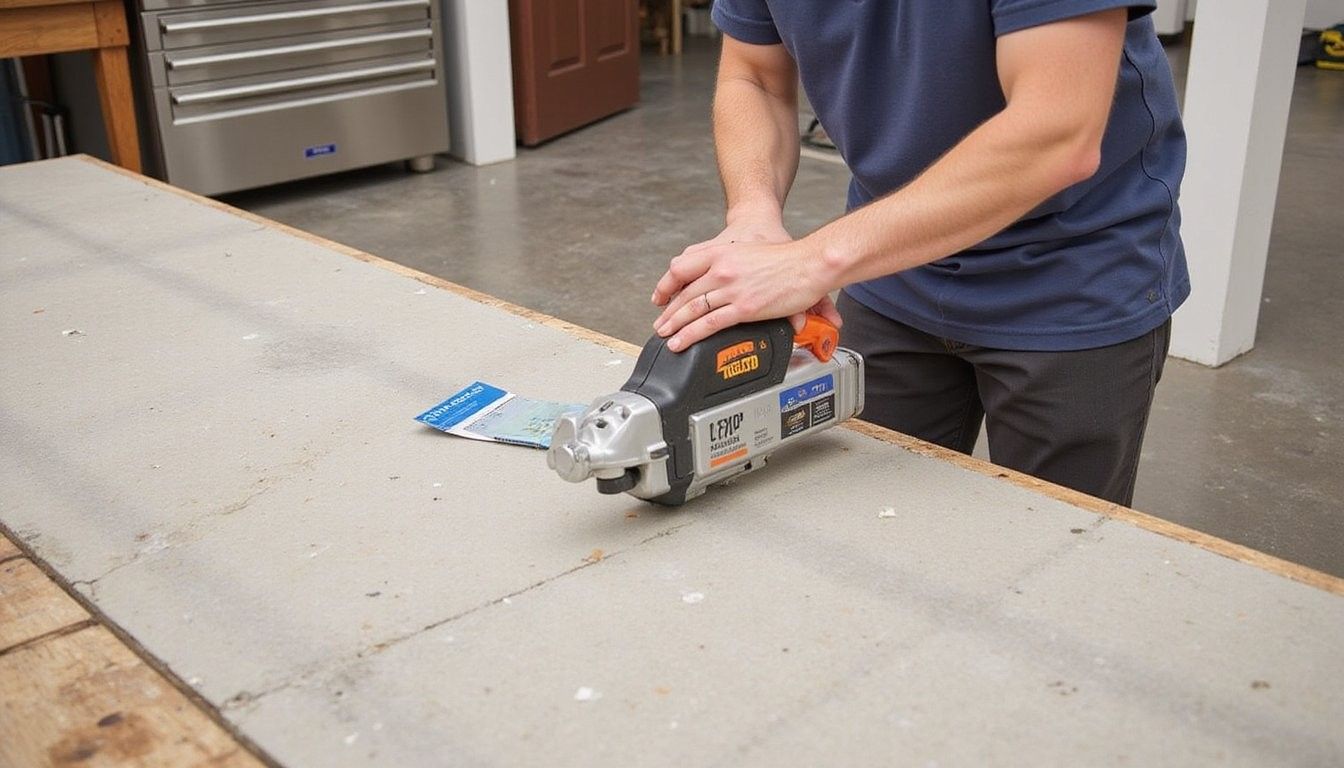
Choose your method by weighing finish type, ornamentation, and your comfort with chemicals; a chemical stripper removes lacquer or varnish with less elbow grease for carved areas while sanding strips finishes faster on flat surfaces yet creates dust that requires strong protection.
Work in stages by applying stripper to small sections, scraping gently with a plastic scraper, and using fine steel wool for crevices, then neutralize residues and wipe clean so the next step—sanding or staining—adheres evenly and looks consistent.
| Method | Best for | Pros | Cons |
|---|---|---|---|
| Chemical stripper | Detailed carvings, layers of finish | Breaks down finish with less scuffing | Requires ventilation and cleanup |
| Sanding | Flat surfaces, quick removal | Fast on large areas | Creates dust and can remove too much wood |
| Heat gun | Peeling paint and finishes | No chemicals | Risk of scorching and not for delicate veneers |
Sanding & Smoothing
Move progressively through grits by starting with a coarse grit to remove heavy finish or repairs and working up to fine grits so the surface feels uniform and the wood pores are ready to accept stain or paint evenly, avoiding swirl marks by keeping the sander flat and moving with the grain.
Hand-sand tight areas where power tools cannot reach and use sanding blocks to keep edges straight and consistent, and always test a small hidden area after sanding to confirm the smoothness and the way wood accepts sample finishes before committing to the whole piece.
Staining, Painting & Topcoats
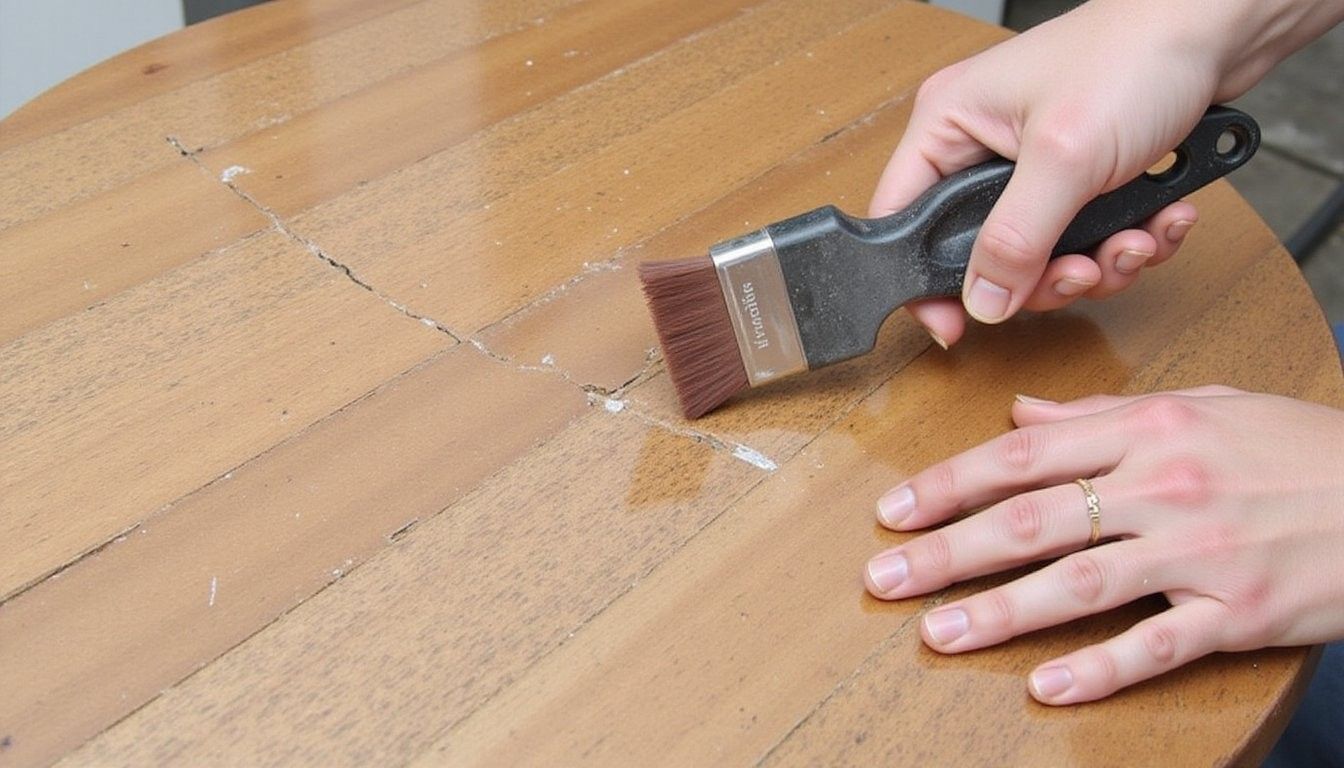
Choose color and sheen thoughtfully by sampling stains on scrap or an unseen part of the piece because wood grain and previous treatments influence the final tone, and a sealer or conditioner can even out blotchy absorption on softwoods so the finish looks uniform across the surface.
Apply finish in thin layers allowing recommended dry time between coats and lightly rubbing with fine abrasive between layers when the product directions suggest so that adhesion and clarity of the topcoat remain strong, and pay attention to temperature and humidity which affect drying.
| Finish Type | Best Use | Durability |
|---|---|---|
| Oil-based polyurethane | High-use tables, warm amber tones | Very durable |
| Water-based polyurethane | Clear finish, quick dry | Durable, less yellowing |
| Tung oil or Danish oil | Hand-rubbed natural look | Moderate, requires reapplication |
Finishing Touches & Reassembly
Address hardware and repairs by cleaning, polishing, or replacing knobs and pulls to complement the new surface, and secure loose joints with glue and clamps so the piece is both stable and attractive when you reassemble parts after finishes cure fully.
Buff and cure properly by allowing topcoats to cure the full recommended period before heavy use and by buffing with a soft cloth or ultra-fine pad to achieve the sheen you prefer, recognizing that patience here preserves the look and function for years.
Common Mistakes
Error in finishing occurs when people apply thick coats, fail to follow manufacturer dry times, or skip de-dusting steps and those shortcuts commonly produce tacky surfaces, runs, or trapped dust that dulls the final appearance and shortens longevity.
Over-sanding or aggressive stripping removes delicate veneer layers and lowers the furniture value, so confirm construction and practice on hidden areas before aggressive removal when working with antiques or veneered surfaces.
Maintenance & Care After Refinishing
Protect daily use by using coasters, placemats, and felt pads under objects to prevent scratches, heat marks, and water rings that can mar a fresh finish and require repairs or re-coating sooner than expected.
Plan periodic refreshes such as light buffing or an extra thin coat on high-wear surfaces after the recommended cure time because proactive maintenance keeps the surface uniform and cuts down on major restoration work later.
Cost, Time & Results Comparison
Compare approaches so you can match the method to budget and timeline: aggressive stripping plus new finish takes more time and materials but yields a true restoration, while a light refinish or paint can dramatically refresh a piece for less expense and in a shorter window.
| Approach | Estimated Cost | Time | Result |
|---|---|---|---|
| Full strip and refinish | Higher | Days to weeks | Original wood restored |
| Light sanding and recoat | Moderate | Hours to a day | Refreshed surface with less effort |
| Paint or milk paint | Low to moderate | Hours | Bold color change, hides grain |
Pro & Con Comparison
Understand trade-offs by weighing wear resistance, look, and maintenance needs because a glossy polyurethane will outlast an oil finish under heavy use but an oil finish repairs easily and offers a soft, tactile warmth that some people prefer over a hard plastic-like layer.
| Option | Pros | Cons |
|---|---|---|
| Oil finish | Natural look, easy spot repairs | Less surface protection |
| Polyurethane | Durable, water resistant | Can yellow, visible buildup |
| Paint | Hides flaws, color options | Hides grain, may chip over time |
Troubleshooting & Quick Fixes
Resolve blotchy stain by sanding back to a uniform surface, applying a pre-stain conditioner on softwoods, and testing until absorption evens out so the final color reads consistently and avoids patchy areas that draw the eye.
Fix minor scratches by using a matching wax filler stick, a touch of blended stain, or a fine abrasive buff followed by a small topcoat patch so damage blends with the surrounding finish and the repair remains discreet.
Frequently Asked Questions
How long does a full refinish take? A complete strip, sand, stain, and topcoat process for a medium-sized piece can span several days due to drying and curing, where working carefully across stages yields a superior and longer-lasting outcome rather than rushing through steps.
Can I refinish veneered furniture? Veneer requires gentler methods such as light sanding and careful use of chemical strippers in small areas because aggressive sanding will remove the thin surface layer and damage the appearance beyond repair.
Is it safe to use chemical strippers indoors? Work in a very well-ventilated space, wear a respirator rated for organic vapors, and use gloves and eye protection because fumes and skin contact can be hazardous and proper precautions protect you and your home environment.
Should I strip before painting? Stripping or roughening the finish improves paint adhesion and reveals any underlying damage that should be repaired first so the painted surface bonds and does not flake or peel later.