
The Struggle
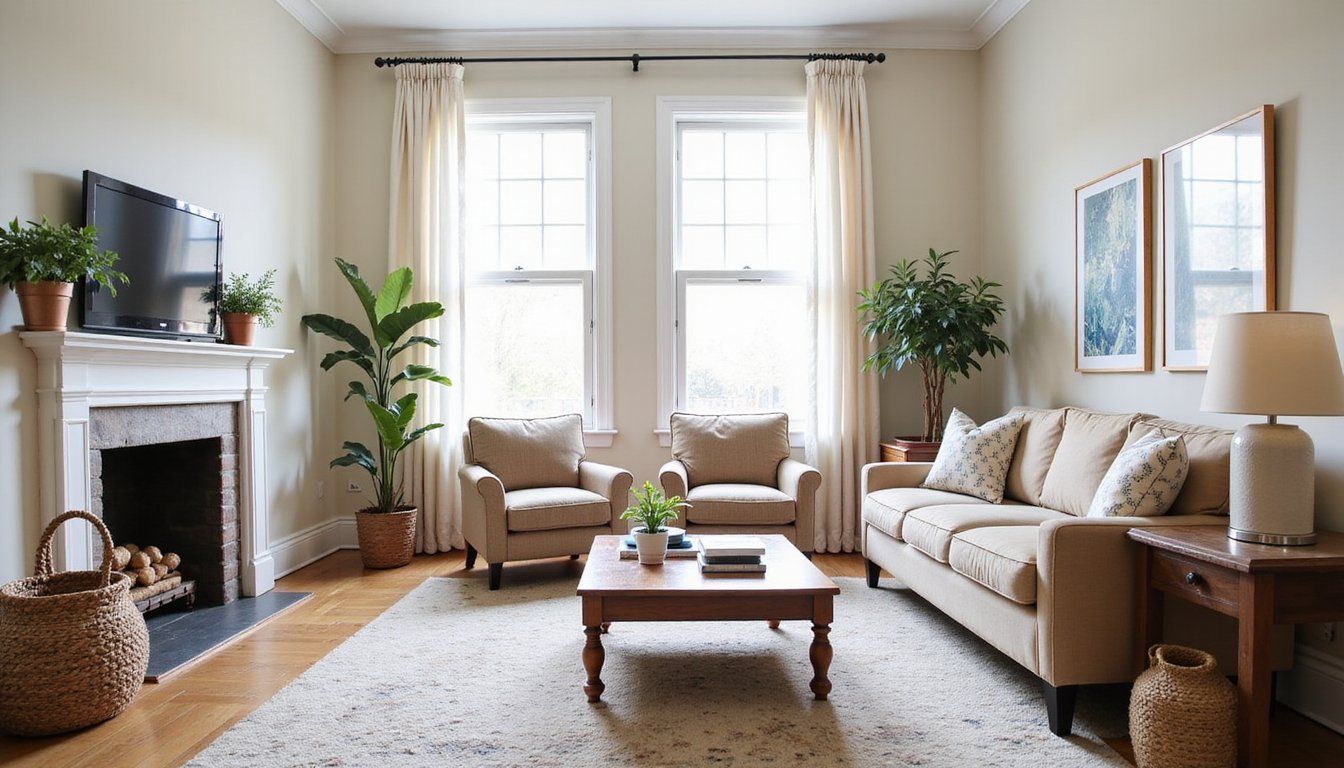
Cluttered surfaces and blank walls make a home feel unfinished and chaotic when you want inviting rooms but lack furniture that fits your space or style.
Feeling stuck with store-bought pieces that are too big, too small, or too impersonal can sap your decorating energy and leave you wishing you could craft something that truly belongs in your home.
The Fix (Summary)
The Quick Fix
Start small and build your skills by making straightforward shelves, a simple stool, and a compact table that solve storage and surface needs while teaching basic joinery and finishing.
Practical projects like these let you control size, scale, and finish so your pieces fit your home and taste without a big budget or a lot of specialized gear.
Gradual skill upgrades come from repeating the same cuts, sanding, and finishing steps, which rapidly increase confidence and quality from one project to the next.
Introduction
Beginner projects are powerful teachers because they focus on a few repeatable techniques while producing useful items for daily life, and that feeling of making something that works is energizing.
Shelves, stools, and small tables are ideal starting points since they cover basics like measuring, cutting, drilling, and finishing without overwhelming joinery or heavy lifting.
By choosing approachable designs you reduce frustration, lower material waste, and get pieces that serve immediate home decor needs while building workshop habits and confidence.
Tools & Materials
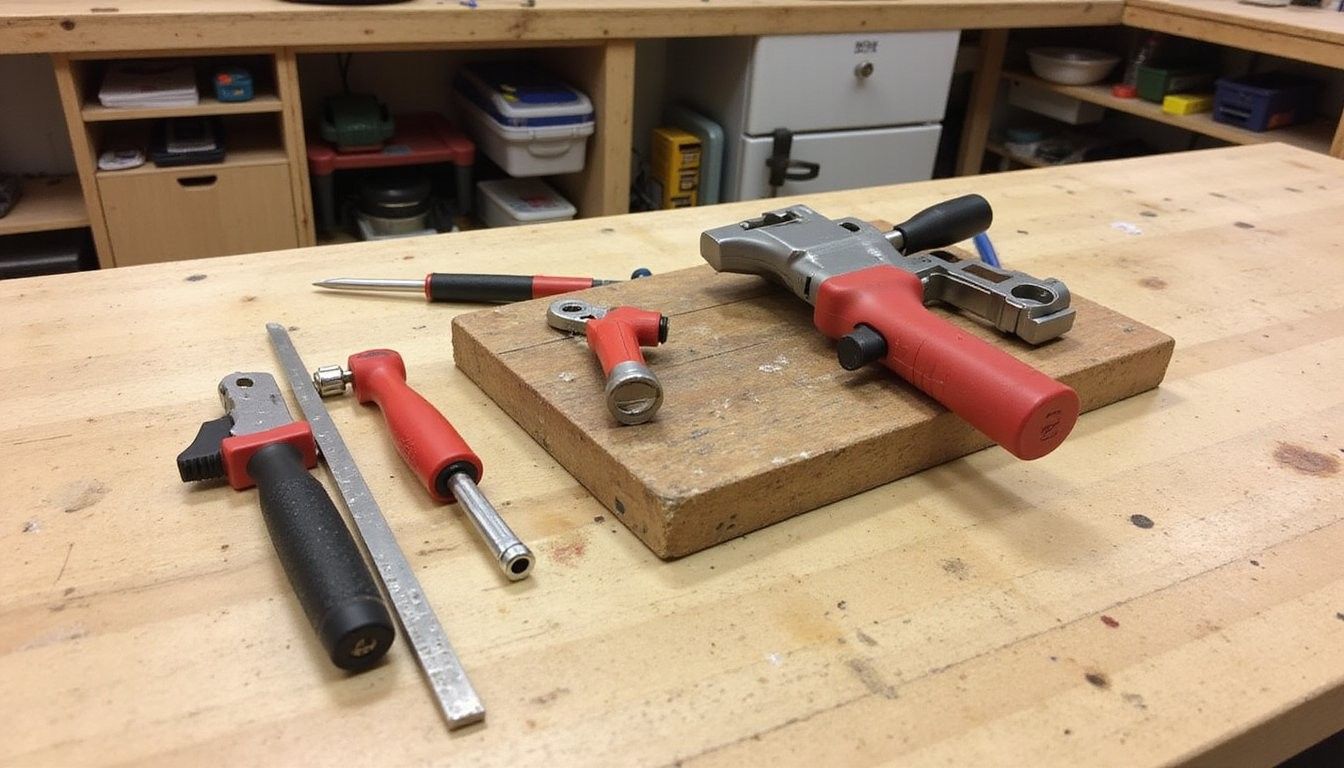
A compact set of tools covers most beginner builds and keeps the bench uncluttered while giving you everything needed to measure, cut, fasten, and finish a small project.
- Tape measure, speed square, pencil for accurate layout.
- Hand saw or circular saw for straight cuts.
- Drill and drill bits for pilot holes and fasteners.
- Sander or sandpaper (80–220 grit) for smoothing edges and prepping finish.
- Clamps (pair or more) to hold joints tight while glue dries.
- Wood glue, screws, and finishing supplies such as stain, paint, or oil.
Choosing materials means picking boards with clear grain and minimal warping so joints align, and that reduces rework and frustration while giving better-looking results.
| Tool/Material | Why it matters |
|---|---|
| Tape measure & square | Accuracy keeps pieces flush and doors or shelves level. |
| Clamps | Good clamping prevents shifting and strengthens glued joints. |
Shelves: Planning and Building

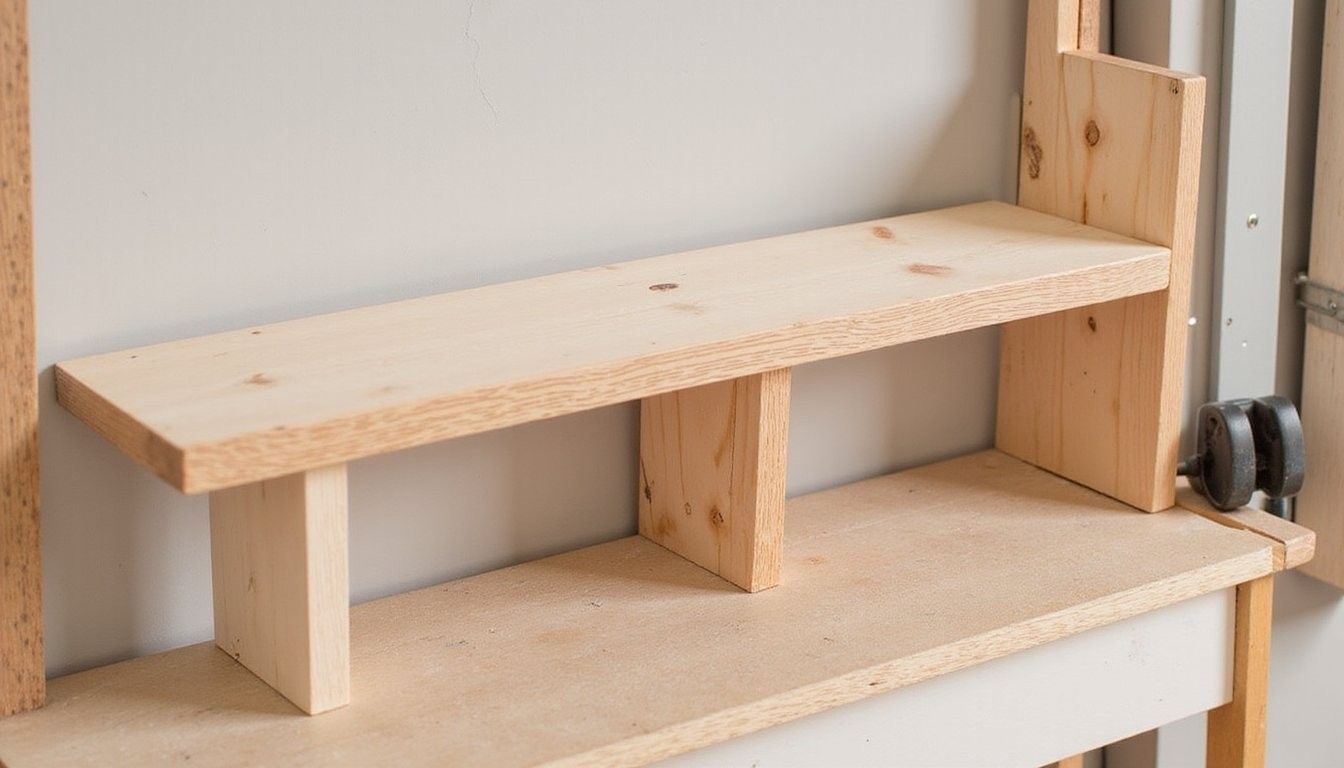
Floating and bracketed shelves are the fastest way to add storage and styling height without a deep commitment to advanced joinery, and they teach layout and leveling fundamentals that you will use on bigger projects.
Start with a simple plank shelf cut to fit a chosen wall segment, sanded smooth, and finished with oil or paint to match decor while learning how to find studs and use wall anchors for safety.
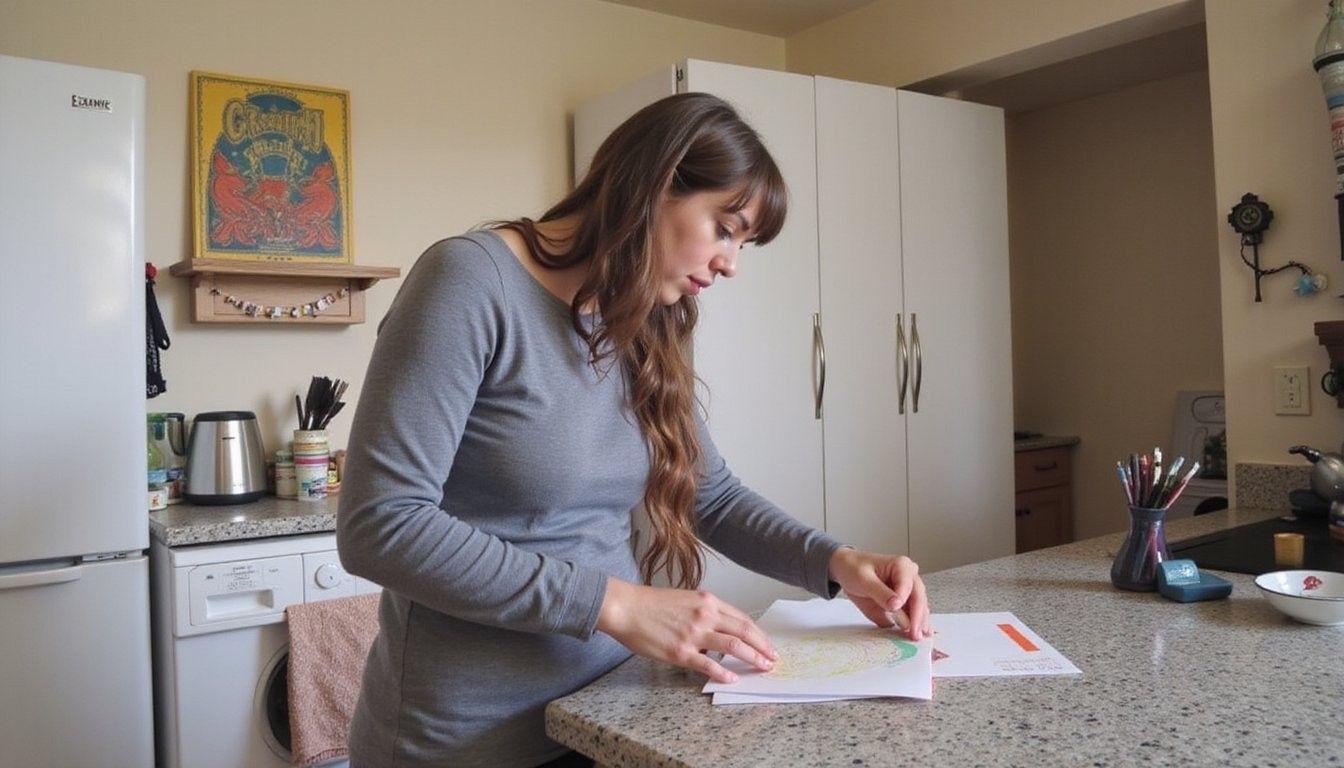
Measure twice and mark clearly so mounting holes align, and mock up a horizontal guide with painter’s tape to visualize placement before you drill, which prevents costly repositioning.
Brackets and hidden supports both work well; brackets are forgiving for beginners, while hidden supports give a cleaner look but require more precise drilling and depth control.
Stools: Simple Seat Projects
A basic three-legged stool is forgiving on uneven floors and teaches angle cutting and seat attachment without heavy joinery, making it an encouraging first stool project.
Cut legs with consistent taper and angle so the stool sits level, and use a simple round or square seat glued and screwed from beneath for a durable attachment method that stays hidden from view.
Test the stool gently while clamped to check for wobble and adjust leg lengths before final sanding and finishing so you avoid trimming after the finish is applied.
Small Tables: Building Compact Surfaces
Side tables and compact coffee tables are slightly more complex but remain beginner-friendly when you break them into flat top, apron, and leg assemblies that fit together with pocket screws or simple mortise-style joinery.
Design with proportions in mind so the tabletop height suits sofas or chairs, and keep the tabletop thickness and leg scale balanced to avoid a top-heavy look that undermines stability.
| Project Type | Estimated Cost | Decor Impact |
|---|---|---|
| Narrow side table | $20–$50 | High — defines a corner and adds surface |
| Small coffee table | $40–$120 | High — anchors seating and display |
Think modular by designing tabletops that can be swapped or refinished easily, which stretches your investment across seasons and decorating changes.
Consider joinery options like pocket screws for speed or dowels for cleaner faces, and prioritize joints that match the visual style you want for the finished piece.
Finishing and Installation
Finishing is where a project becomes furniture, and choosing the right finish affects appearance, feel, and durability, so plan finish steps early in the build to avoid mismatches or extra sanding later.
Test finishes on scrap pieces from the same board to see how stain or oil reacts with grain and color, which prevents surprises when you apply finish to the final piece.
| Wood Type | Look | Suitability |
|---|---|---|
| Pine | Light, knotty | Budget-friendly and easy to work |
| Oak | Prominent grain | Durable, good for tabletops |
| Poplar | Subtle grain | Takes paint well |
Installation care matters for shelves and tables; anchors, proper fasteners, and checking for level will protect your piece and the wall or floor it sits against.
Common Mistakes
Skipping preparation is costly because poor measuring, unclear markings, and weak clamps lead to rework and wasted material, which is frustrating when you are learning and trying to keep costs down.
Wobble is often fixable but correcting it after finish adds work; check level and flatness before you sand or seal so fixes are quick and effective.
Overcomplicating joinery early on often leads to mistakes that teach you more about patience than progress, so prefer methods that match your comfort and tools while you build skill for more advanced techniques later.
Frequently Asked Questions
How long will a small project take? A basic shelf or stool can be completed in an afternoon to a weekend depending on drying time for glue and finish, and allowing that time prevents rushed mistakes.
Do I need many tools to start? A modest set of hand and small power tools covers most beginner builds, and adding gear as you grow keeps costs manageable and skill development steady.
What wood should I pick first? Pine or poplar are forgiving and inexpensive, which makes them great for practice pieces that still look charming with a simple finish.
How do I avoid wobble? Confirm leg lengths and check the work on a flat surface before final assembly, and use shims or sand small amounts from the ends before finishing to fine-tune stability.