
The Struggle
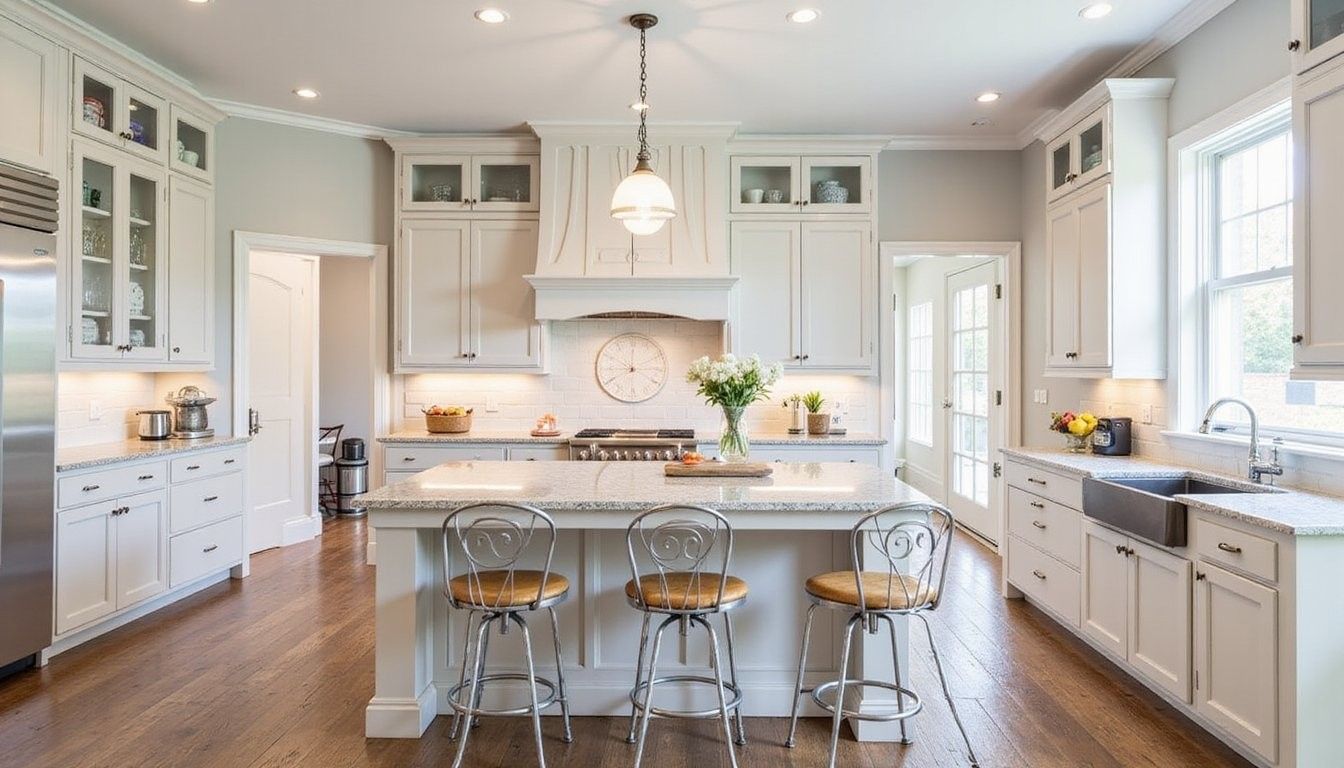
Worn, mismatched hardware can make a kitchen or bathroom feel tired and mismatched even when cabinets and counters are fine, and that visual mismatch often nags every time you walk into the room.
The Quick Fix
Swap or refinish hardware to refresh the look of cabinets for a fraction of a full remodel cost, and choose a few high-impact pieces to lift the whole space quickly.
Small changes like new knobs, pulls or hinges can change the perceived style from dated to curated, and those changes can be done in a weekend with a modest budget if you plan first and avoid impulse buys.
Getting Started
Start with a clear goal by deciding whether you want a subtle refresh, a style update, or better function, because a focused aim keeps choices simple and costs low when shopping or DIYing.
Measure twice and imagine the finished layout before buying to avoid returns, mismatched finishes, or extra trips to the store that inflate costs.
Set a budget range for the whole job — low, medium or splurge cap — and then list priorities such as pull type, finish, or specialty hinges so you know where to save and where to spend.
Tools & Materials
- Screwdriver set including flat and Phillips heads for removing old hardware.
- Drill with bits for new holes or cleaning out stripped screw holes.
- Tape measure and ruler for aligning pulls and knobs precisely.
- Masking tape and pencil for marking placement without damaging finishes.
- Wood filler and sandpaper to patch old holes before painting or reattaching hardware.
- Painter’s cloth or drop cloth to protect surfaces while working.
- Replacement hardware ordered in advance with matching screw lengths and backplates if needed.
Plan and Measure Carefully
Accurate measuring saves money because a consistent hole pattern lets you reuse holes or swap hardware without drilling new ones, and that preserves cabinet integrity while reducing filler and repainting work.
Make a template from cardboard or thin plywood to test placement across drawers and doors, which keeps spacing uniform and avoids guesswork that leads to wasted hardware or mismatched pulls.
Note door and drawer differences by laying out hardware choices for each face and photographing the test fit so you can compare looks and make final choices with confidence before irreversible drilling.
Choosing Hardware on a Budget

Match finish and style to the room’s tone by selecting metals and profiles that harmonize with faucets and light fixtures to create cohesion without buying every new piece at once, and you can mix old and new for a curated look.
Prioritize focal pieces such as the island or main sink area with slightly higher-quality hardware while using economical options elsewhere to stretch budget and still get a premium feel where it matters most.
Shop smart by comparing unit price, shipping and screw lengths, and look for clearance, open-box deals or multipacks that lower cost per piece while keeping a consistent appearance across the room.
| Option | Typical Cost | Visual Impact |
|---|---|---|
| Basic knobs or pulls (bulk) | $1–$5 each | Moderate to high when repeated |
| Mid-range designer pieces | $8–$20 each | High focal impact |
| Specialty or custom hardware | $25+ each | Very high but costly |
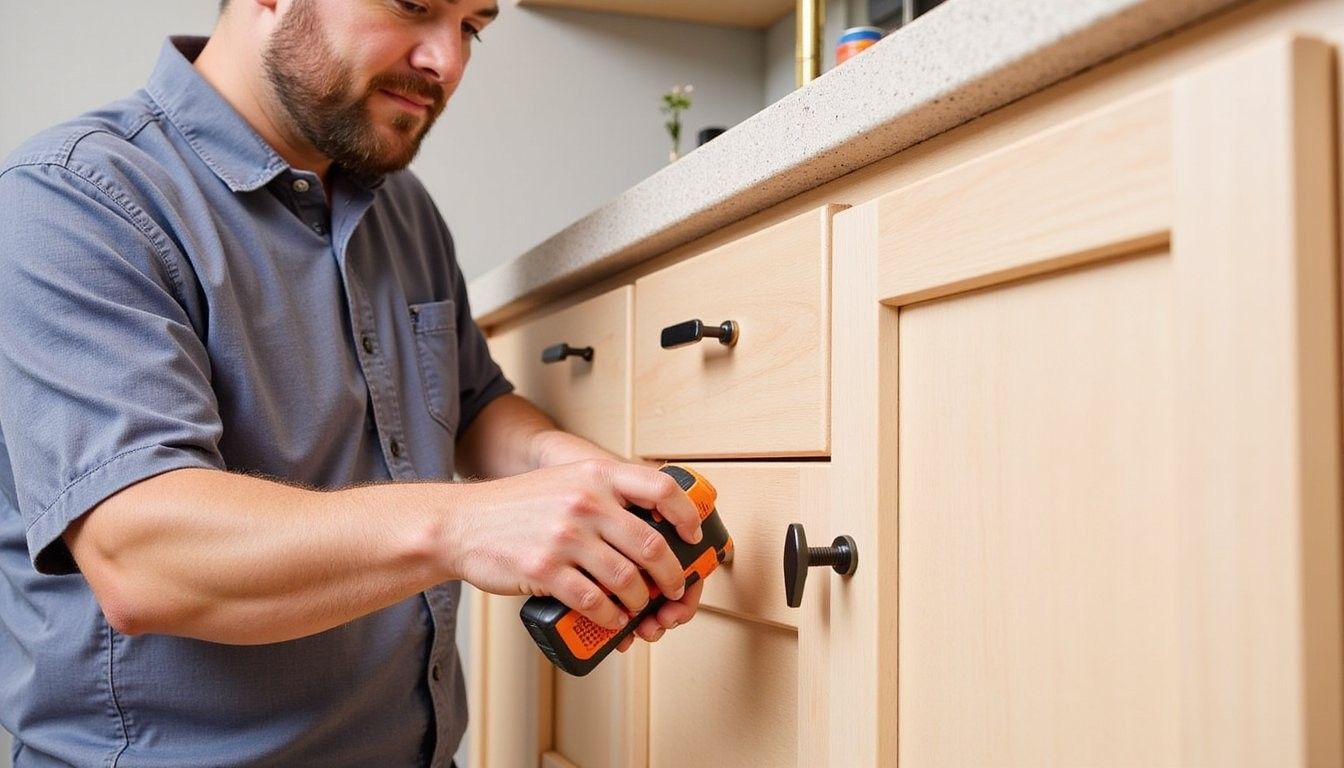
Installation Tips and Tricks
Remove old hardware with care by supporting the door or drawer to prevent stress on porcelain or soft wood, and keep screws and small parts sorted to reuse if they are in good condition to save money.
Use a center punch or nail to mark drilling spots through templates so the drill bit won’t wander, which reduces the risk of ugly slip marks and misaligned holes that add repair time and cost.
Choose the right screws in length and thread for your cabinet material and replace short or corroded screws to ensure new pulls sit flush and hold properly, and trip hazards like loose knobs are avoided.
Test one piece first on a less visible drawer before committing to all faces so you can tweak spacing, screw length and backplate choices without the pressure of correcting every door later.
Creative Low-Cost Upgrades
Paint or lacquer old hardware to mimic pricier metals by using spray finishes designed for metal, which gives a new look without replacing every piece and works well when the shape is still appealing and solid.
Add backplates behind knobs or pulls to create a layered, designer look that hides imperfections and elevates inexpensive hardware into a styled detail that photographs like a high-end finish.
Swap solely for focal areas like island cabinets or the area under the sink and adopt continuity through finish choices rather than replacing every single handle, which keeps visual unity while staying on budget.
Budget Comparison Tables
Compare cost and impact to make confident choices by evaluating price per piece against how often the hardware is seen and used, since frequent-use pieces benefit most from stronger construction.
| Category | Cost Range | Recommended Use |
|---|---|---|
| Bulk basic pulls | $1–$6 each | Secondary cabinets and pantry doors |
| Mid-range designer pieces | $10–$25 each | Island and main visible cabinetry |
| Specialty or custom hardware | $30+ each | Heirloom pieces or unique focal points |
Use a simple matrix to decide where higher cost yields the best return, focusing spend on pieces people touch or see most while using budget finds elsewhere so the room reads cohesive.
Common Mistakes
Ignoring ergonomics by choosing ultra-stylish but uncomfortable pulls can frustrate daily use and result in replacements sooner than expected, so test feel as well as look before ordering in bulk.
Skipping quality checks on screw types, backset depths and weight capacities increases risk of stripped holes and loose fittings that need refilling and repainting, which turns a cheap refresh into extra work and cost.
Frequently Asked Questions
How do I measure for new pulls? Measure center-to-center distance for the holes on existing hardware, mark with a template or ruler and double-check alignment across similar cabinet faces to ensure consistency and minimal drilling.
Can I reuse old screws? Reuse screws only if they match length and thread and show no rust; otherwise replace them to avoid loose fittings and potential damage to cabinet faces that lead to extra fixes and cost.
Is it cheaper to paint or replace hardware? Painting or refinishing is lower upfront cost when the shapes are good, and replacement is worth it when hardware is worn, loose, or the design needs a different profile for better ergonomics and longevity.
What finish works best with mixed metals? Choose one dominant finish and use the other as an accent to tie in fixtures like faucets or lighting, which keeps the scheme intentional and prevents a cluttered appearance that looks unplanned.