
The Struggle
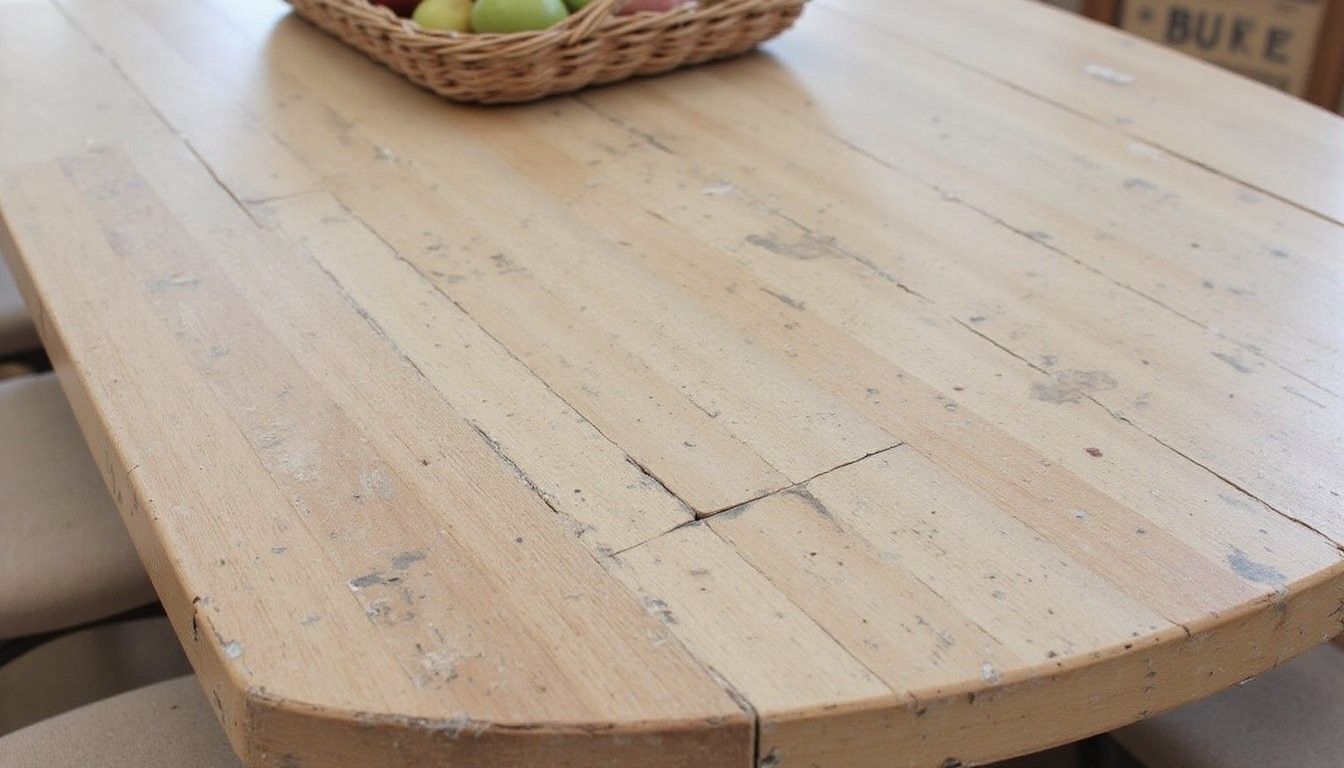
Worn or dated tabletops can feel like an eyesore when the wood is scratched, paint is peeling, or cheap laminate stands out in an otherwise lovely room, and that daily glance at the surface can sap your joy for the space.
Replacing a table can be costly and wasteful, and hiring a professional for a marble top often feels out of reach, which is why a do-it-yourself approach that yields polished results matters so much to a hands-on homemaker.
The Quick Fix
A painted faux marble finish refreshes a tabletop for a fraction of the cost by layering a smooth base, fine veining, and translucent glazes to mimic real stone; with just a few tools and some patient brushwork you can create a convincing, durable top.
Overview
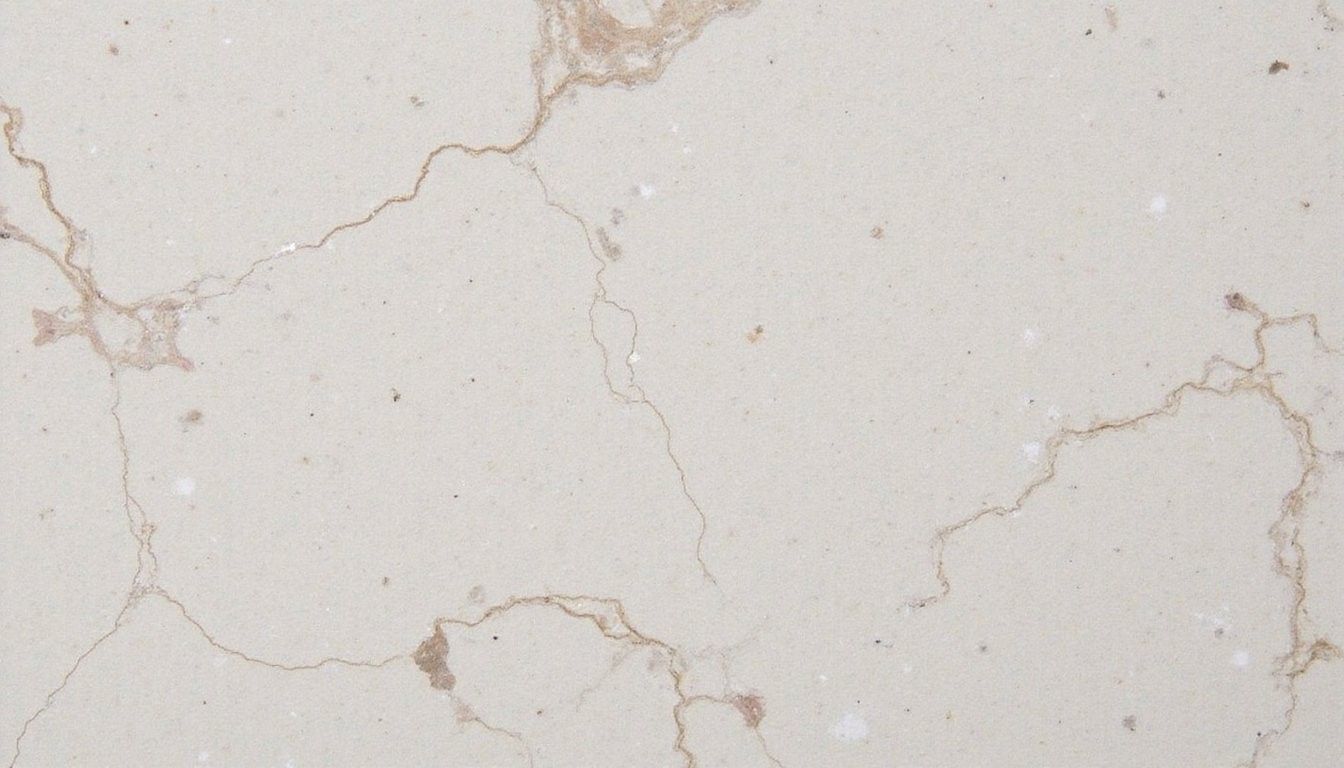
Painted faux marble combines artistry and technique by building depth with base coats, soft veining, and thin glazes so the surface reads like stone rather than paint, and learning the sequence helps you avoid a flat, fake look.
This approach makes the project approachable for beginners because each step is forgiving: you can soften marks, lift veins with a clean brush or rag, and glaze to unify the layers until the illusion holds together.
Tools & Materials
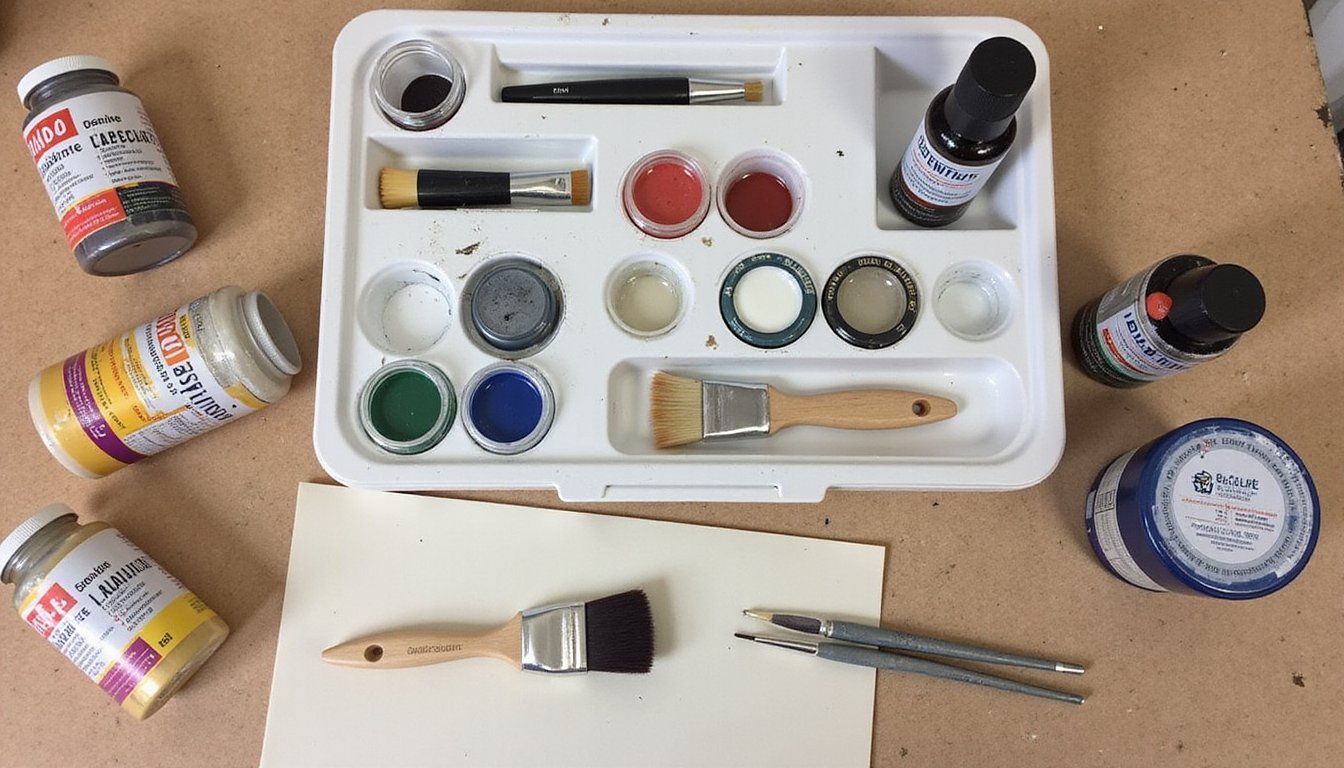
A concise toolkit keeps the process calm and focused and means you spend less time guessing and more time painting a convincing surface; gather paints, brushes, glazes, and protection before you start so the workflow is smooth.
- Latex or chalk paint in base color (off-white, cream, or pale gray depending on the marble style)
- A darker paint for veins (diluted acrylics or water-based oils in gray, taupe, or green tones)
- Translucent glaze (clear or tinted glazing medium to add depth)
- Soft brushes for blending and fine liner brushes for veining
- Sea sponge and artist brushes for texture and lifting
- Sandpaper and primer for surface prep
- Protective topcoat such as polycrylic or water-based polyurethane
- Rags, water, and painter’s tape for cleanup and masking
Having extras saves stress because brushes wear, paint dries quicker than expected, and a spare jar of glaze lets you experiment without interrupting momentum.
Prep and Basecoat
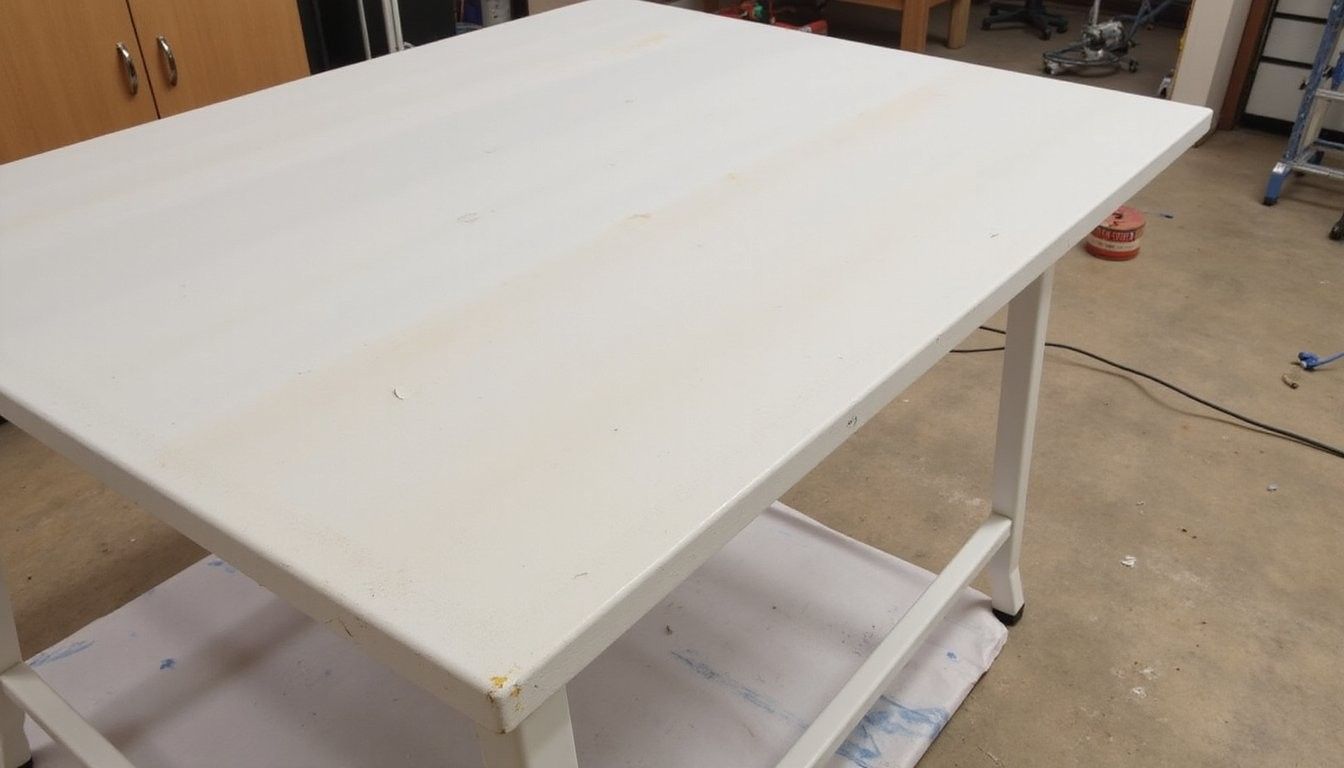
Proper preparation creates a stable foundation so the paint adheres evenly and the final finish is long lasting; sand the tabletop to remove gloss, clean away dust, and apply primer if the surface is very slick or stained.
Choosing and applying the base color sets the mood because the base will peek through your glazes and veins, so pick a soft neutral and apply two thin, even coats with light sanding between layers to keep the surface smooth and paint buildup minimal.
Creating Veins: Techniques
Veining is the visual signature of marble and can be layered using a mix of thin paint and glaze on a liner brush, and the goal is to make irregular, branching lines rather than perfectly straight streaks to mimic nature.
Work in small sections and soften as you go by dragging a dry, clean brush or a slightly damp rag over fresh veins to break them up and create the feathery edges that real marble shows, repeating until the pattern feels balanced across the surface.
Texture and Depth with Sponging and Glaze
Soft texture tricks make painted stone read like the real thing because subtle mottling and color shifts add complexity that flat paint cannot achieve, so use a sea sponge to lift pigment and create tiny irregularities between veining passes.
Glazes unify layers and add translucence by applying thin washes over the finished veining to mellow contrasts and introduce that veiled, mineral look; work in multiple light layers and let each dry so you maintain control over the final tonality.
| Technique | Effect | When to Use |
|---|---|---|
| Sea sponge | Soft mineral texture | To break up uniform color |
| Layered glaze | Depth and translucence | To harmonize colors |
| Dry brushing | Soft highlights | To add subtle contrast |
Finishing and Protection
Sealing preserves the illusion and protects daily use so choose a clear topcoat with the sheen level you want and apply multiple thin coats to avoid clouding, sanding lightly between coats for a glassy finish.
Edge and corner attention prevents wear spots because these areas get the most contact, so add an extra thin layer there and allow full curing time per the topcoat instructions to ensure long term durability.
Troubleshooting and Adjustments
A relaxed editing mindset turns mistakes into texture because lifting with a damp rag, softening with a dry brush, or adding another glaze layer can rescue heavy veins or muddy spots without starting over.
Test fixes in an inconspicuous area before committing since drying times and how paints blend with your specific glaze can vary, and a small experiment saves time and preserves the work you want to keep.
Common Mistakes
Rushing through steps is the easiest trap because impatience leads to smudging, lifted glazes, and a finish that looks painted rather than stony; patience with drying between layers and gentle blending yields a believable result.
Uniformity flattens the illusion so avoid repeating the same vein pattern across the tabletop by varying pressure, direction, and color intensity to keep the surface interesting and lifelike.
Quick Comparison: Methods at a Glance
Choosing a method depends on budget, time, and desired realism because some techniques require more tools and patience while others give quicker but less convincing results, and weighing those trade-offs early prevents regrets.
| Method | Pros | Cons |
|---|---|---|
| Simple paint and glaze | Low cost, beginner-friendly | Less depth than layered techniques |
| Layered sponging + veining | High realism, textured depth | More time and practice required |
| Faux stone decals | Fast, even coverage | Edges can lift, less handmade charm |
Cost vs. Impact Table
Understanding costs helps prioritize where to spend because a small investment in a quality glaze or topcoat can outlast cheaper alternatives and improve the overall finish dramatically, giving you better long-term value.
| Item | Estimated Cost | Visual Impact |
|---|---|---|
| Base paint | $10–$30 | High, sets overall tone |
| Glaze medium | $8–$25 | High, adds depth |
| Brushes and sponge | $15–$50 | Medium, affects finish quality |
| Topcoat | $15–$40 | Very high, protects and completes look |
Finishing Touches and Styling
The way you style the completed tabletop seals the transformation by pairing it with complementary textiles, decor, and lighting to make the faux marble feel integrated with the room rather than an isolated trick.
Small accents like coasters and soft placemats protect while blending in and keep the finish pristine; choose tones that echo the veining and base color to make the surface read as intentional and refined.
A little styling goes a long way to turn a beautiful surface into a beautiful vignette that enhances the whole room.
Sustainability and Longevity
Refreshing an existing piece keeps resources out of the landfill by extending the life of furniture that might otherwise be discarded, and with proper sealing the top can be maintained rather than replaced.
Routine care preserves the finish by using mild cleaners, avoiding abrasive pads, and reapplying a thin topcoat every few years to keep the surface resilient to daily use.
Frequently Asked Questions
How long does a painted faux marble tabletop last? With a good topcoat and gentle care the finish can last many years and resist chips and stains, though high-traffic use will eventually require spot repairs or a refresh of the topcoat.
Can I place hot pans directly on the painted surface? Heat can damage the topcoat and paint, so use trivets for hot items and coasters for drinks to protect the finish and retain its look.
Will the veins look fake to a close observer? If you blend edges, vary vein thickness, and apply translucent glazes to add depth, the surface will read as stone from a normal viewing distance and even invite a pleasant double-take up close.
Can I change the faux marble later if I tire of it? Yes, the painted tabletop can be lightly sanded and repainted into a new finish, which makes this an adaptable decorating move for evolving tastes.