
Hook & TL;DR
Make memories while decorating by choosing quick ornament projects that welcome kids of different ages and grownups who want something simple yet heartfelt.
These projects save time and turn a few basic supplies into keepsakes that hang on your tree for years, creating an annual ritual that feels cozy and personal.
Key Takeaways
- Make together: Choose one project that everyone can help with.
- Use pantry staples: Most ideas reuse ingredients or dollar-store finds.
- Finish well: Seal and label ornaments so they last.
- Gift ready: Many make charming homemade presents.
Family time matters: A short crafting session can become a beloved seasonal ritual when the result is something you display year after year.
Introduction
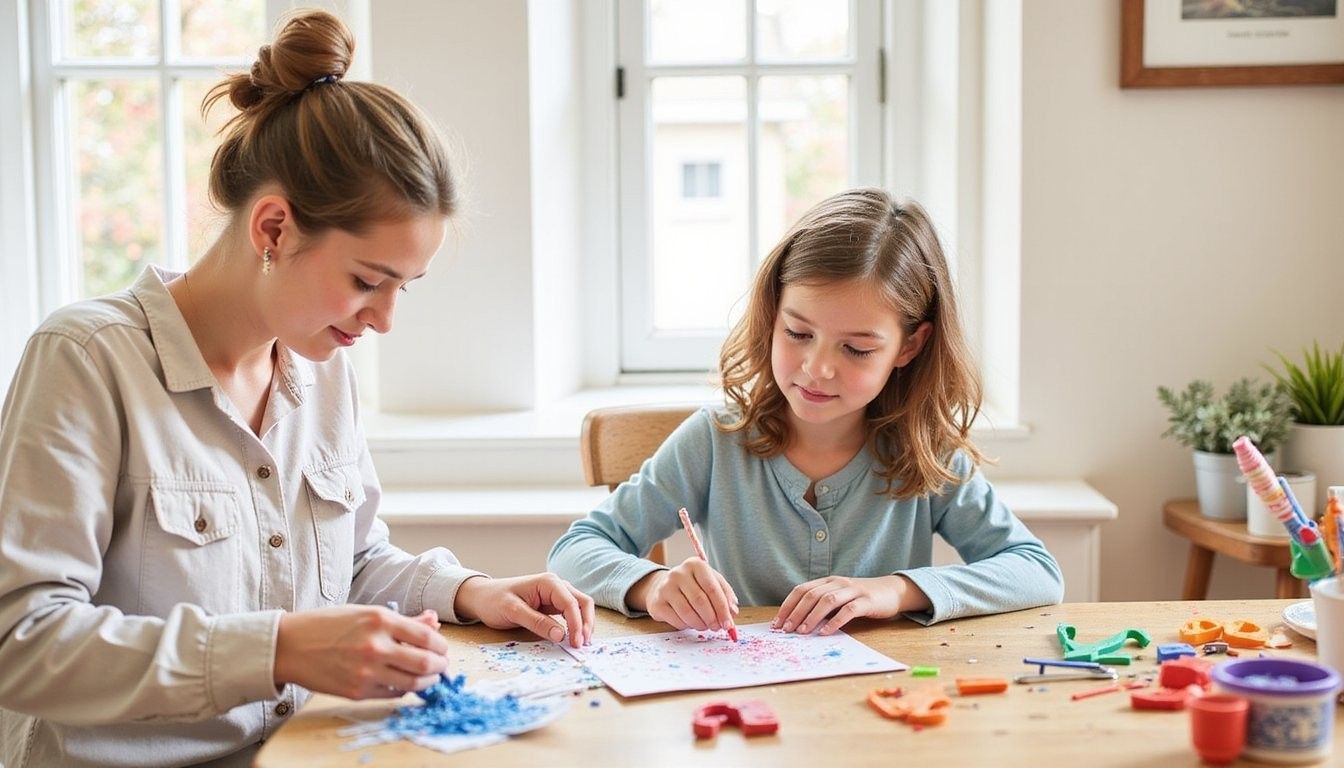
Welcome to a joyful crafting approach that focuses on approachable projects families can finish in an afternoon, combining creativity with everyday materials to reduce stress and increase satisfaction.
Everyone can join in whether your household includes toddlers who love finger painting or teens who prefer photo ornaments, because each idea can be adapted for age and skill without losing charm.
Tools & Materials
Gather basic supplies so the crafting session flows smoothly and you can focus on fun instead of hunting for odds and ends; common items often already live in pantries and drawers.
Keep extras on hand such as cotton swabs, spare ribbon, and a small container of clear sealer to fix little mistakes and help ornaments survive storage and handling.
- All-purpose glue (white craft glue and a stronger tacky glue)
- Acrylic paints in festive tones plus brushes
- Scissors and a craft knife with adult supervision
- Ribbon, twine, and string for hanging
- Cookie cutters and rolling pin for dough ornaments
- Mod Podge or clear sealer to protect surfaces
- Sequins, glitter, beads for sparkle
- Pinecones, sticks, and dried citrus for natural textures
- Small photo prints and laminating sheets for memory ornaments
- Hole punch and small paint trays to organize supplies
Project 1: Salt Dough Ornaments
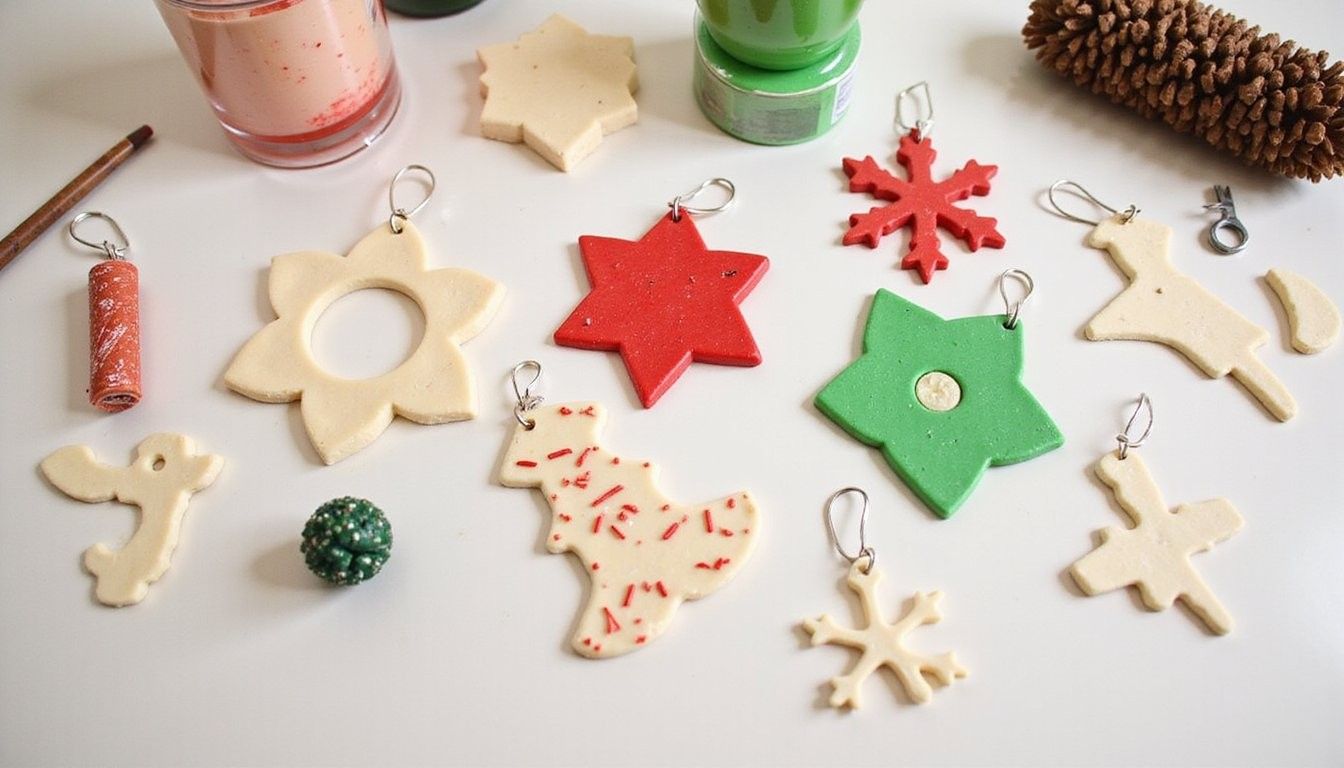
Salt dough blends are forgiving so kids can shape, press, and paint without fragile handling, making them ideal for a family afternoon where experimentation is welcome.
Mix a basic dough from one cup salt, two cups flour, and about three-quarters cup water, knead until smooth, roll to a quarter-inch thickness, and cut shapes with cookie cutters before baking at a low temperature until hard.
Personalize with paint and varnish using acrylic paints for bright colors and finish with a clear sealer to help resist moisture; add a ribbon through a small hole while pieces are still warm so it holds securely.
Package as gifts by tying ornaments to boxes or making sets on a small display card, which turns a simple craft into a thoughtful present that grandparents and teachers will appreciate.
Project 2: Paper and Yarn Ornaments
Paper and yarn projects are low-mess and great for mixed-age groups because scissors and glue are usually all that’s needed, while final pieces feel light and whimsical on a tree.
Create folded stars and tassels by folding cardstock into accordion shapes for stars, and wrapping yarn around a card to make mini pompoms or tassels that become colorful, textural accents when grouped on a single branch.
Try recycled paper from old cards or magazines for a personal touch and less waste, and seal delicate paper with a light coat of Mod Podge to help ornaments survive being handled year after year.
Project 3: Natural Elements and Pinecones
Nature-inspired ornaments add warmth and introduce texture that pairs beautifully with traditional or modern tree styles, while being budget-friendly if you take a walk to gather materials.
Prep pinecones and branches by cleaning them, optionally brushing a thin coat of glue to sprinkle snow-like glitter, and attaching twine loops so they hang easily and look effortlessly elegant.
Combine with dried citrus slices and cinnamon sticks tied with ribbon for a scent-sensory cluster that brings holiday aromas into the room and makes each ornament feel handcrafted and thoughtful.
Project 4: Photo Memory Ornaments
Photo ornaments preserve stories and make holidays personal by displaying faces and moments that spark conversation each year when the tree comes out of storage.
Create simple frames from cardboard or pre-cut wooden shapes, insert small photo prints or Polaroids, and protect with a thin plastic cover or clear sealer so prints stay safe; add a handwritten date on the back to mark the year.
Consider a rotating strand where each year you add a new set of photo ornaments, creating a timeline that grows with the family and becomes a treasured heirloom for future generations.
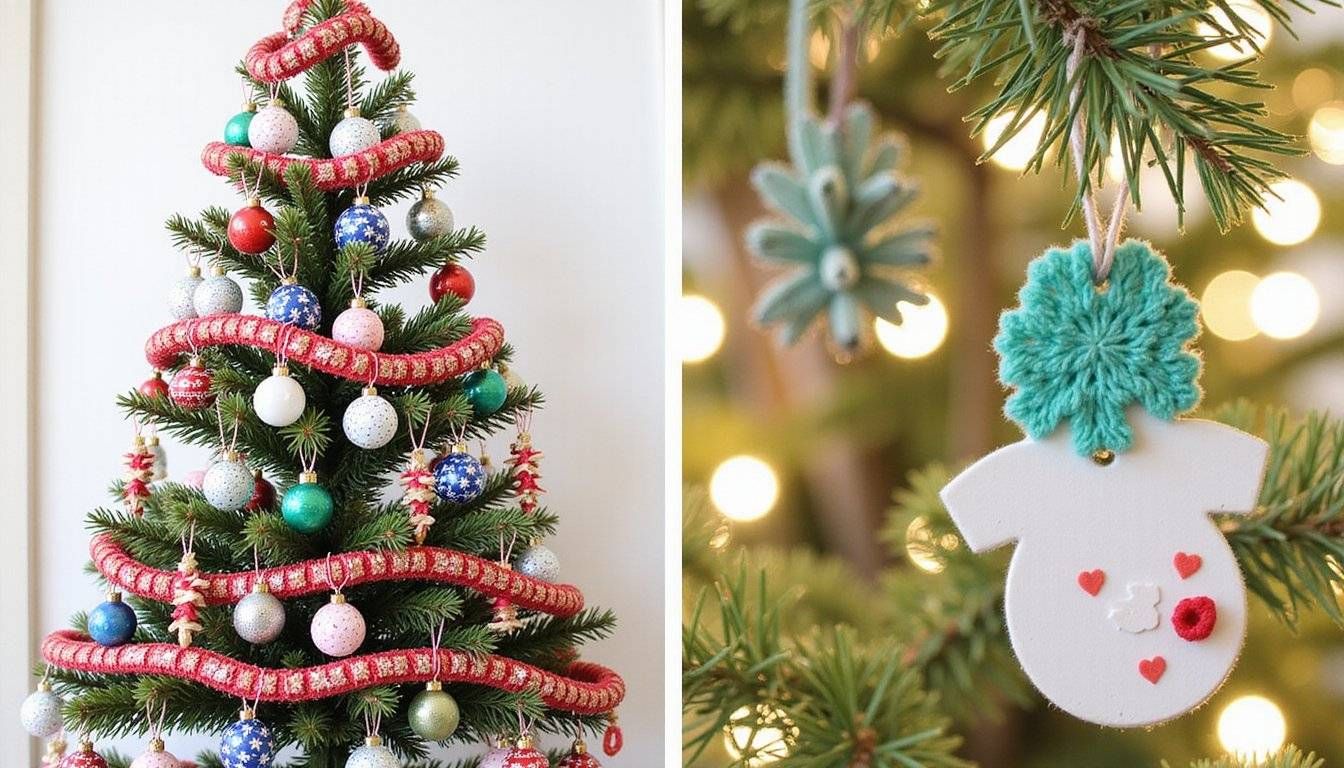
Finishing Touches & Display Ideas
Thoughtful finishing makes a difference because a well-sealed ornament withstands handling and storage, preserving the colors and structure that made it special in the first place.
Group similar ornaments on one branch or create clusters of three for visual balance, and use ribbon lengths that complement your tree scale so each piece hangs at an appealing height.
Store carefully between seasons in padded boxes or wrapped in acid-free tissue to avoid scratches, and keep like with like so your collection is ready to display when the year returns around.
Cost vs. Impact and Pro vs. Con
Balancing budget and wow factor helps you pick projects that feel rewarding without breaking the bank, which keeps crafting sustainable and enjoyable for regular family traditions.
A short comparison helps decide whether to spend a little more on durable supplies or save by using pantry items that still produce lovely results when finished well.
| Project | Estimated Cost | Visual Impact |
|---|---|---|
| Salt dough ornaments | Low | High when painted and sealed |
| Paper & yarn | Very low | Medium, playful and colorful |
| Natural elements | Minimal | Warm, textural |
| Photo ornaments | Low to moderate | Very high sentimental value |
| Aspect | Pro | Con |
|---|---|---|
| Ease | Quick setups | May need adult prep |
| Durability | Sealed pieces last | Paper items need care |
What to Avoid
Mind drying times because rushing paint or glue can cause tacky finishes that attract dust or smear when ornaments are stored, so plan brief breaks rather than hurrying the process.
Steer clear of unsafe materials such as small parts for very young children or toxic glues, and always supervise when scissors or hot glue guns are in use to keep crafting joyful and accident-free.
Frequently Asked Questions
How can I make ornaments last? Store ornaments in padded boxes, seal painted surfaces with a protective coat, and wrap fragile pieces individually to prevent scratches and breakage during off-season storage.
Are these projects safe for toddlers? Many steps are toddler-friendly if adults handle sharp tools and small parts, and you can set up a parallel simple activity like finger painting on cardstock so little hands feel included.
Can I pre-make anything before family time? Yes, pre-baking salt dough shapes or cutting paper templates saves hands-on minutes for decorating and preserves the group session for the fun parts of the craft.
What if an ornament cracks or breaks? Minor cracks can be filled with watered-down glue and sanded when dry, while pieces beyond repair make great candidates for a new project that repurposes the bits into mosaic-style ornaments.
How do I adapt projects for older kids? Offer more precise tools, challenge them to design their own templates, or encourage mixed-media pieces that combine photos, paint, and natural elements to develop personal style.