
Hook & TL;DR
Instant style without splurging: You can create a high-end look on your walls by choosing smart frames, scaled art, and streamlined layouts that make budget pieces feel curated and thoughtful.
Small choices make big visual gains: Simple swaps like matching mats, uniform framing, and thoughtful placement elevate inexpensive prints into gallery-worthy displays.
Key Takeaways
- Choose consistent frames to unify mixed artwork and create cohesion.
- Use mats and mounts to add breathing room and perceived value.
- Scale matters: larger groupings read as intentional and luxe.
- DIY textures and metallics give a designer finish for a fraction of the price.
- Invest in placement and lighting to amplify every piece you hang.
Introduction
Decor that reads expensive is about intent: When a wall looks curated, viewers assume time and money were spent, even if the pieces cost very little, and that perception is the designer’s greatest ally.
Crafting that look is practical: With a few techniques—consistent framing, smart matting, strategic scale, and curated subject matter—you can guide the eye and create polish without a designer budget.
Tools & Materials
- Frames: a mix of sizes in one or two finishes (black, white, or warm wood).
- Mats / foamcore: for borders that add space and focus.
- Art prints: downloadable files, thrift finds, or inexpensive posters.
- Hanging hardware: picture hooks, level, measuring tape, and removable anchors if renting.
- Paint and gold leaf pens: for touching up frames and adding metallic accents.
- Floating shelves: for layered displays and easy swaps.
- Lighting: clip lamps, picture lights, or a directional floor lamp.
Framing, Mats, and Finish Tricks
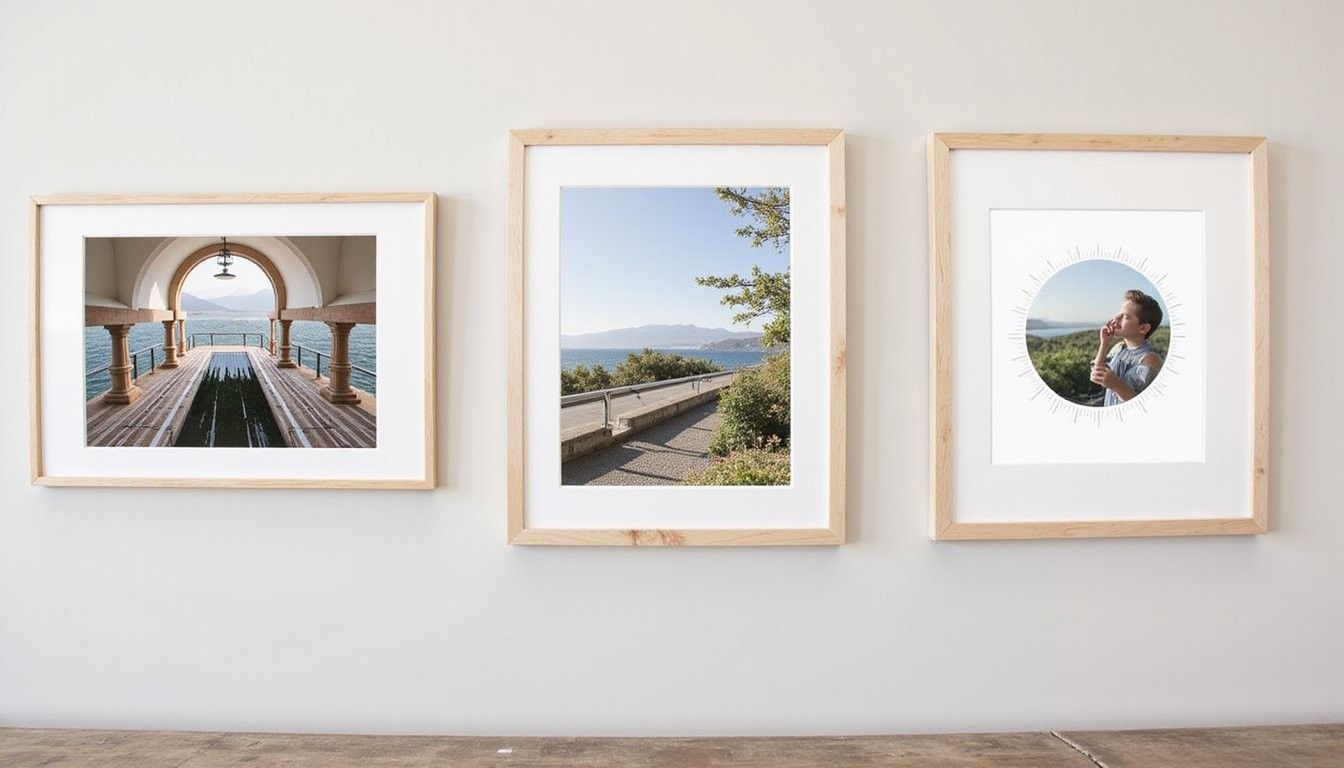
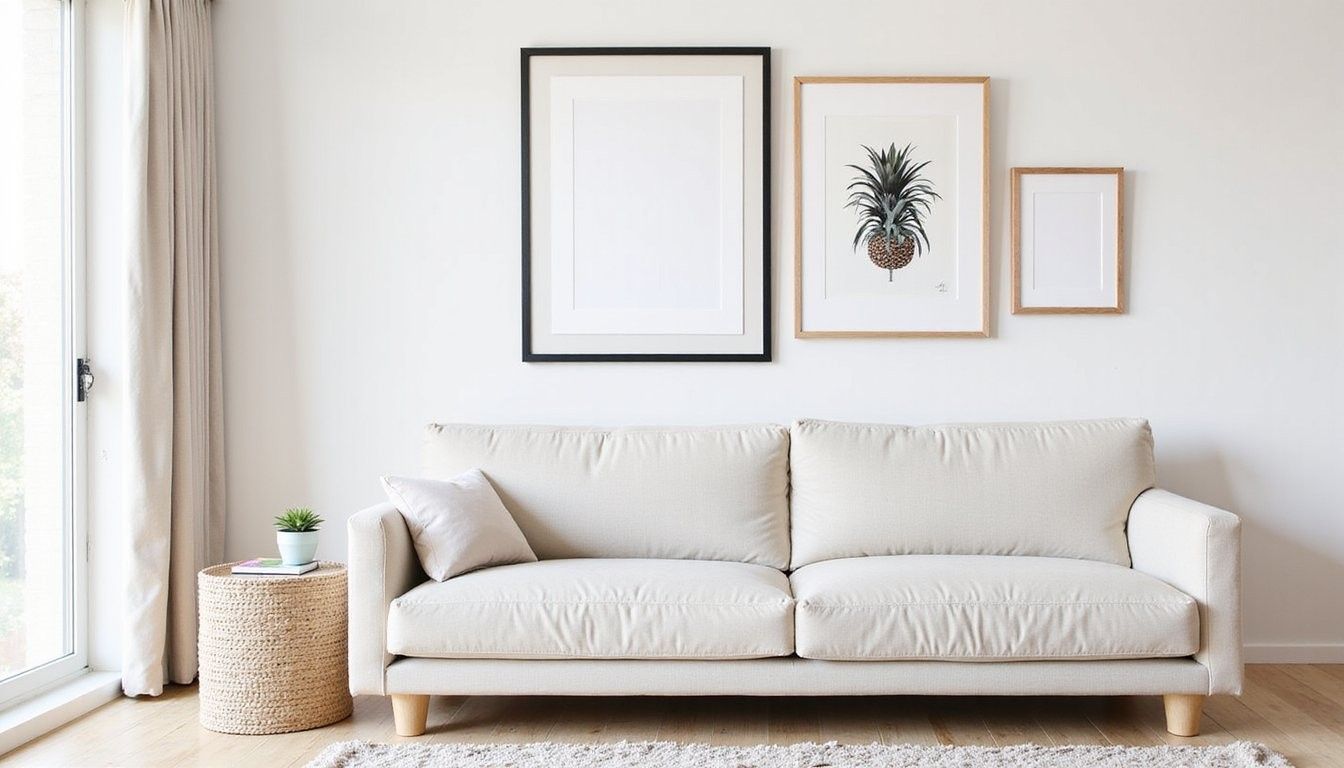
Uniform frames create cohesion: When you place different images in the same frame finish and mat size, the collection reads as a set instead of a mismatched group, and that unified edge is what tricks the eye into thinking the pieces are from a designer collection.
Mats add breathing room and value: Even a thin white mat separates an image from the frame and gives it the presence of a gallery piece, and inexpensive foamcore or ready-made mats can achieve this effect affordably.
Refinish frames for polish: Light sanding and a coat of spray paint or rub-on wax can turn a dated thrift-frame into a modern classic, and metallic touches on corners hint at luxury without the cost.
Gallery Walls That Read Luxe
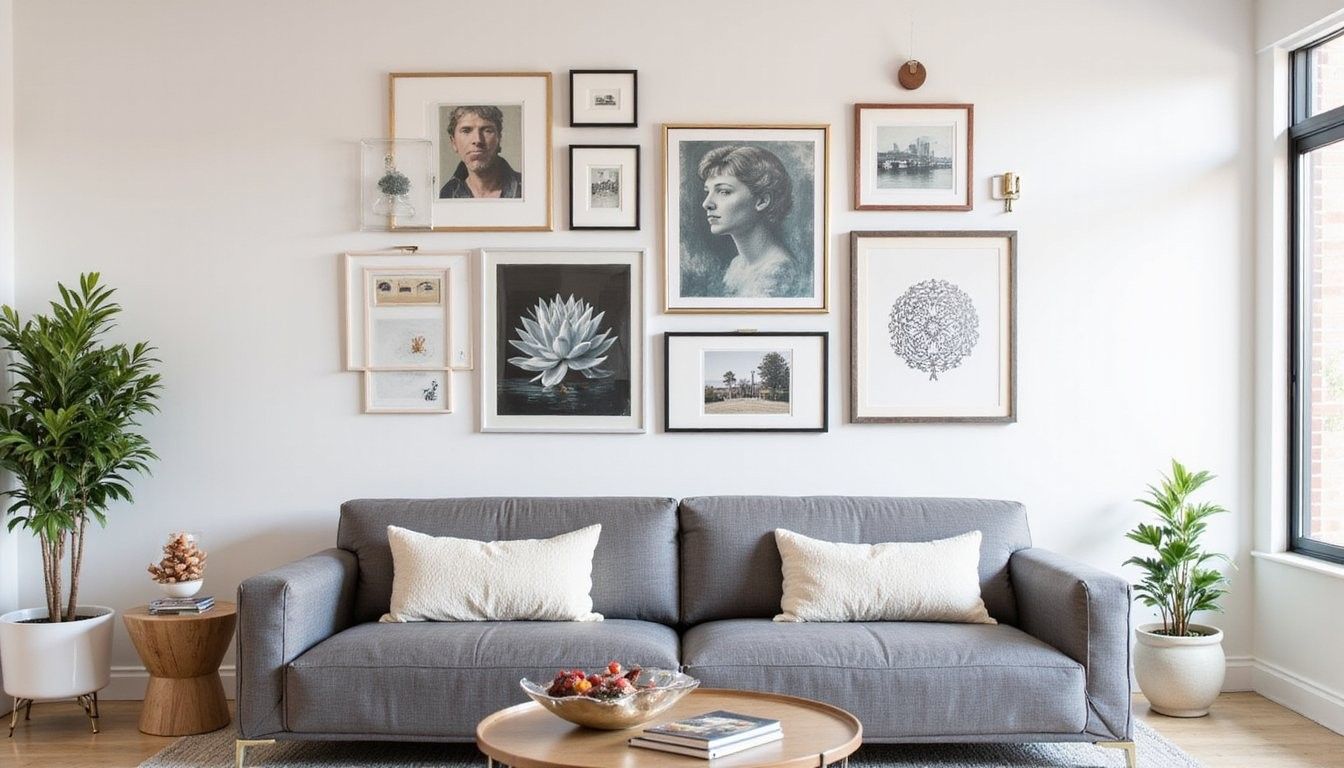
Plan with a focal anchor: Begin with one larger piece at eye level and arrange smaller frames around it to create rhythm and balance, which leads viewers to perceive the whole arrangement as intentional and curated.
Mind the negative space: Equal spacing between frames and a grid or radial layout keeps a gallery wall from feeling chaotic, while consistent frame edges and mats make thrifted or printed pieces look cohesive.
Scale is your friend: Grouping several small inexpensive prints into a single large visual block creates the impression of a pricey installation, and repeating a color or motif across pieces ties the cluster together.
Statement Pieces That Cost Less
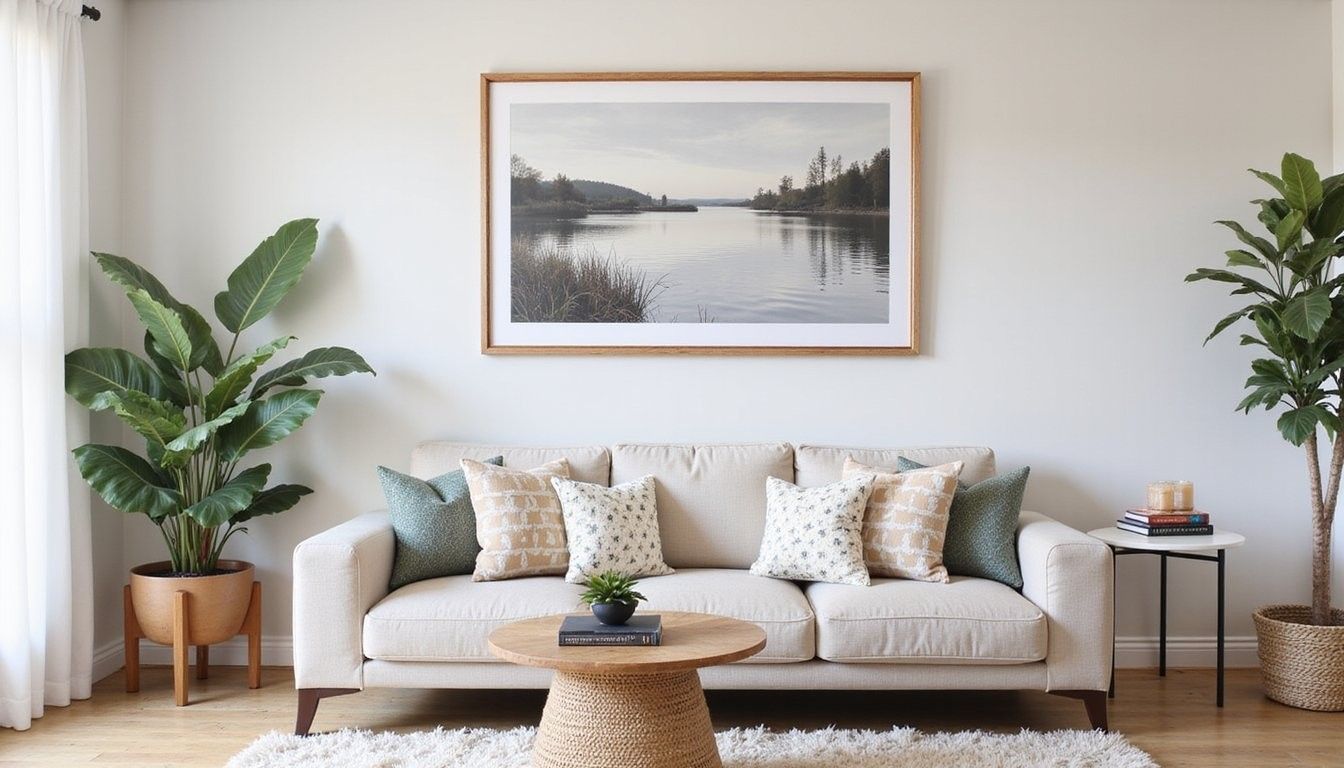
Oversized prints deliver luxe impact: A single large print, poster, or stretched canvas dominates a space and conveys investment, and inexpensive large-format prints on quality paper look much more expensive when framed simply.
Use texture for depth: Macramé, woven wall hangings, or a painted plywood panel add tactile richness that elevates the room, and crafting or sourcing textured pieces gives a handcrafted gallery vibe without a high price tag.
Metal accents read upscale: A small brass shelf, a gold leaf corner, or a metallic mat liner suggests luxury, and applying metallic details sparingly creates a designer finish without overwhelming the piece.
DIY Art Techniques That Mimic Galleries
Limit your palette for unity: Sticking to two or three colors across a set of DIY pieces makes a mixed collection feel curated, and repeating those tones in cushions or rugs ties the whole room together.
Try blind-emboss or simple prints: Basic block printing, monoprinting, or geometric masking with a small roller produces clean, modern artwork that reads expensive when framed with a generous mat.
Layering and shadow boxes add complexity: Floating an image above a textured background or using shallow shadow boxes introduces depth and a museum-like display, and these techniques are cost-efficient when made from recycled or budget-friendly materials.
Cost vs. Impact and Quick Comparison Tables
Understand where dollars shift perception: Small investments in framing, mats, and lighting have outsized effects on how expensive a piece looks, and focusing on these areas stretches a budget farther than buying pricier art.
| Item | Approx Cost | Perceived Impact |
|---|---|---|
| Simple frame (thrift/refinish) | $5–$40 | High |
| Matting / foamcore | $3–$25 | High |
| Large affordable print | $10–$60 | High |
| Designer-original art | $200+ | High |
Compare choices to pick the best upgrades: Spending modestly on presentation often beats buying a pricier artwork presented poorly, and a well-framed inexpensive print will delight more than an expensive poster left unmounted.
| Option | Pro | Con |
|---|---|---|
| DIY framed set | Affordable and personal | Takes time |
| Thrifted frames | Low cost, vintage charm | Needs refinishing |
| High-end purchase | Ready-made prestige | Costly |
Lighting and Placement to Enhance Cheap Finds
Light amplifies value: Directional lighting, soft uplights, or a single picture lamp draws attention to art and creates layers of shadow that add depth and perceived quality, and even a clip lamp can make a piece feel intentional.
Height and sightlines matter: Hang pieces at about 57–60 inches for galleries or align with furniture lines for statement works, and maintaining consistent heights across groupings makes a display look designer-planned.
Design note: A small lamp or plant placed nearby encourages the eye to linger, which boosts the perceived worth of the wall.
Layering, Shelves, and Rotating Displays
Shelves make updates effortless: Picture ledges allow layering and rotating without holes in the wall, and swapping a few inexpensive prints seasonally keeps the feeling fresh without new purchases.
Layer objects for a boutique feel: Combine framed art with sculptural objects, quality ceramics, or a stack of books to create a vignette that feels collected rather than store-bought, and varied heights lead the eye across the display.
What to Avoid
Resist cluttered arrangements: Overfilling a wall or clustering too many varied frames without a plan makes the display feel chaotic and informal, which undermines any attempt to achieve a refined look.
Avoid mismatched scale: Tiny frames on a large empty wall or an oversized image in a cramped corner will both detract from perceived value, and mindful scale choices are crucial to selling the room’s look.
Common Mistakes
Don’t rely on clutter to hide costs: Filling a wall with random pieces won’t convey intentional style and instead signals a lack of direction, so edit ruthlessly and choose fewer, stronger elements.
Skip impulse buys without a plan: Purchasing art without considering color, scale, or frame finish leads to mismatched displays that require extra spending to correct, and a little planning prevents wasted money.
Final Styling Checklist
Review the basics before hanging: Confirm frame finishes match or complement each other, mats are consistent where used, and the display has one clear focal point, as these checks dramatically improve the overall impression of value.
Test lighting and placement: Move a lamp or use daylight to preview how the art reads at different times, and take a step back to ensure the composition feels balanced from multiple viewpoints.
FAQ
Can inexpensive prints really look high-end? Yes — with consistent framing, generous mats, and good lighting, budget-friendly prints can read as thoughtful and gallery-like because the presentation signals care and curation.
What is the quickest upgrade on a budget? Swapping mismatched frames for a uniform finish and adding mats or foamcore borders provides the fastest visual uplift at low cost.
Are thrifted frames worth the effort? Absolutely — they often have better construction than cheap new frames and can be refreshed easily with paint or new hardware to look custom-made.
How do I choose the right size for my wall? Aim for a statement piece that covers roughly two-thirds to three-quarters of furniture width below it or build a gallery block that fills the visual space without crowding; the right scale anchors the room.