
The Myth
Common belief: Many people assume candle making requires industrial equipment, chemical expertise, or hard-to-find supplies before they can create a single glowing jar.
Alternate view: That idea keeps curious home crafters from starting because it paints the hobby as inaccessible and expensive when it’s often neither.
The Truth
Reality check: You can make safe, beautiful soy candles at home with a few affordable tools, basic ingredients, and attention to temperature and wick choice.
Encouraging fact: Small batches let you learn quickly, test scents and wicks, and refine technique without wasting time or money.
Myth-Buster Box
Reality: With basic tools, patience, and simple soy recipes you can make attractive, well-burning candles at home.
Introduction
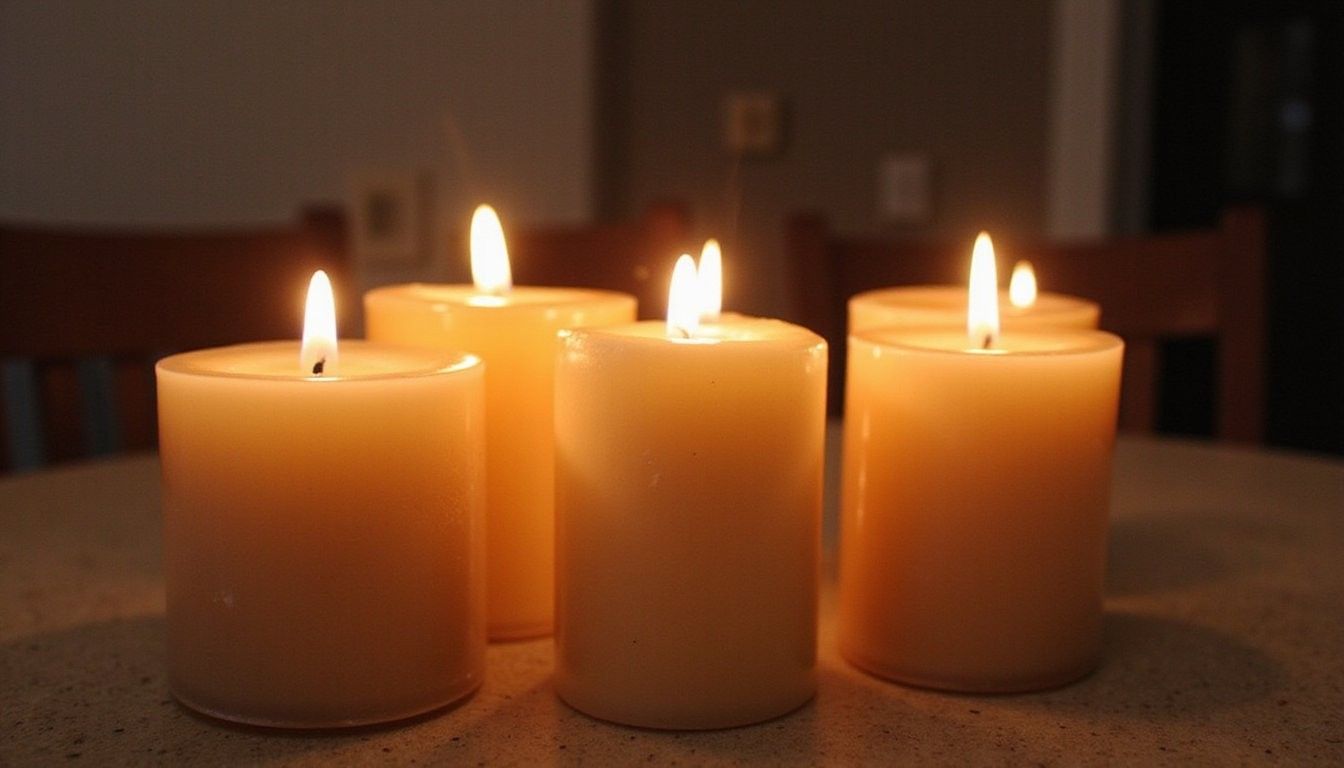
Warm welcome: Making candles blends creativity and comfort, and starting with soy wax is gentle on the environment and forgiving for beginners.
What you’ll gain: Following straightforward recipes helps you learn how wax, fragrance, and wick interact so you can craft candles that look lovely and burn well.
Tools & Materials
Prep note: Gathering the right handful of supplies makes the process smooth and enjoyable, and a compact setup fits most kitchens without taking over.
- Soy wax flakes — 100% soy, container-grade (choose a reputable supplier).
- Wicks — cotton or cotton-core, pre-tabbed in sizes suited to jar diameter.
- Containers — heatproof glass jars, tins, or ceramic vessels that are clean and dry.
- Fragrance oils — candle-grade, tested for soy wax and safe for burning.
- Thermometer — an instant-read candy or wax thermometer for accurate temps.
- Heat source — a double boiler, or a makeshift bath using a saucepan and a metal measuring cup.
- Pouring pitcher — stainless steel or glass measuring cup with a spout.
- Wick stickers or hot glue — to anchor wicks to the container base.
- Stirring utensil — a wooden or stainless spoon.
- Scale — digital kitchen scale for consistent batches.
Safety reminder: Keep a dedicated work area, use oven mitts when handling hot pitchers, and never leave melting wax unattended.
Basic Soy Candle Recipe (Small Batch)
Start simple: This small-batch recipe yields two 8-ounce jars and is perfect for learning how temperature and scent load affect results.
Method overview: Weigh 16 ounces of soy wax flakes, melt gently to 185°F, cool to 135–145°F, stir in 1 ounce of fragrance, then pour at 125–135°F into prepared jars with centered wicks and allow to cure.
| Ingredient / Item | Amount | Yield |
|---|---|---|
| Soy wax flakes | 16 oz (by weight) | Two 8 oz jars |
| Fragrance oil (candle-grade) | 1 oz (6% load) | Moderate scent throw after cure |
| Wick | Size based on jar diameter | Stable, even burn with correct size |
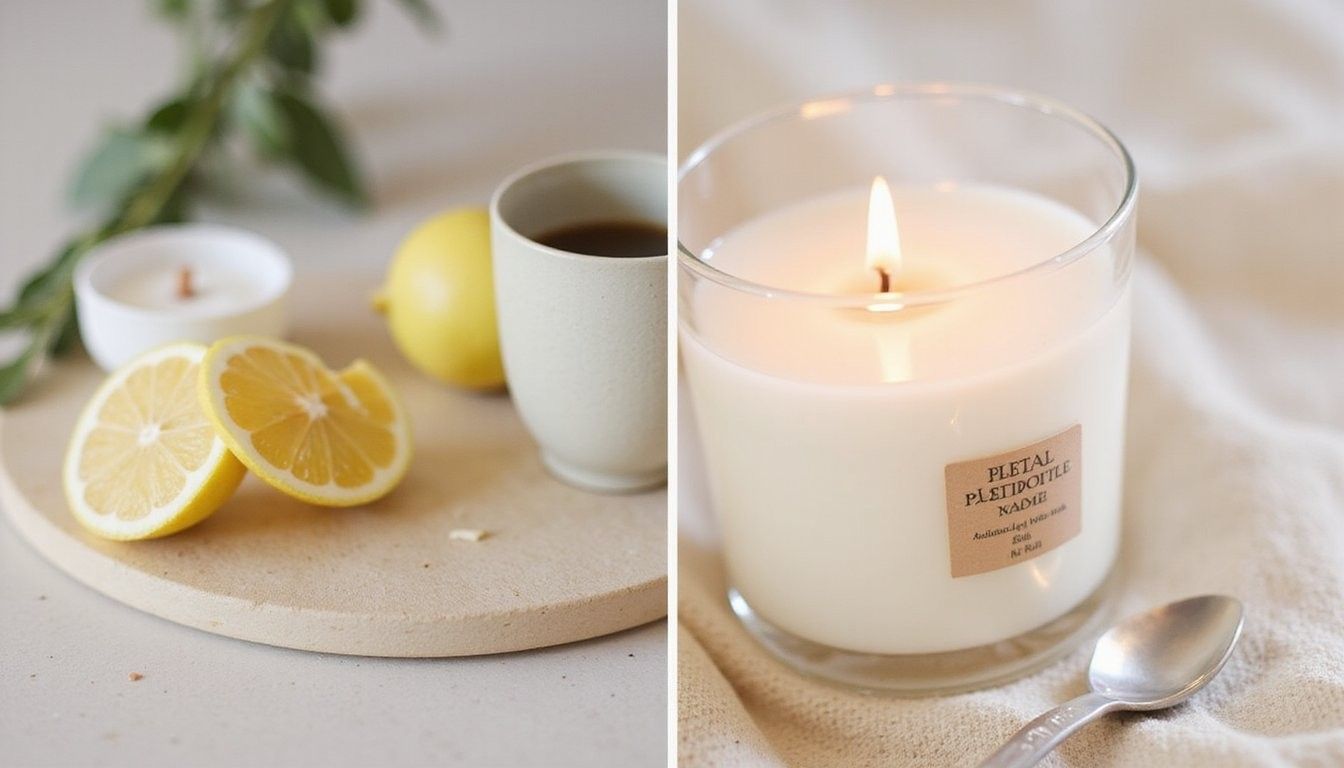
Citrus Linen Scented Candle (Recipe & Notes)
Fragrance profile: Bright top notes of lemon and orange combined with a clean linen base create a refreshing home scent that suits kitchens and bathrooms.
Recipe specifics: For two 8-ounce jars use 16 ounces of soy wax and 0.9–1.1 ounces of a citrus-linen blend (5.5–6.5% load), adding at 135–145°F and pouring at 125–130°F to preserve volatile top notes.
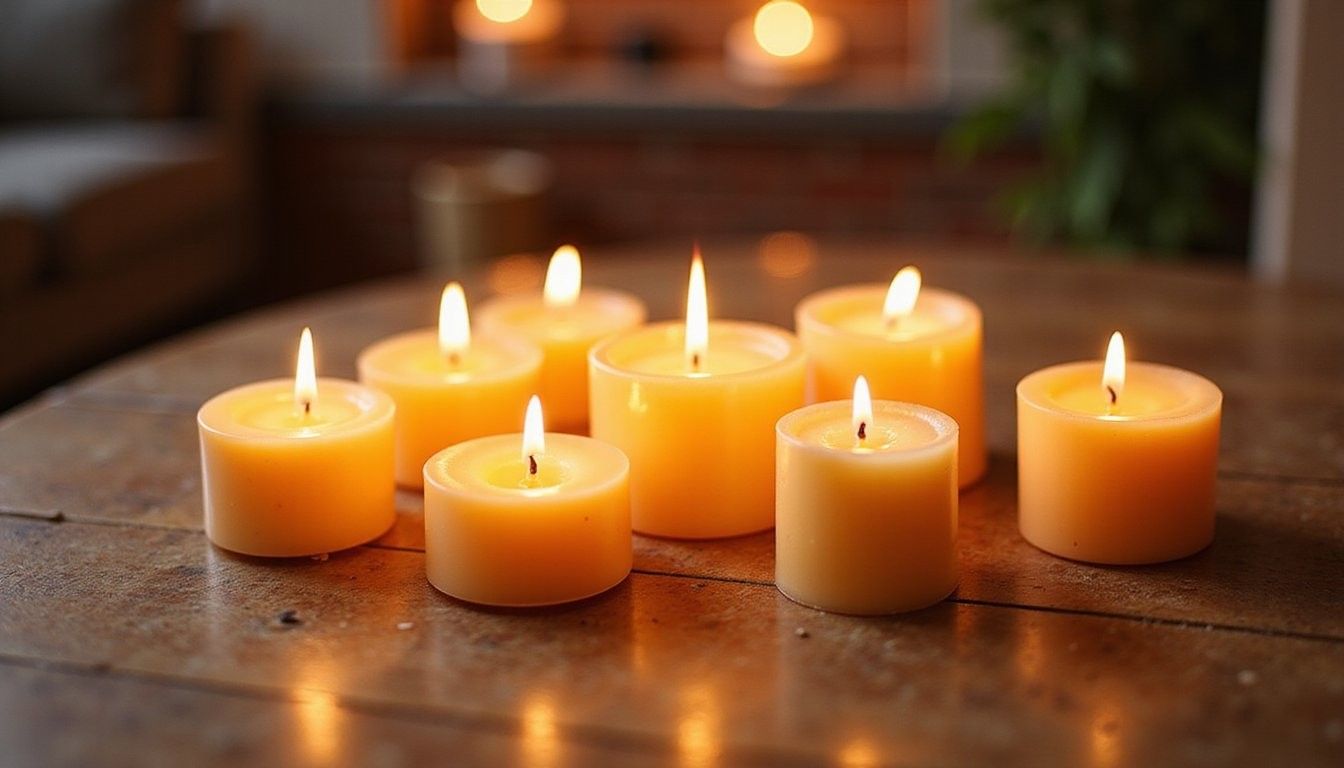
Warm Spice Candle (Cozy Recipe)
Scent direction: A blend of cinnamon, clove, and vanilla creates a cozy, layered aroma that feels inviting in living rooms and dining areas.
Load and timing: Use a 6.5–7% fragrance load for a warm spice blend and stir for at least 60 seconds when adding the oil to the wax to ensure even dispersion and integration.
Techniques: Temperatures, Wick Choice, and Curing
Temperature matters: Melting to too high a temperature will strip fragrance oil and can cause yellowing, while pouring too hot or too cool affects surface finish and adhesion to the container.
Wick selection: Choose a wick that matches the container diameter and wax type; a wick that is too small leads to tunneling, while one too large causes excessive soot and mushrooming at the tip.
Curing time: Allow candles to rest a minimum of 48 hours before first burn and aim for a 7–14 day cure for the fragrance to fully bind with the wax, which improves both cold and hot throw.
Comparison: Cost vs. Impact
Choosing materials: Higher-quality fragrance oils cost more but often yield a fuller, cleaner scent without excessive soot, while cheaper materials can lead to disappointing scent and performance.
| Option | Cost | Scent Performance | Longevity |
|---|---|---|---|
| Premium candle-grade oils | Higher | Strong, balanced cold & hot throw | Longer aroma life |
| Budget fragrance oils | Lower | Weaker or chemical notes | Shorter |
| Essential oils (certain types) | Variable | Subtle, natural aroma | May fade faster |
Troubleshooting Common Issues
Tunneling and weak pool: If a candle tunnels, it often means the wick is too small or the first burn was too short, and the fix is to allow a full melt pool that reaches the container edges on the first burn.
Surface imperfections: Frosting, sink holes, or uneven tops can occur from rapid cooling or incorrect pour temperature, and remedies include warming the jar slightly and topping up with a thin layer of warm wax.
Soot and smoking: Excessive soot usually points to an oversized wick or drafty environment; trim the wick to 1/4 inch before each burn and keep the candle away from fans and open windows.
What to Avoid
Advanced Tips for Better Results
Test and record: Keep a candle log with wax type, wick model, fragrance percentage, melt and pour temperatures, and cure time so you can refine choices based on actual outcomes rather than guesswork.
Batch scaling: When increasing batch size, scale all components by weight and consider doing a test melt for color and fragrance interaction because behavior can shift slightly in larger quantities.
Frequently Asked Questions
How long should I cure candles? Curing guideline: A minimum of 48 hours is practical for small soy jars, but a week lets the fragrance bind more fully to the wax which strengthens both cold and warm scent performance.
Can I use essential oils? Use caution: Some essential oils don’t hold up well in soy at normal candle loads and can cause weak scent; select candle-safe essential oils and test at lower loads before committing to a full batch.
What wick should I choose? Wick tip: Start with manufacturer recommendations based on jar diameter and perform a burn test because wick behavior varies with wax type and fragrance levels, and a small swap can change the burn dramatically.
How do I clean up spilled wax? Cleanup method: Let wax harden, chip away gently, then use warm soapy water for glass or a soft cloth with a bit of mineral oil for porous surfaces; avoid abrasive scrubbing that can scratch containers.