
Story Hook
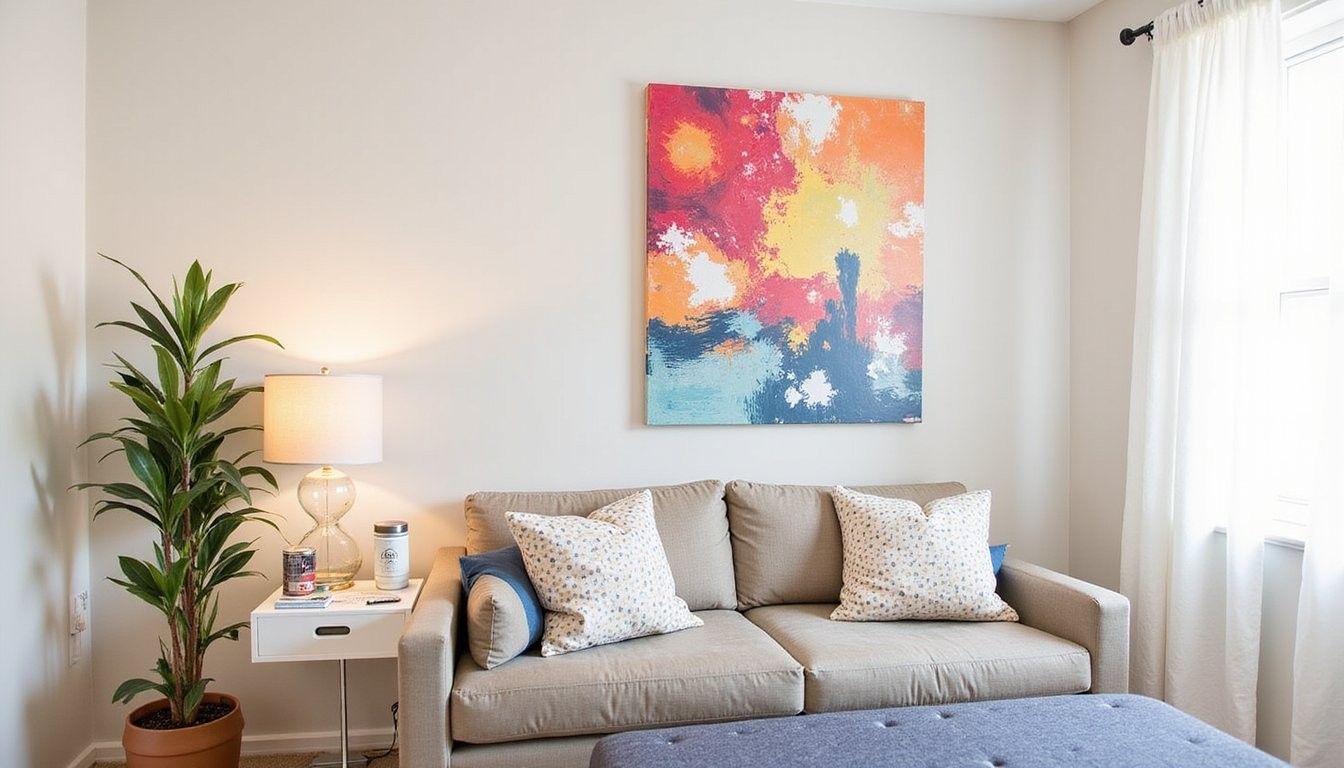
First time project jitters. I remember the afternoon I cleared a corner of my small living room to try a painted canvas project with scraps from the closet and a thrifted frame, and how the bright swipe of color I nearly discarded turned into the focal point of the room, changing how I felt about the whole space.
Learning by doing. That little success taught me that a handful of low-cost supplies and a willingness to experiment can transform blank walls into expressions that feel curated and personal, and that confidence is the real budget-friendly material.
Why It Matters
Personal style on a budget. Bringing handmade art into a home gives the room an authentic voice without a large budget, and it invites memories, personality, and warmth that store-bought pieces can struggle to match.
Creative confidence grows. When you make art with inexpensive materials you learn resourcefulness and problem solving, and those skills pay back in the form of more meaningful decor and fewer impulse purchases that clutter rather than calm a space.
Welcome Note
What you can expect here. This guide walks through simple techniques, low-cost project ideas, a clear shopping checklist, a comparison table to help you choose projects by budget and impact, and practical tips to avoid common traps so you can start creating attractive wall art right away.
Friendly, practical approach. The tone is hands-on and encouraging, meant to help you feel capable whether you are picking up a paintbrush for the first time or returning to a hobby you set aside, and every suggestion focuses on stretching minimal funds for maximum visual return.
Tools & Materials
Gather these basics. The following checklist keeps costs low while giving you flexibility to try different styles, and most items can be found at discount stores, thrift shops, or repurposed from around your home.
- Canvas panels or stretched canvases (inexpensive or repurposed)
- Acrylic craft paints and a palette or paper plate
- Brushes of mixed sizes, foam brushes, and a small roller
- Old picture frames and thrifted mirrors
- Fabric scraps, doilies, lace, and ribbon
- Double-sided tape, hot glue gun, and craft glue
- Cardstock, patterned paper, and magazine clippings
- Stencils (homemade from cardboard), painter’s tape, and sponges
- Reusable stamps, ink pads, or potato stamps for texture
- Hanging hardware: picture hooks, command strips, or nails
Painting and Texture

Start with simple layers. Building depth with a few thin paint layers, dry brushing, and light washes offers a professional look without costly materials, and you can create subtle texture by adding sand, tissue paper, or matte medium to a layer before painting over it.
Work large, think small. A large abstract stroke or two read well from a distance and mask minor imperfections, which means you can embrace imperfect edges and enjoy a bold statement that feels polished without intensive technique practice.
Stenciling and Masking
Shape with stencils. Homemade stencils cut from cardboard or plastic folders let you repeat shapes cleanly across a canvas or wall, and painter’s tape can create crisp geometric patterns when paired with a sponge or roller to apply paint in thin, controlled layers.
Control contrast easily. Using two to three contrasting tones—a base, a mid-tone, and a highlight—keeps the design readable and striking, which means small shifts in hue can have a large visual effect without extra cost.
Upcycling and Collage
Give old materials new life. Repurposing book pages, maps, sheet music, or cardboard yields layered collages that feel thoughtful and curated, and sewing or gluing fabric scraps onto a backing adds softness and dimension while keeping expenditures minimal.
Balance texture and space. Alternate areas of dense collage with quiet painted backgrounds so the eye has rest points, which creates an overall composition that appears intentional rather than cluttered, even when the components are humble.
Textile and Fiber Art
Simple hangings with big impact. A wooden dowel, a few lengths of ribbon or yarn, and a piece of inexpensive fabric can create a tactile wall hanging that softens a room, and small details like knots, tassels, or painted patterns lift a humble textile into a custom piece.
Layer for richness. Mixing materials such as woven strips, painted canvas scraps, and thrifted lace in a single hanging increases visual interest while keeping cost low, and the process rewards playful experimentation rather than perfection.
Project Ideas
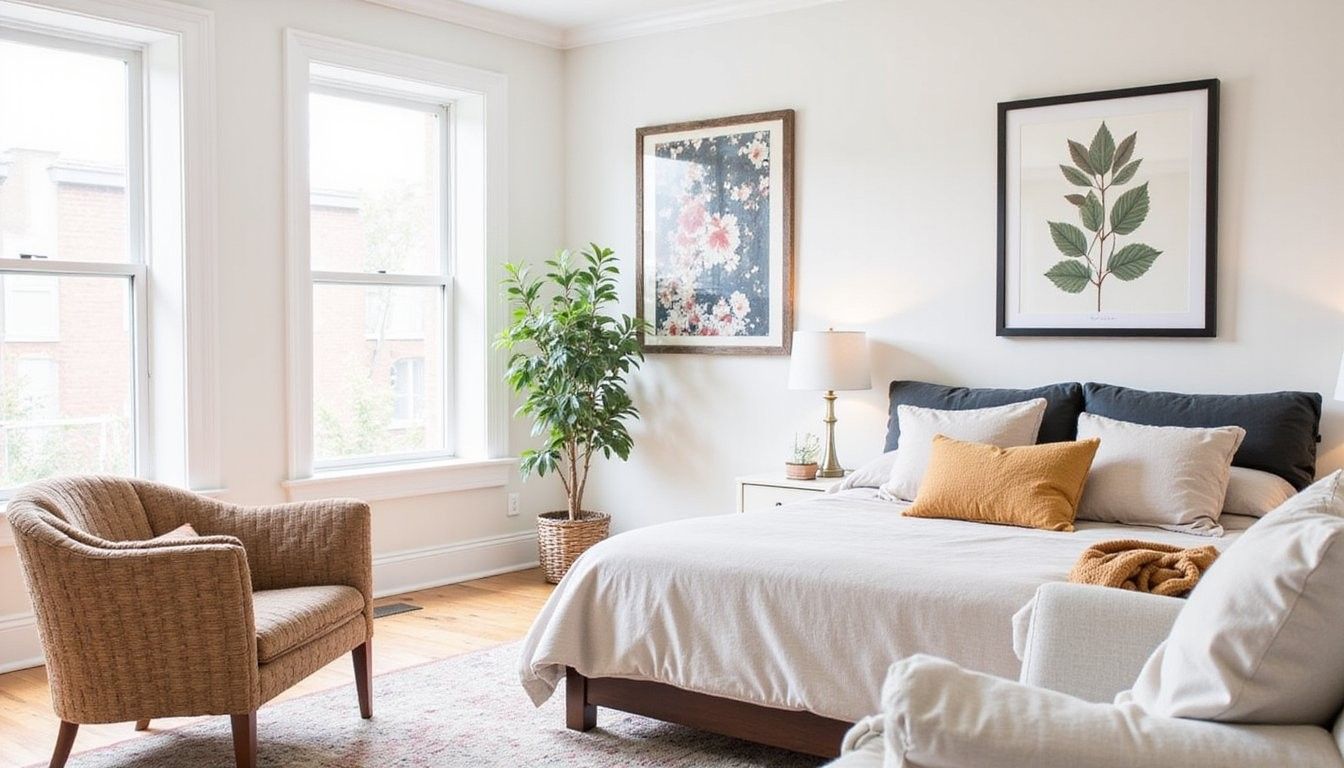
Four starter projects. A painted minimalist canvas, an eclectic thrift-frame gallery, a fabric and lace wall hanging, and a paper-cut silhouette series give different looks that can suit a wide range of rooms and tastes without requiring costly materials or advanced skills.
Match project to mood. Consider whether the space needs calm and cohesion or playful contrast, and then select a project approach that helps the room feel intentional by echoing existing colors, textures, or shapes already present in the decor.
Small choices add up. A single handmade piece can shift the tone of a room and make other elements feel more purposeful, which is the quiet power of thoughtful DIY decor.
Cost vs Impact
Decide where to spend. The table below helps compare expected outlay with visual return so you can pick projects that fit your budget and style goals, and it clarifies which approaches offer the most dramatic change for the least money.
| Project Type | Estimated Cost | Visual Impact |
|---|---|---|
| Single painted canvas | $5 – $20 | High |
| Thrift-frame gallery | $10 – $40 | Very High |
| Textile hanging | $3 – $25 | Medium |
Pros and Cons
Weighing the choices. The short comparison below highlights practical tradeoffs so you can choose methods that align with how much time you want to invest and the finish you hope to achieve.
| Approach | Pros | Cons |
|---|---|---|
| Painted canvas | Bold statement, low cost | Requires drying time |
| Collage | Highly personal, uses scraps | Can look busy if not balanced |
DIY vs Store-bought
Quick true/false check. The small boolean table below makes it easy to see where DIY offers advantages and where store-bought items might save time, helping you decide which path fits your schedule and aesthetic.
| Question | DIY | Store-bought |
|---|---|---|
| Custom fit to room? | True | False |
| Time to finish quickly? | False | True |
Step-by-Step: Thrift Frame Gallery
Choose frames and layout. Collect mismatched thrift frames and test a layout on the floor first so you can arrange balance and scale without committing to holes in the wall, and photograph the arrangement before hanging to keep a reference as you work.
Create cohesive inserts. Use a unified background color or a repeated motif across different inserts—like painted papers, fabric swatches, or simple minimalist sketches—to tie the gallery together while preserving the character of each frame.
- Clean and prime frames as needed with a quick spray paint; use the same finish across them for cohesion.
- Cut cardstock or canvas to fit each frame and paint or collage each piece, keeping a consistent color palette.
- Arrange on the wall using the photographed layout, adjusting spacing to suit the wall and eye level.
Pro Tips and Shortcuts
Quick wins save time. Rotate a single motif across multiple frames with small variations to create a sophisticated gallery without creating entirely unique pieces for each frame, which keeps momentum and limits cost while delivering a curated look.
What to Avoid
Keep scale in mind. A common mistake is choosing pieces that are too small for the wall, which makes the area feel fragmented instead of intentional, so measure and plan before you hang anything to ensure balance and proportion.
Final Touches & Hanging Tips
Placement matters. Aim to hang art at eye level for the main piece and arrange groupings around a central anchor so the display reads as a deliberate composition rather than a random cluster, and consider the furniture lineup to ensure harmony across the wall plane.
Protect and preserve. Seal collages and textured pieces with an appropriate matte medium or clear spray to protect from dust and fading, and label the back of thrifted frames with simple notes about the materials in case you revisit or alter the work later.
Extra Pro Tips
Reuse and remix. Keep a small bin of leftovers—buttons, paper offcuts, ribbon—and rotate them into seasonal pieces so your collection evolves affordably and stays fresh without major overhauls.
Frequently Asked Questions
How long until a piece is ready to hang? Drying times vary but many acrylic-based projects are touch-dry within an hour and fully cured in a day, so plan projects with simple layers if you need results quickly while heavier mediums or collaged pieces may need overnight drying for strength.
Can I use fabric without framing? Yes, lightweight fabric works well as a hanging when attached to a dowel or thin board and secured with stitching or glue, and leaving a small gap at the top can allow the piece to hang flat without ripples.
What if I don’t like the first attempt? Treat early attempts as studies—paint over canvases, deconstruct collages, and reuse frames—because many successful pieces begin with an experiment that taught a technique or a color pairing worth repeating.