
The Struggle
Small budgets and bland furniture can make a living room feel uninspired and disconnected from the personality of the home, leaving you scrolling for affordable upgrades that still look polished.
Finding a simple hands-on project that upgrades a space without a big outlay of cash or complex skills often feels out of reach, which is why making a pallet coffee table can be so satisfying and achievable for beginners.
The Quick Fix
Build a rustic, budget-friendly coffee table from reclaimed pallets in a weekend using basic tools, a clear step sequence, and a few finishing touches to make it feel bespoke and durable.
Getting Started
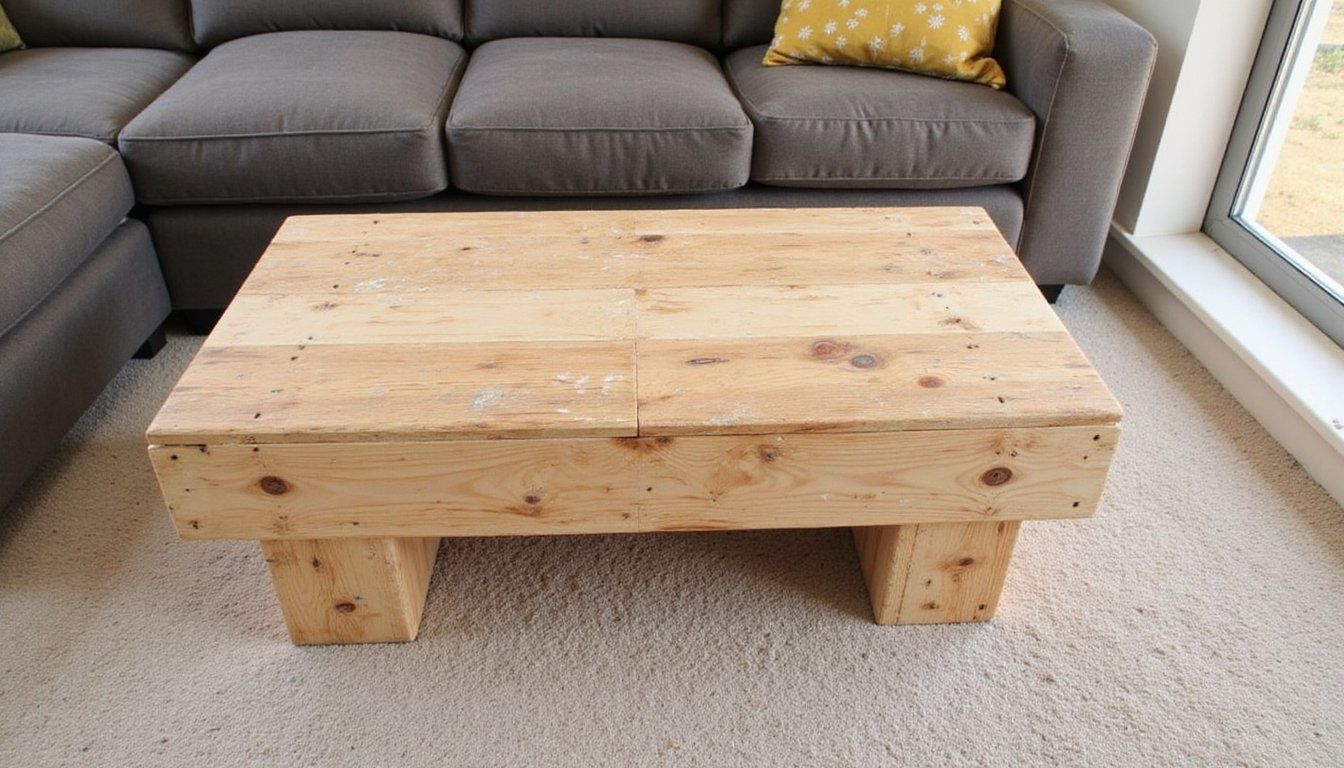
Why this project works for beginners is that a pallet coffee table keeps geometry simple and focuses on strong preparation and finishing rather than complex joinery, which reduces stress and builds confidence quickly.
What you gain beyond a table includes hands-on skills like safe cutting, sanding, and finishing that set the stage for more projects while letting you customize scale, color, and style to match your space.
Tools & Materials
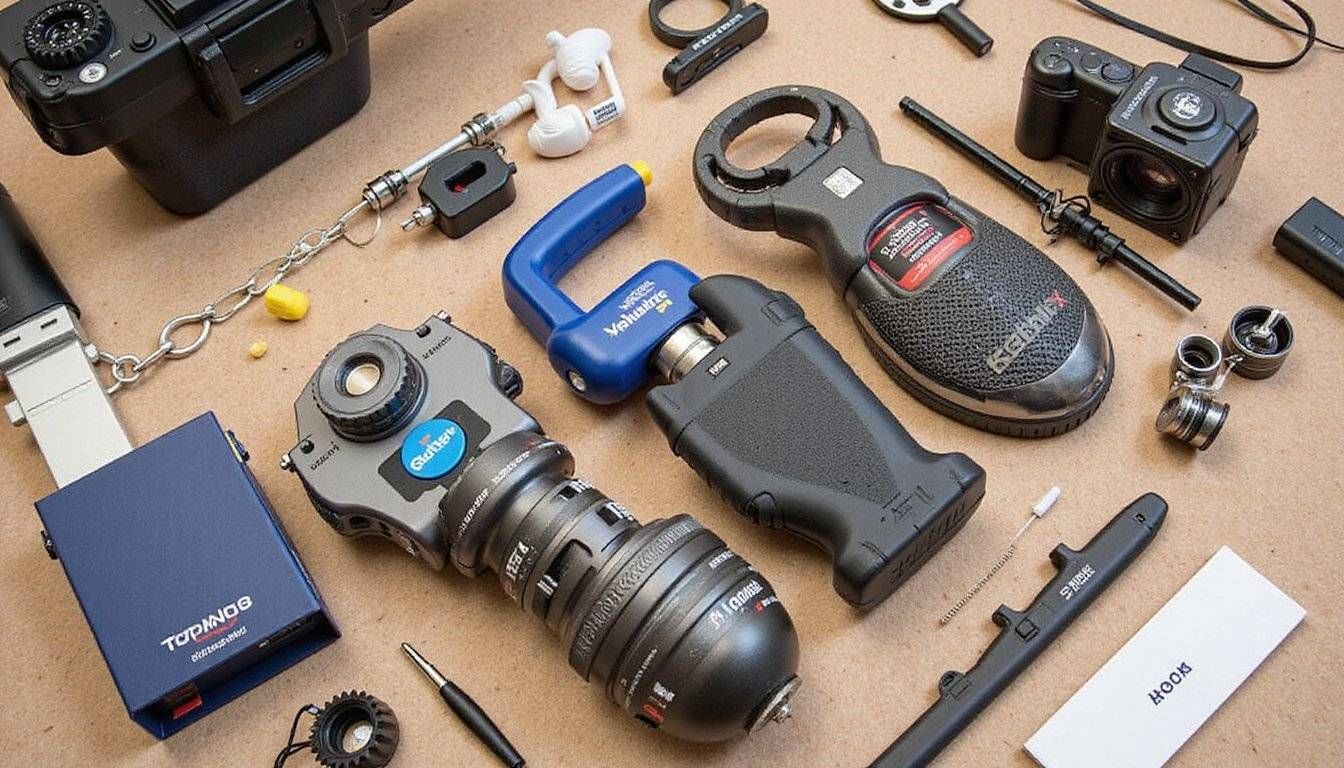
Collecting the right gear makes the build smoother and helps avoid stoppages in the middle of the project, so gather everything before you start.
- Wooden pallets (two 120cm x 80cm pallets work well)
- Measuring tape and pencil
- Circular saw or handsaw
- Power drill with bits and screwdriver heads
- Orbital sander or sanding block (grits 80, 120, 220)
- Wood glue and wood screws (50mm and 75mm)
- Protective gear (gloves, goggles, dust mask)
- Wood stain or paint, sealer or polyurethane
- Casters or metal legs (if you want height)
Choosing materials thoughtfully means selecting pallets that are stamped safe for reuse, checking for rot and infestation, and preferring smooth boards that need less repair time.
Preparing the Pallets
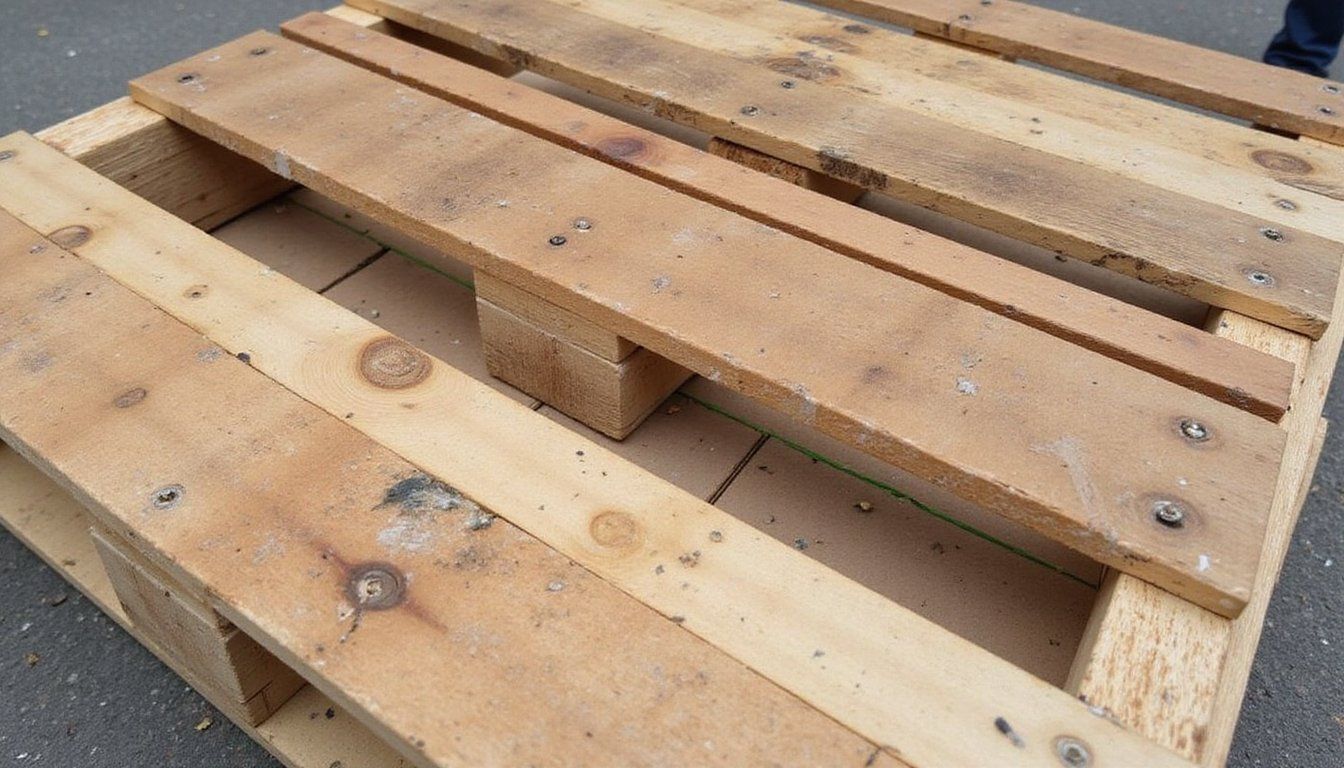
Inspect each pallet carefully by looking for broken boards, protruding nails, and signs of contamination so you can discard or repair pieces before cutting or joining, which saves time and prevents accidents.
Disassemble or modify with intent because some designs use whole pallets stacked while others require deconstructed boards for a smoother top; decide early whether you want a rustic stacked look or a refined plank surface.
Building the Frame
Decide on the construction method by choosing either a stacked pallet base for a chunky, low table or a framed build with joined boards for a sleeker profile, as the method determines the tools and time required.
Assemble with alignment and reinforcement in mind so you attach the top planks with screws into a hidden subframe or cross cleats that prevent movement and make the table robust enough for daily use.
When adding legs or casters, measure diagonally to ensure level placement and pre-drill holes to avoid splitting the wood, which also helps the hardware sit flush and provides a clean finished look.
Sanding and Finishing
Start coarse and progress to fine grit by sanding with 80 grit to remove roughness and then moving to 120 and 220 for a smooth, touchable surface that accepts stain or paint evenly; consistent pressure keeps the boards planar.
Choose a finish that matches your lifestyle by picking a durable polyurethane for heavy use, a penetrating oil for a natural matte look, or paint for a pop of color, and always test on a scrap board to confirm the tone.
| Finish Type | Durability | Look |
|---|---|---|
| Polyurethane | High | Gloss to satin |
| Tung or Danish Oil | Medium | Natural, low sheen |
| Paint | Medium to high | Opaque color |
Apply thin coats and sand between layers so each layer cures fully and the surface remains smooth, which prevents peeling and creates a professional-feeling result that lasts.
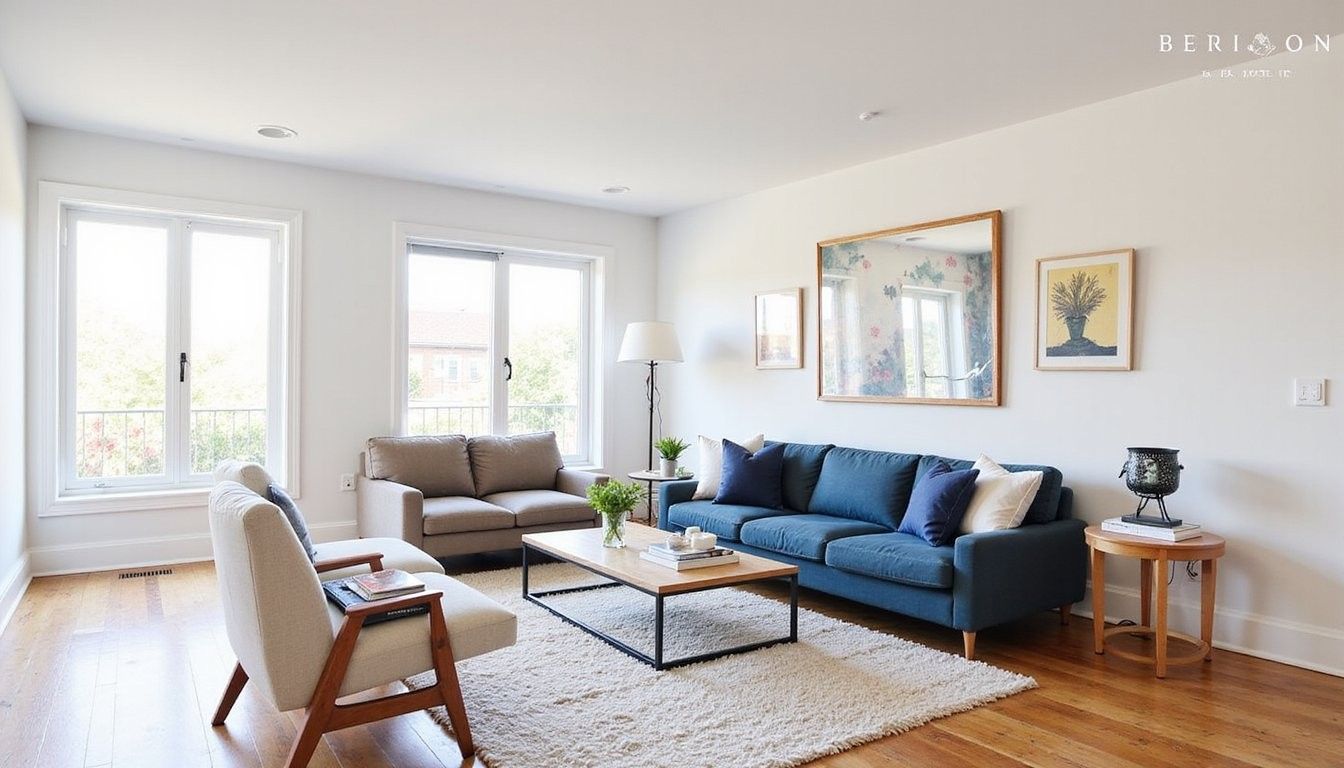
Styling and Placement
Scale matters for function and flow so keep the table height close to your sofa seat height and allow at least 40cm of walking space around it to keep the room easy to navigate and visually balanced.
Add personality with simple touches such as a woven tray, a stack of books, and a small plant; these accents make the handmade piece feel intentional and integrated into the room aesthetic.
Cost vs. Impact Comparison
Compare material choices by cost and aesthetic return because a little extra spent on quality finish or hardware can transform a raw pallet into a long-lasting, high-impact centerpiece.
| Option | Approx Cost | Visual Impact |
|---|---|---|
| Basic reclaimed pallet | Very Low | Rustic |
| Sanded and stained | Low | Warm, refined |
| Painted and sealed | Low to Medium | Bold, modern |
| High-end hardware & finish | Medium | Designer-quality |
Decide where to invest by prioritizing the finish and hardware if you want the table to read as crafted rather than improvised, as these visible elements shape perception more than exact board condition.
Common Mistakes
Rushing cutting and assembly often leads to misaligned tops and weak joints, so take time with measurements, clamps, and pilot holes to avoid rework that eats time and morale.
Neglecting the finish leaves the wood vulnerable to stains and scratches, which undermines the effort you put into construction and reduces the table’s usable life, so seal it properly and maintain it.
Maintenance and Care
Simple upkeep keeps the table beautiful by wiping spills quickly with a damp cloth, avoiding harsh cleaners, and reapplying protective coat every couple of years depending on use to refresh the surface.
Repairing dents or scratches is easier when you keep sanding blocks and a matching finish on hand; spot-sand gently and recoat locally to blend repairs without stripping the whole piece.
FAQ
Can I use any pallet I find? Choose pallets stamped with safe codes like HT for heat-treated and avoid those marked MB or showing chemical stains; when in doubt, opt for cleaner, intact boards and test a small area.
Do I need power tools? Power tools speed the work and improve consistency, but you can build a strong table with hand tools if you take more time and use clamps, hand saws, and screwdrivers carefully.
How long does the project take? A basic build can fit into a weekend for planning, prep, and assembly, while sanding and finishing add more time as you allow for drying between coats, so plan for two to three days including cure time.
Is sealing necessary? Sealing protects the wood from moisture, stains, and the daily wear of a living room surface, so a protective topcoat is highly recommended even on painted tables.
Can I customize the size? Yes, by trimming pallet boards or joining planks you can adjust length and width, but keep proportions balanced so the table reads as intentional and fits comfortably within your seating arrangement.