
The Struggle
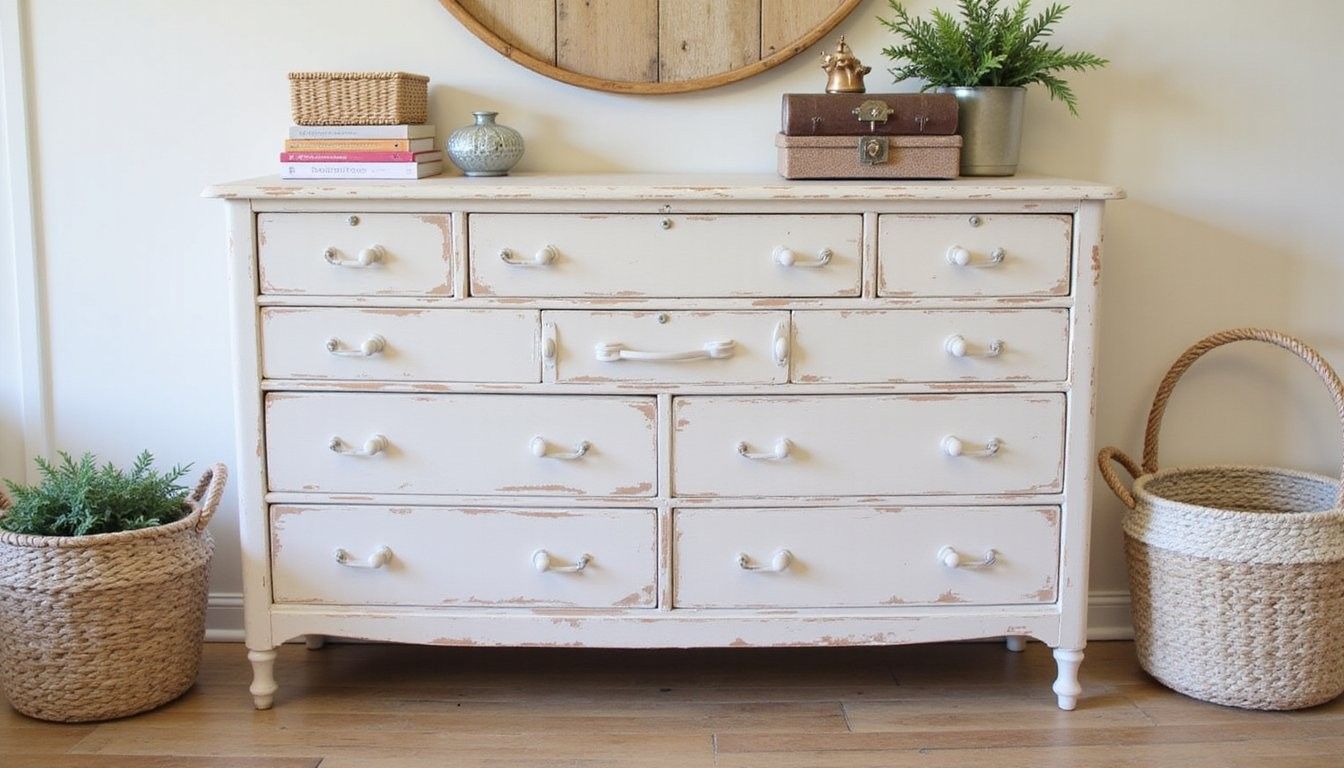
Tired of tired furniture? You look at a worn dresser that once held your favorite pieces and feel a mix of guilt and possibility, knowing it deserves better but dreading the time, mess, and guesswork involved in making it beautiful again.
The Quick Fix
Simple makeover roadmap: Clean, repair, choose a paint approach that matches your style, swap hardware for impact, and seal for durability so the piece looks refreshed without a full restoration project.
A true homeowner moment: “I bought a dresser for $20 and thought about tossing it until I learned a few paint tricks that changed everything,” many readers say with relief when they see the final reveal.
Welcome Note
Start with encouragement: You don’t need years of carpentry skill to give an old dresser new life, only a plan, a few tools, and the willingness to experiment with paint and hardware choices.
Why this approach works: The right pairing of surface prep, paint technique, and thoughtfully chosen hardware can change how a piece fits in your home and extend its life for many more seasons.
Tools & Materials
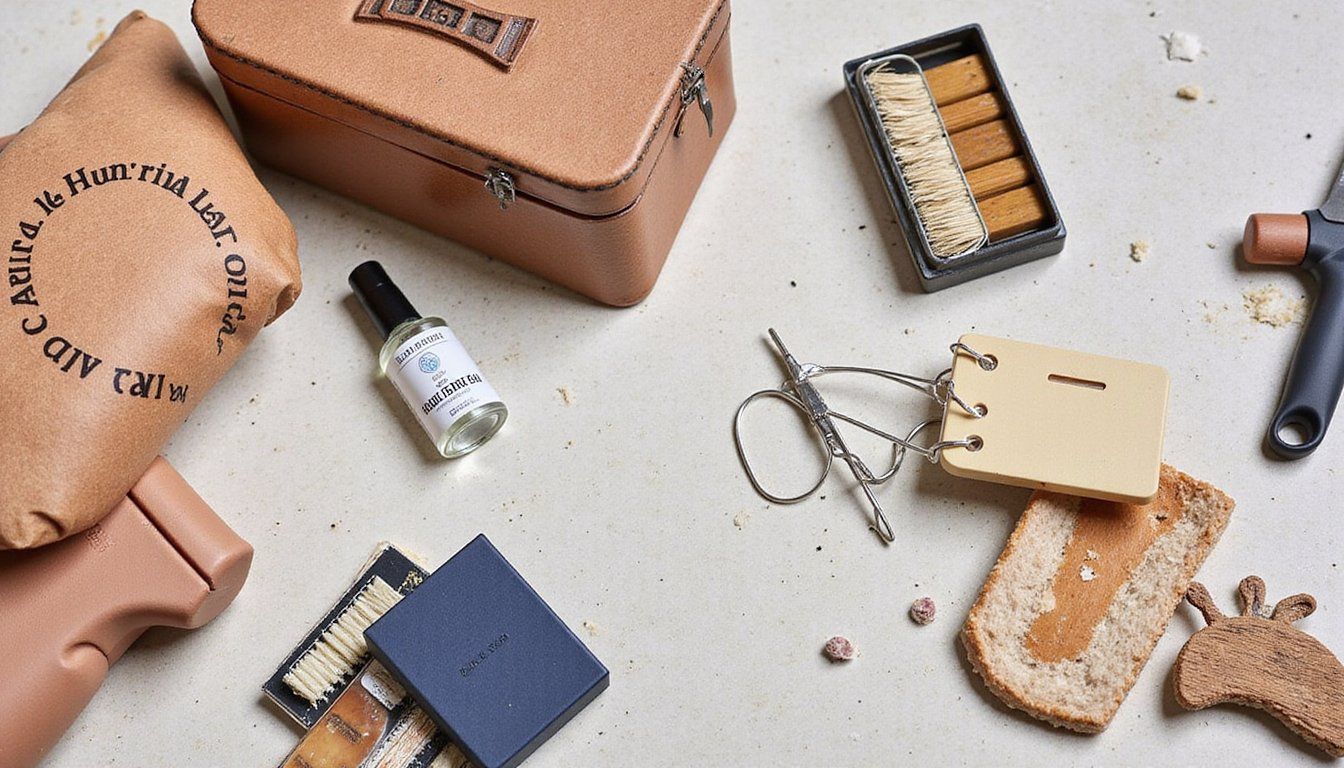
Gather the essentials: A basic, well-chosen toolkit reduces stress during a makeover and helps you achieve professional-looking results faster than trying to improvise mid-project.
- Sandpaper (80, 120, 220 grit) and sanding block
- Degreaser or TSP substitute and clean rags
- Wood filler and putty knife
- Primer (adhesion or stain-blocking) and paint (chalk, milk, latex, or acrylic)
- Brushes: angled sash brush for trim and a synthetic brush for latex paints
- Small foam roller for smooth surfaces
- Clear topcoat (polyurethane or water-based satin) and wax if using chalk paint
- New hardware: knobs, pulls, backplates, and mounting screws
- Protective gear: gloves, mask, and drop cloth
Invest a bit now: Spending a little on quality brushes and a good primer pays off with fewer brush marks and longer-lasting finishes, which saves time on touch-ups later.
Prep & Repair
Surface prep makes the paint stick: Cleaning away grease and dust, scuff-sanding glossy finishes, and filling dings creates a uniform canvas so paint lays down smoothly and resists chipping.
Fix the structure first: Tighten loose joints, glue minor splits, and replace broken hardware or drawer guides before painting so you avoid cosmetic fixes that hide mechanical issues that will resurface after you’ve applied finish.
Sanding strategy: Start with coarser grit to remove old finishes or rough patches and finish with fine grit to smooth the surface for paint; wiping between steps with a tack cloth removes residual dust for a cleaner result.
When to prime: Use a good bonding primer on slick veneers or glossy surfaces and a stain-blocking primer where tannin bleed or knots might show through, which preserves the color integrity and prevents blotchy finishes.
Paint Techniques
Pick paint to match the look: Chalk paint gives matte, velvety surfaces that are easy to distress, milk paint channels a vintage, flaked look when pulled, and latex with proper sanding delivers a durable, modern finish suitable for daily use.
Layering for depth: A base color under a thin topcoat, or a light wash over a darker base, creates visual texture that catches light differently and reads as artisanal rather than flat, especially when sealed correctly.
Distressing and glazing: Use sandpaper on edges, hit corners with a scraping tool, and apply a thin glaze into crevices for instant age while keeping the rest of the surface fresh, which creates contrast that reads as intentional aging.
Spray vs. brush: Spraying gives an ultra-smooth factory look but requires setup and safety precautions, while brushing offers controlled texture and is forgiving for beginners; choose based on the finish you want and the space you have to work in.
| Paint Type | Look | Durability | Ease of Use |
|---|---|---|---|
| Chalk Paint | Matte, vintage | Moderate with wax | High |
| Milk Paint | Chippy, rustic | Lower unless sealed | Moderate |
| Latex/Enamel | Smooth, contemporary | High | Moderate |
Finish selection matters: Satin and semi-gloss are easier to wipe clean for dressers that see daily use, while flat finishes hide imperfections but require more frequent touch-ups if they encounter scuffs.
Hardware Swaps & Styling
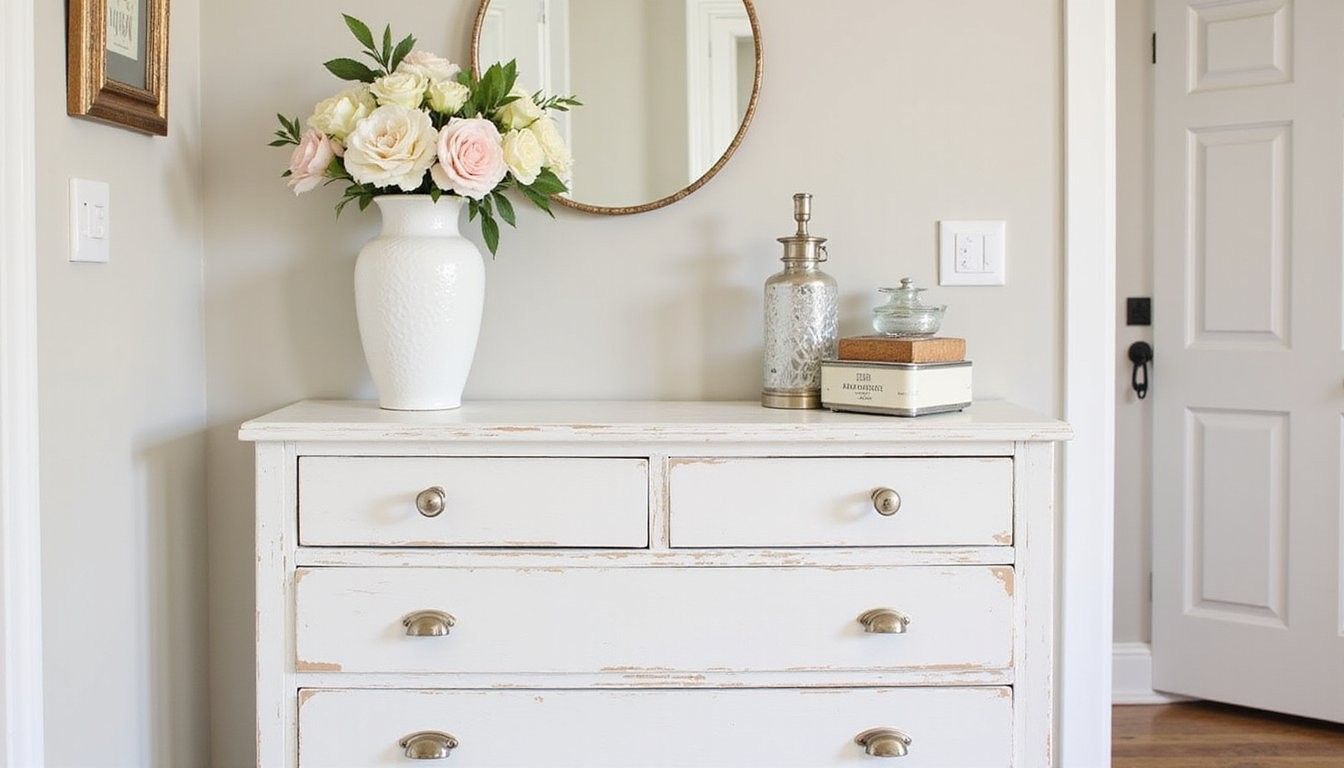
Hardware changes make the biggest visual jump: Swapping outdated knobs or pulls for modern, vintage, or contrasting metal options can reframe the piece’s style instantly without changing its silhouette.
Scale and proportion rule: Match the size of new hardware to drawer dimensions because oversized knobs can overwhelm delicate fronts and tiny pulls can look out of place on a wide drawer, which affects perceived balance.
| Choice | Effect | Ease of Swap |
|---|---|---|
| Polished brass | Warm, upscale | High |
| Matte black | Bold contrast | High |
| Antique pulls | Vintage charm | Moderate |
Refinish or replace? Replating or polishing old hardware keeps character but can be costly and time-consuming, while new hardware offers precise style control and is often a faster route to an updated look.
Mounting tips: If the new pulls don’t match old hole spacing, fill holes with dowels or wood filler, sand flush, and measure carefully for the new placement so drawers operate smoothly and look intentional.
Finishing Touches & Care
Seal for longevity: Choose a protective topcoat that matches the paint type—paste wax over chalk paint for soft sheen and water-based polyurethane over latex for durable, wipeable protection—and apply thin, even layers to avoid drips and clouding.
Hardware installation final steps: Use thread locker on screws if drawers rattle, and add felt pads where the dresser meets the floor to protect both the floor and the base of the piece, which saves on future repairs.
Maintenance routine: Light dusting with a microfiber cloth and spotting spills quickly preserves finishes, and a gentle buff with paste wax once or twice a year keeps chalk-painted surfaces looking fresh without heavy work.
| Action | Frequency | Why |
|---|---|---|
| Dusting | Weekly | Prevents grit from scratching finish |
| Spot clean | As needed | Removes stains before they set |
| Wax or reseal | Annually | Restores protective layer and luster |
Common Mistakes
Underestimating prep time: Skipping degreasing or proper sanding to save time usually creates adhesion problems and visible flaws after paint cures, which forces rework that costs more time than careful prep would have.
Wrong hardware scale: Choosing pulls that are too small for wide drawers or too ornate for a minimalist finish can throw the visual balance off and make the entire piece seem mismatched.
Over-sealing mistakes: Applying heavy or glossy topcoats over textured chalk or milk finishes can mask the intended look, so always test a small, hidden area before sealing the whole piece.
FAQ
Can I sand veneer? Yes, gentle sanding removes surface gloss on most veneers and allows primer to bond, but avoid sanding through thin veneers to the substrate; use lightweight pressure and finish with fine grit to preserve the veneer.
Do I have to remove old hardware? Removing hardware is helpful for thorough painting and prevents accidental drips or stuck paint around fasteners, but if removal is difficult you can carefully tape and paint around it though results may look less crisp.
Is chalk paint washable? Chalk paint becomes washable when sealed with a clear wax or topcoat, and the level of durability depends on the sealer chosen and how often the surface is cleaned.
How many coats are needed? Most projects need two thin coats of paint for even coverage plus a primer or base coat when covering dark finishes; thin coats reduce brush marks and dry faster for sanding between layers if desired.
Can I mix hardware finishes? Yes, mixing metals can add depth and personality when done with restraint—choose a dominant finish and use another as an accent to avoid a cluttered look.