
The Myth
Everyone says you need store-bought frames to make a wreath, and that handcrafted wreaths require professional tools, costly supplies, or formal training, which makes the craft feel out of reach for a casual maker with limited time or budget.
This belief keeps people from trying, because they assume wreath-making demands an investment in specialized gear or perfectly coordinated materials before a single loop of greenery is attached, and that fear shuts down creativity before it can begin.
The Truth
The counterintuitive reality is that wreaths welcome improvisation, and many attractive seasonal designs spring from thrifted finds, household materials, or natural items picked from the yard rather than high-end boutique supplies.
You can create memorable wreaths with ordinary tools, simple adhesives, and a loosened approach to symmetry, which often leads to more character and personality than perfectly matched assemblies.
Myth-Buster Box
Reality: Creative approaches with affordable or found materials often produce more charming, personal results than expensive kit-built versions.
Introduction
This guide opens up approachable paths for making seasonal wreaths and presents inspiring design ideas, step-friendly techniques, and practical material lists so makers at all levels can craft wreaths that reflect their home and mood.
You will find project frameworks for each season, alternatives for common materials, and maintenance advice to keep wreaths fresh-looking across their intended lifespan, along with comparison tables and troubleshooting notes to speed learning and reduce waste.
Tools & Materials
Gather basic tools and adaptable materials first so you can mix and match supplies as you experiment: wire cutters, floral wire, hot glue, scissors, a base frame (grapevine, wire, or foam), greenery, filler elements like berries or ribbons, and optional accents such as ornaments or dried citrus.
Think in categories not brand names, and focus on textures, color stories, and how materials behave outdoors versus indoors, because a sunny porch can bleach fragile elements while a sheltered hallway will preserve delicate accents.
- Wire cutters or heavy-duty scissors
- Floral wire (green or brown)
- Hot glue gun with sticks
- Grapevine, wire, or foam wreath base
- Fresh or faux greenery (eucalyptus, boxwood, pine)
- Seasonal accents (dried flowers, pinecones, mini pumpkins)
- Ribbon or fabric scraps
- Optional: spray sealant or clear varnish for outdoor pieces
Choose a wreath base that matches your handling preferences, since grapevine frames offer instant texture and grip for fast tucking while wire frames give structure for bulky elements and foam forms suit heavy gluing and pinned designs.
| Material | Best For | Durability |
|---|---|---|
| Grapevine frame | Natural, rustic looks and easy tucking | High for outdoor use |
| Wire frame | Structural support for heavy accents | High when wrapped properly |
| Foam base | Glued or pinned displays and craft-friendly projects | Moderate indoors |
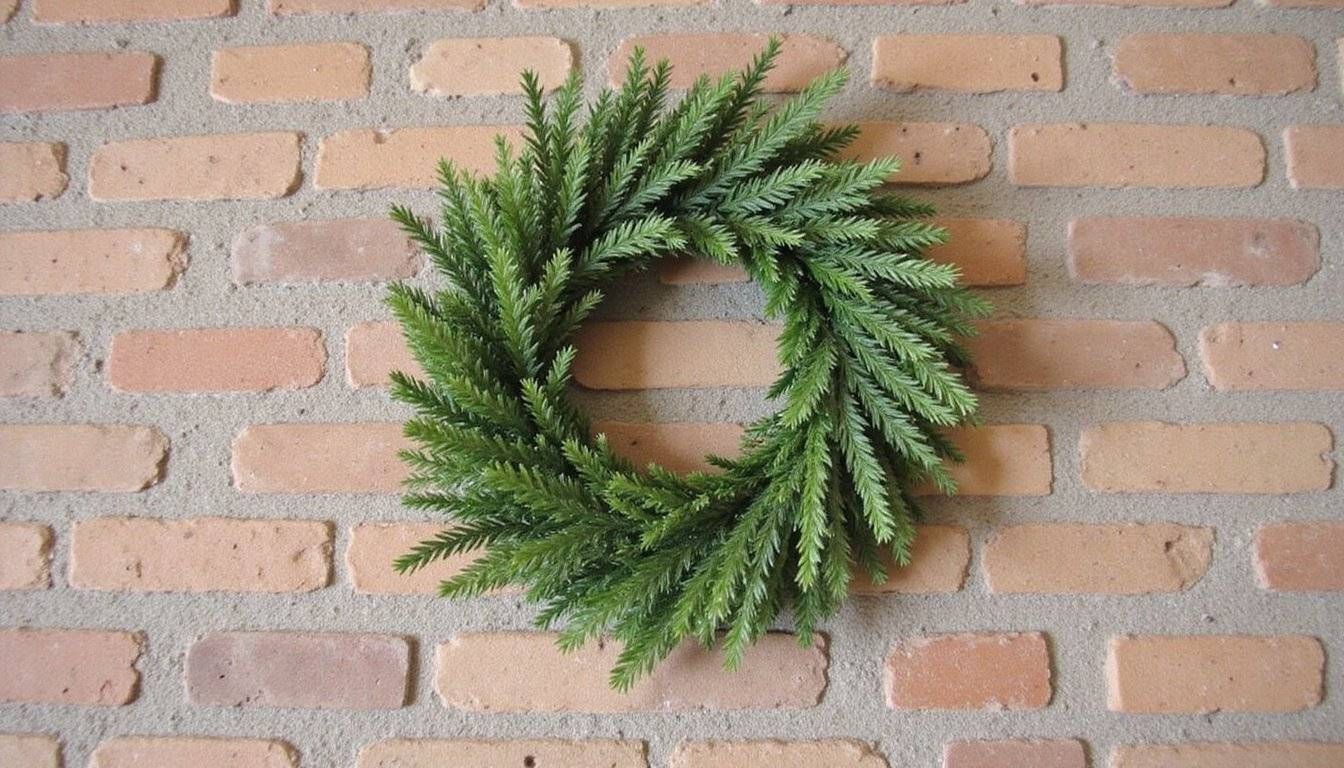
Spring & Summer Wreath Ideas
Light, bright palettes and airy textures suit warm-season wreaths, so think seeded branches, soft eucalyptus, small faux birds, delicate ribbon loops, and clusters of dried or faux florals that breathe rather than weigh the composition down.
To make a spring wreath, start with a grapevine base and tuck small bunches of blooms in groups of odd numbers, securing with thin floral wire so stems can move slightly in a breeze and the overall silhouette stays organic rather than overly structured.
Summer wreaths welcome cheerful accents such as small shells, citrus slices preserved by dehydrating, or lightweight wooden ornaments, and arranging larger elements on one side while balancing with greenery on the opposite side creates a modern, asymmetrical design that feels intentional and artful.
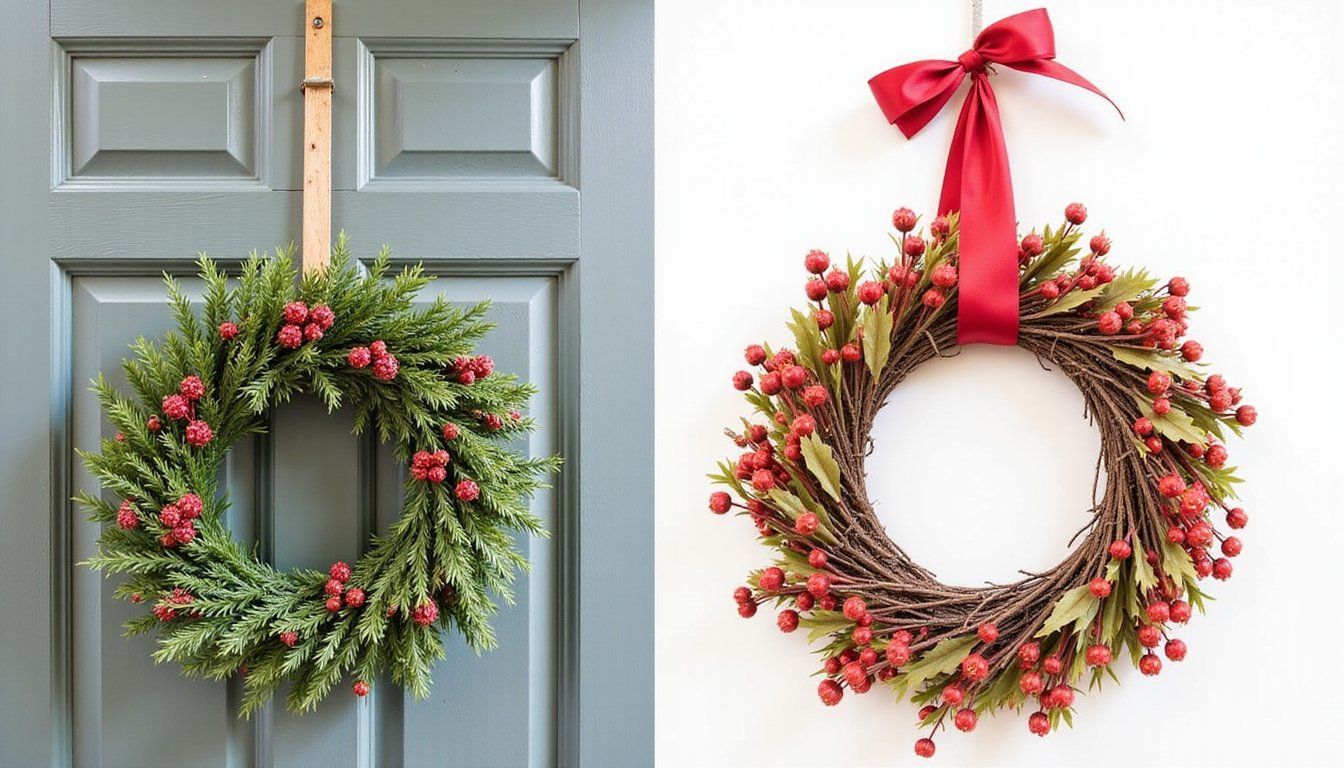
Autumn & Winter Wreath Ideas
Autumn wreaths embrace rich tones, tactile elements, and warm textures, combining seeded eucalyptus, dried hydrangea, cinnamon sticks, and miniature pumpkins for depth and a cozy seasonal signal to guests.
For winter designs, evergreen bases with touches of metallic spray, salt-sprayed pinecones, or clusters of berry stems give a festive yet refined look, and restrained palettes of two to three colors often read as elegant rather than cluttered when scaled correctly for your door size.
Mixing preserved botanicals with hardy faux elements helps wreaths survive cold, damp entryways without losing their lush appearance, and a light spray of matte clear sealer on delicate dried pieces reduces shedding while keeping color and texture intact.
Non-Floral & Modern Wreath Concepts
Wreaths that move beyond florals can become sculptural statements, using materials like recycled fabric scraps, painted hoops, leather strips, or even folded paper elements to create a contemporary focal point that complements minimalist interiors.
Think about scale, repetition, and negative space when assembling modern pieces, because a small number of bold shapes repeated around a frame will read cleaner and more intentional than many tiny accents competing for attention.
Tip: A single meter of heavy ribbon, a dozen leather loops, or a handful of painted wooden beads can provide a consistent motif that ties the design together without fuss.
Color blocking or monochrome palettes work particularly well for interior wreaths designed to echo furniture tones or textiles, and attaching hanging hardware discreetly on the rear preserves a seamless front-facing profile for photographic styling or holiday gatherings.
Techniques & Assembly Tips
Layering is the foundation of a professional-looking wreath, starting with a base layer of greenery, followed by focal clusters, and finishing with small details that hide mechanics and add movement, because a stepwise approach simplifies decision-making and yields consistent results.
When wiring stems, wrap in the same direction and secure with tension rather than excess wire, which keeps fastenings invisible and prevents stiffness that makes the wreath look contrived instead of relaxed and welcoming.
| Technique | When to Use | Result |
|---|---|---|
| Tucking | Grapevine bases and light stems | Natural, secure placement |
| Wiring | Bulky accents and heavy clusters | Stable long-term hold |
| Gluing | Small hard-to-wire elements or foam bases | Fast adhesion for delicate parts |
Balance is visual not literal, so distribute color and weight so the eye moves around the wreath rather than stopping at an awkward cluster, and step back frequently during assembly to see how light and shadow will read from a distance.
Mounting, Display & Care
Choose mounting solutions that match the wreath’s weight and display environment, such as a heavy-duty hook for front doors, a ribbon loop for indoor walls, or a discreet suction system for glass surfaces, and test the connection before hanging to avoid accidents.
For outdoor wreaths, protect materials from moisture and UV exposure, using weatherproof finishes on delicate elements and selecting faux pieces when long sun exposure is expected, while indoor wreaths benefit from occasional dusting and gentle reshaping.
Storage matters for reuse, so pack wreaths flat or in hanging storage to maintain shape, cushioning fragile accents with tissue and keeping moisture out to prevent mildew and color loss between seasons.
What to Avoid
Cost vs. Impact Comparison
Understanding where to spend and where to save helps keep projects budget-friendly but memorable, because a few strategic splurges on focal elements paired with thrifted or natural fillers can deliver a high-style look at a modest outlay.
| Budget Level | Typical Spend | High-Impact Choices |
|---|---|---|
| Low | $5–$15 | Thrifted frames, natural clippings, fabric scraps |
| Mid | $15–$45 | Quality ribbon, a few faux stems, foam base for complex builds |
| High | $45+ | Designer-quality florals, specialty accents, professional spray finishes |
Pair an eye-catching focal with economical fillers, because one well-placed accent can elevate a piece more than many small cheap embellishments that compete instead of complementing.
Common Mistakes
Avoid mismatched scales in composition, because pairing tiny seed pods next to oversized ornaments without transitional elements makes the layout feel disjointed rather than harmonized, and careful scaling creates flow and cohesion.
Frequently Asked Questions
Can I make a wreath in an hour? Yes, a simple grapevine wreath with a handful of tucked accents or a looped ribbon design can be completed in an hour, provided you gather materials beforehand and focus on a restrained color palette to speed decision-making.
How do I keep fresh greenery looking good longer? Mist stems lightly with water when the weather is dry, keep wreaths out of direct midday sun, and consider using a mix of fresh and preserved elements so the overall look maintains fullness as some bits dry naturally.
What is the best base for heavy wreaths? A sturdy wire frame wrapped in grapevine or wired mesh distributes weight well and gives many anchor points for wire-wrapped clusters, which reduces strain on individual fastenings and prevents sagging.
Are faux materials acceptable for outdoor displays? Yes, high-quality faux stems are often preferable outdoors because they resist fading and moisture damage, and pairing them with preserved organic pieces can create a convincing, low-maintenance composition.