
The Myth
Buying new is the only way to refresh a room. Many homeowners assume that the fastest path to a stylish space is to purchase brand-new pieces, even when older furniture is structurally sound and full of potential.
Expensive trends seem to demand replacement. Retail displays and glossy ads push the idea that a fresh look requires fresh spending, which creates pressure to discard items that could be given new life with creative effort.
The Truth
Thoughtful repurposing saves money and yields unique style. With basic skills, a modest budget, and a clear plan, you can upgrade finishes, change hardware, and alter proportions to create pieces that feel custom and curated without the retail markup.
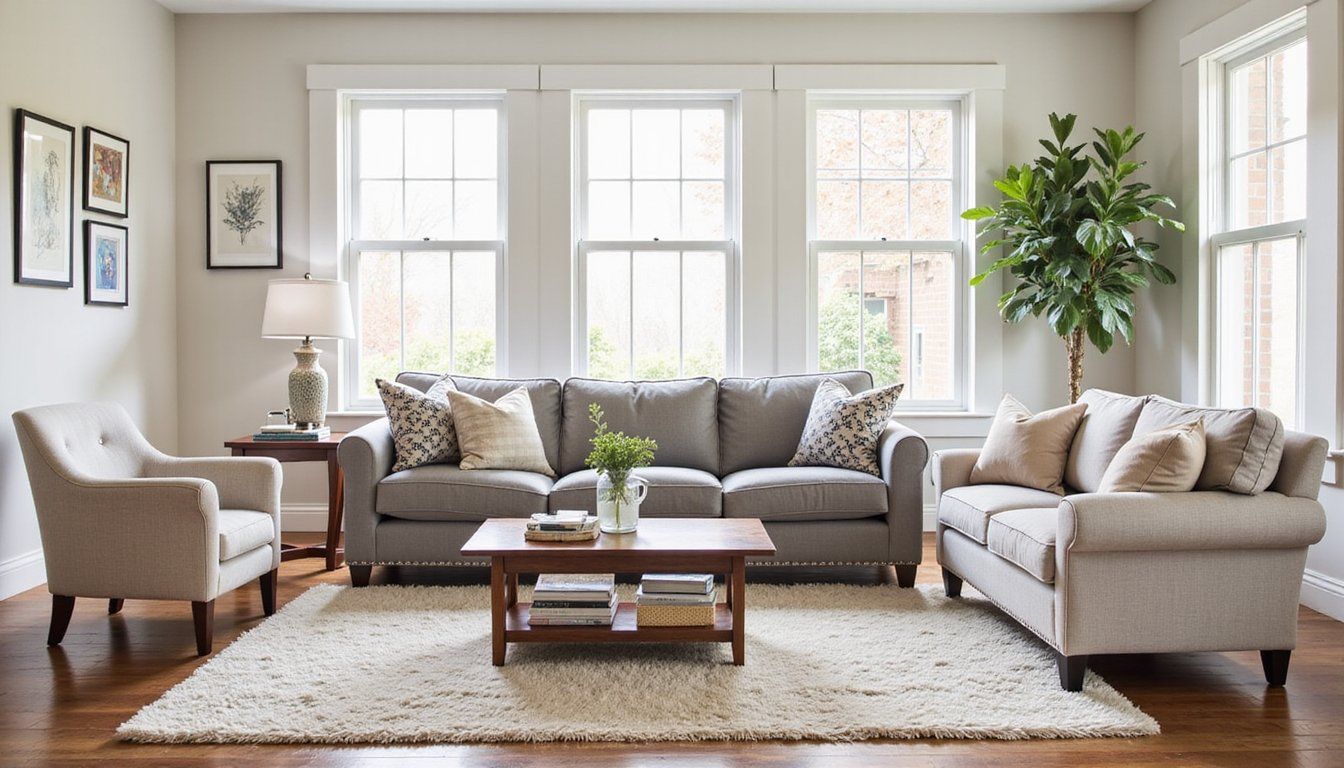
Upcycling builds character and reduces waste. Repurposed furniture often becomes a focal point because it tells a story and offers finishes or shapes not found in mass-market stores, giving your home a personal signature while keeping costs low.
Myth-Buster Box
Reality: With a small toolkit, time, and design choices, old pieces can be refreshed to look current, bespoke, and cohesive with your decor without spending a fortune.
Introduction
Repurposing is a practical creative practice for home refreshes. Instead of treating furniture as disposable, a few targeted updates—like a paint job, new hardware, or reupholstery—can reframe the piece and lift an entire room for a fraction of the cost of replacement.
This guide gives hands-on direction and design thinking. You will find stepwise methods, safety reminders, budgeting pointers, and inspiring project ideas that make it straightforward to choose which pieces to keep and how to update them for a cohesive, modern look.
Tools & Materials
Gather the right basics before you begin to save time and avoid mistakes. Below is a concise checklist of the most useful items to have on hand for sanding, painting, minor repairs, and upholstery prep so you can complete projects efficiently and safely.
- Sandpaper (various grits), sanding block, and an orbital sander for larger surfaces.
- Primer, paint (latex or chalk-based), brushes, and a roller for smooth finishes.
- Wood glue, clamps, wood filler, and a small set of hand tools (screwdrivers, hammer, pliers).
- New hardware (knobs, pulls), spray paint for hardware, and measuring tape.
- Staple gun, foam, batting, and upholstery fabric for seat work.
- Protective gear: gloves, dust mask, and safety glasses.
Prep & Assessment
Start with a thorough inspection of construction and wear so you can prioritize fixes and avoid wasted work. Check for loose joints, missing screws, wood rot, and the condition of any upholstery as these issues determine whether the piece is an economical candidate for updating.
Make a simple repairs plan before aesthetics. Tightening joints, gluing loose veneers, and replacing broken slats will prevent cosmetic work from peeling away and will ensure the piece lasts after you invest time and materials.
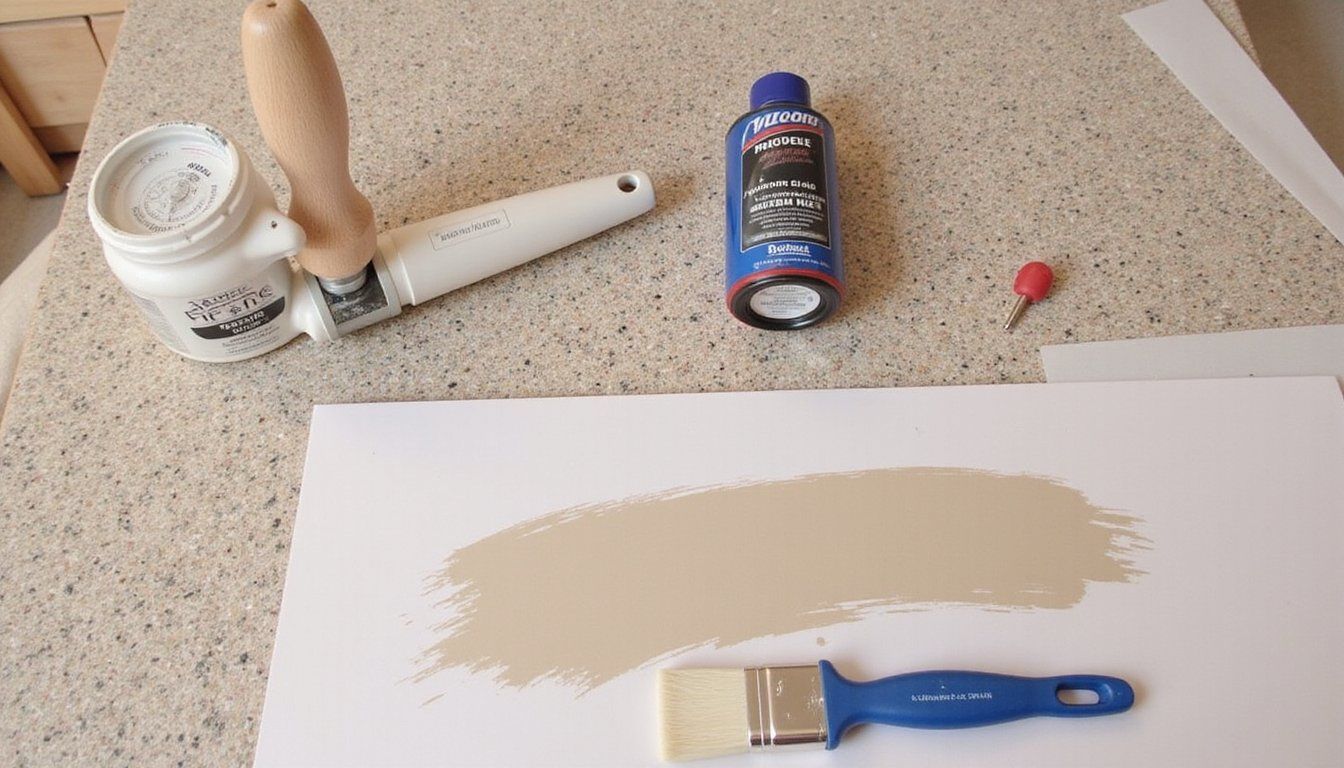
Painting & Finishes
Choosing the right finish affects durability and the final look more than color alone. Chalk-style paints give matte, vintage results with minimal prep, while mid-sheen latex or enamel is better for high-traffic surfaces because it resists scuffs and wipes clean easily.
Prep creates longevity and a cleaner finish. Sanding to a dull sheen, using a quality primer on bare or stained wood, and finishing with a protective top coat will prevent chipping and keep your update looking fresh for years.
Reupholstering & Softwork
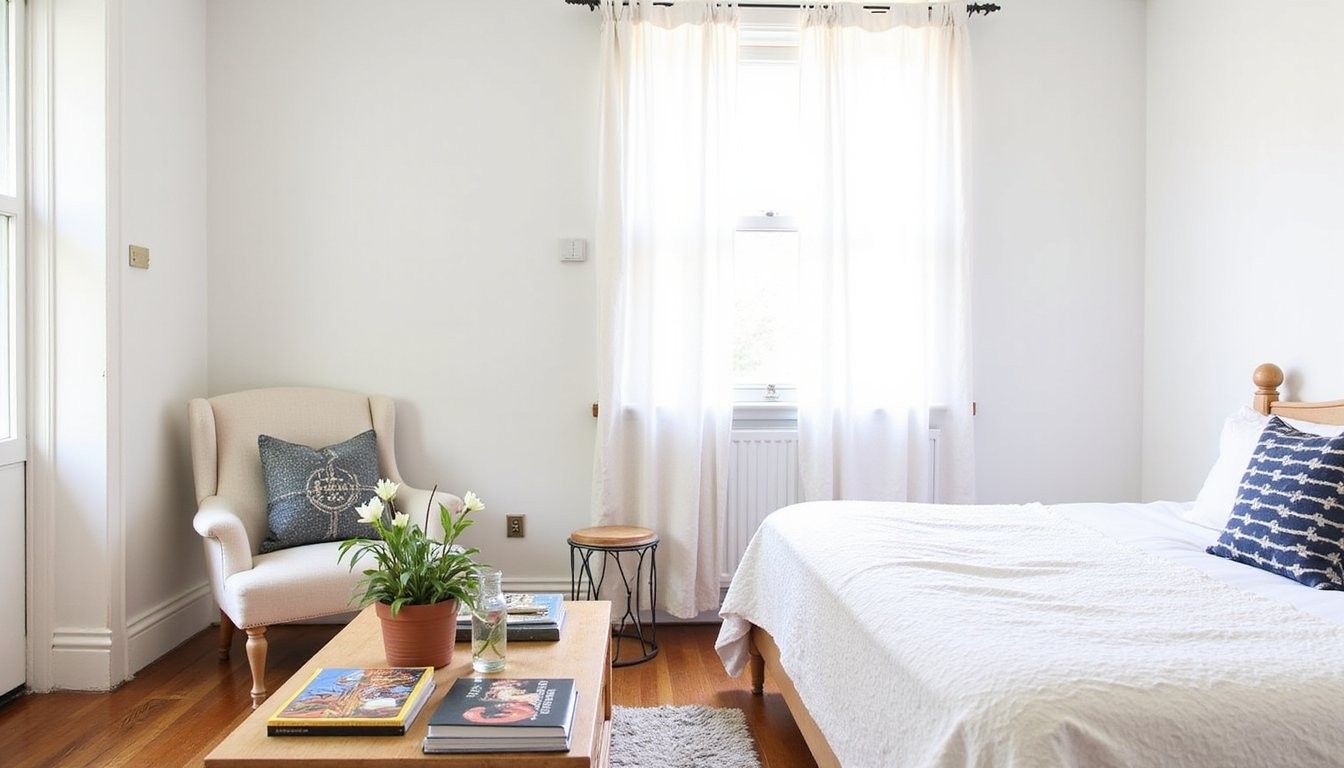
Refinishing wood is visible, but fabric choices change the personality of a piece entirely. Replacing worn upholstery or simply swapping cushions will refresh seating and allow you to introduce patterns, textures, and color that tie a room together without moving heavy furniture.
Basic reupholstery is within reach with planning and a few key tools. Removing staples carefully, using the old fabric as a template, and investing in quality foam will yield professional results while keeping labor and costs approachable for weekend projects.
Hardware, Trim & Details
Small hardware upgrades deliver a high design return for minimal expense. Swapping dated knobs and pulls, adding new legs, or applying trim to plain cabinetry can modernize a piece and make it read like a curated purchase rather than a hand-me-down.
Contrast and scale matter when choosing details. Oversized hardware can give a bold, contemporary feel while delicate pulls read more traditional, so match the new pieces to the room’s mood and the furniture’s proportions for a cohesive look.
Creative Repurposes
Look for opportunities to change function rather than replace form for the biggest savings and originality. A bookcase can become a bar cabinet by adding shelves and a mirror, an old crib can re-emerge as a bench with painted wood and a cushion, and dresser drawers can be repurposed as under-sofa storage boxes with casters.
Design around how you live and use space to make repurposed pieces truly useful. When updates respond to daily habits—like creating a charging station in a console table or converting a wardrobe into a pantry—those changes feel intentional and elevate everyday life without major expense.
Budgeting & Sourcing
Set a clear spending cap per project to prevent costs from creeping up during the fun part, which is designing and decorating. List must-do repairs and finish costs first so you can compare that total with the price of a new or secondhand replacement and choose the smarter path.
Sources for affordable pieces and materials expand your options. Thrift shops, curbside finds, estate sales, and online marketplaces often offer solid frames for little money, while discount fabric and surplus hardware stores let you keep material costs low when updating multiple pieces.
| Item | Typical Cost Range | Time Required |
|---|---|---|
| Refinish small table | $20 – $80 | 2-6 hours |
| Reupholster chair seat | $30 – $150 | 3-8 hours |
| Replace hardware | $10 – $60 | 30 mins – 1 hour |
Comparison: Cost vs. Impact
Compare likely spend against visual and functional improvement to decide if a project is worthwhile. The table below helps weigh quick wins like hardware swaps against larger investments such as full reupholstery so you can choose updates that deliver the best return for your goals.
| Update | Estimated Cost | Impact on Look |
|---|---|---|
| Change hardware | Low | High |
| Paint and topcoat | Low to Mid | High |
| Reupholster seating | Mid | Very High |
Quick Decision Grid (Yes/No)
A small boolean table helps you quickly decide if a piece is worth repurposing. Use the grid as a fast triage: if most answers are yes, the piece is a candidate for saving and updating instead of replacing.
| Question | Yes | No |
|---|---|---|
| Is the frame sturdy? | Yes | No |
| Can repairs be done under budget? | Yes | No |
| Will it fit your space? | Yes | No |
Common Mistakes
Safety & Sustainability Notes
Prioritize safe practices when sanding, stripping finishes, or working with adhesives. Use appropriate respiratory protection when removing old finishes and work outdoors or in a ventilated area to control dust and fumes, and check for lead paint on very old pieces before stripping to avoid health hazards.
Repurposing reduces waste and often lowers your environmental footprint compared with purchasing new pieces. When you repair instead of replace, you conserve the energy and materials embedded in the original item and extend the useful life of resources that would otherwise enter the waste stream.
Styling & Integration
After refinishing, adopt simple styling moves to help repurposed pieces read as intentional parts of your scheme. Group items by color or material, mix in newer accessories, and use textiles to bridge any stylistic gaps so the updated piece complements rather than competes with existing decor.
Scale and placement influence perceived value more than originality alone. A thoughtfully placed piece with coordinated accessories will often look more expensive than a match from a store because the arrangement emphasizes design choices over price tags.
Troubleshooting & Repair Shortcuts
When joints creak or drawers stick, targeted fixes will restore function quickly. Tightening screws, lubricating slides with paraffin wax, trimming swollen wood slightly, or replacing worn runners gets many pieces working like new without full disassembly.
Use matching wood filler and careful sanding to disguise small chips and gouges before finishing. Blending repair areas and feathering new finish into old surfaces will make repairs unobtrusive and preserve the piece’s character without overworking the project.
Final Checklist Before You Start
Run through a final list to confirm the project is sensible and achievable within your limits. Verify that essential repairs are within budget, that you have the right tools and materials, and that the piece fits the space and the lighting so you avoid mid-project disappointments.
Plan for cleanup and storage of materials to protect your home while you work and after you finish. Cover floors, store leftover paint in labeled containers, and keep a small repair kit for touch-ups so the refreshed piece continues to look cared for over time.
FAQ
Can I refinish veneer furniture? Yes, veneer can be refinished but it requires gentle sanding and careful use of fillers and primers since the thin layer of wood will not tolerate aggressive sanding; opt for light sanding and high-quality primers designed for thin veneers to avoid damage.
How do I choose paint for a kitchen cabinet? Pick a durable, wipeable finish such as an eggshell or satin water-based enamel and pair it with a trusted primer to resist stains and frequent cleaning while keeping fumes low with low-VOC products.
Is reupholstery expensive? Reupholstery can vary in cost depending on fabric quality and labor, but doing the work yourself and choosing mid-range fabric lets you manage costs while achieving a refreshed look that outperforms cheap replacement seating.
What if I discover structural damage after I start? Pause and assess whether the damage is repairable with screws, glue, or reinforcement; if the frame is compromised beyond economical repair, consider salvaging usable parts or switching the project to creative repurpose ideas like turning parts into shelving.
How long will a DIY paint job last? With proper prep, primer, and a protective topcoat, a DIY paint finish can last many years, especially on items that do not receive heavy daily use; maintain finishes with gentle cleaning and occasional touch-ups for longevity.