
The Myth
Forget the pro-only rule: Many people insist that a backsplash makeover requires a contractor, messy grout, and days of chaos, but that belief keeps good kitchens waiting for an upgrade.
Skip the intimidation: Peel-and-stick tiles were designed so a motivated homeowner can transform a space with minimal disruption and without heavy construction tools.
The Truth
Small effort, big change: A thoughtfully installed peel-and-stick backsplash can deliver a professional look in a weekend and refresh the whole room without major expense.
Durability meets ease: While not identical to ceramic and grout, many peel-and-stick products offer water resistance, heat tolerance near stoves, and long-lasting adhesion when installed correctly.
Myth-Buster Box
Reality: With careful planning, quality peel-and-stick tiles and correct surface prep produce a durable, stylish result that many homeowners complete themselves.
Opening
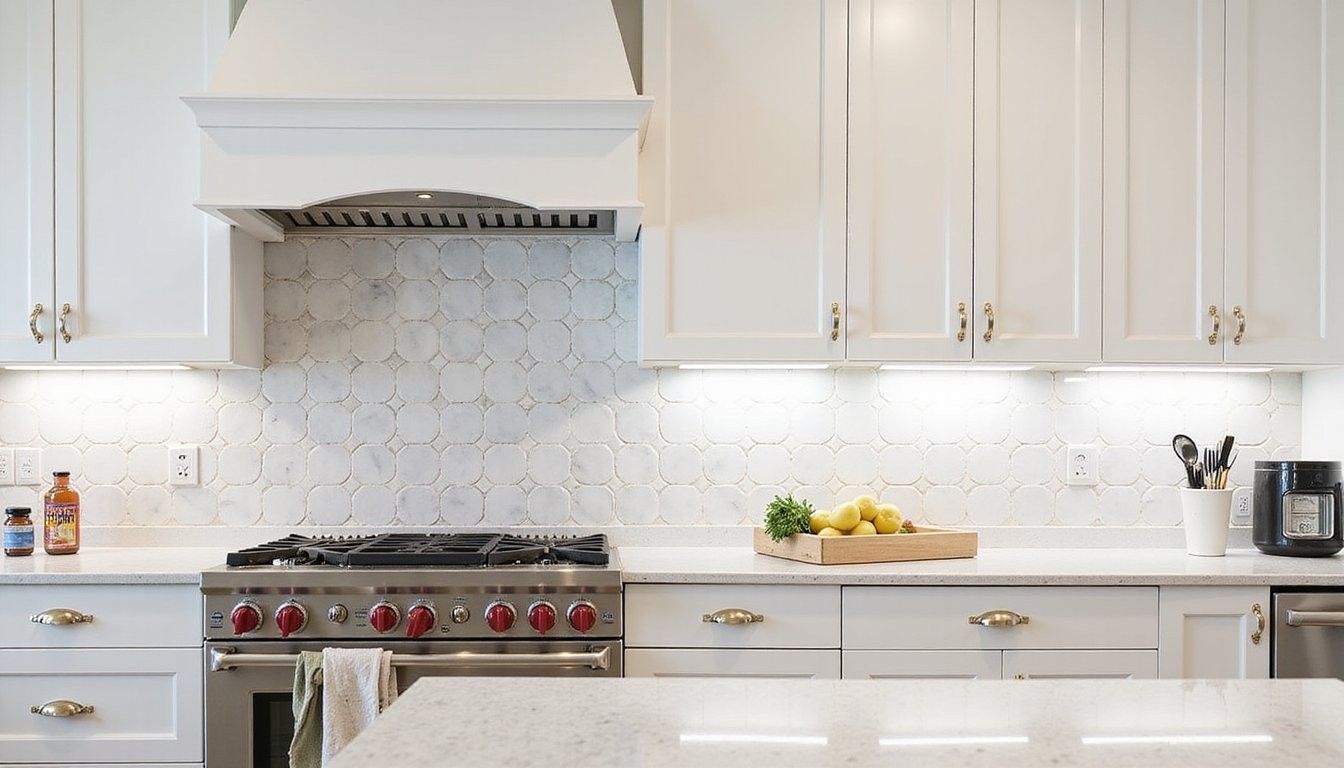
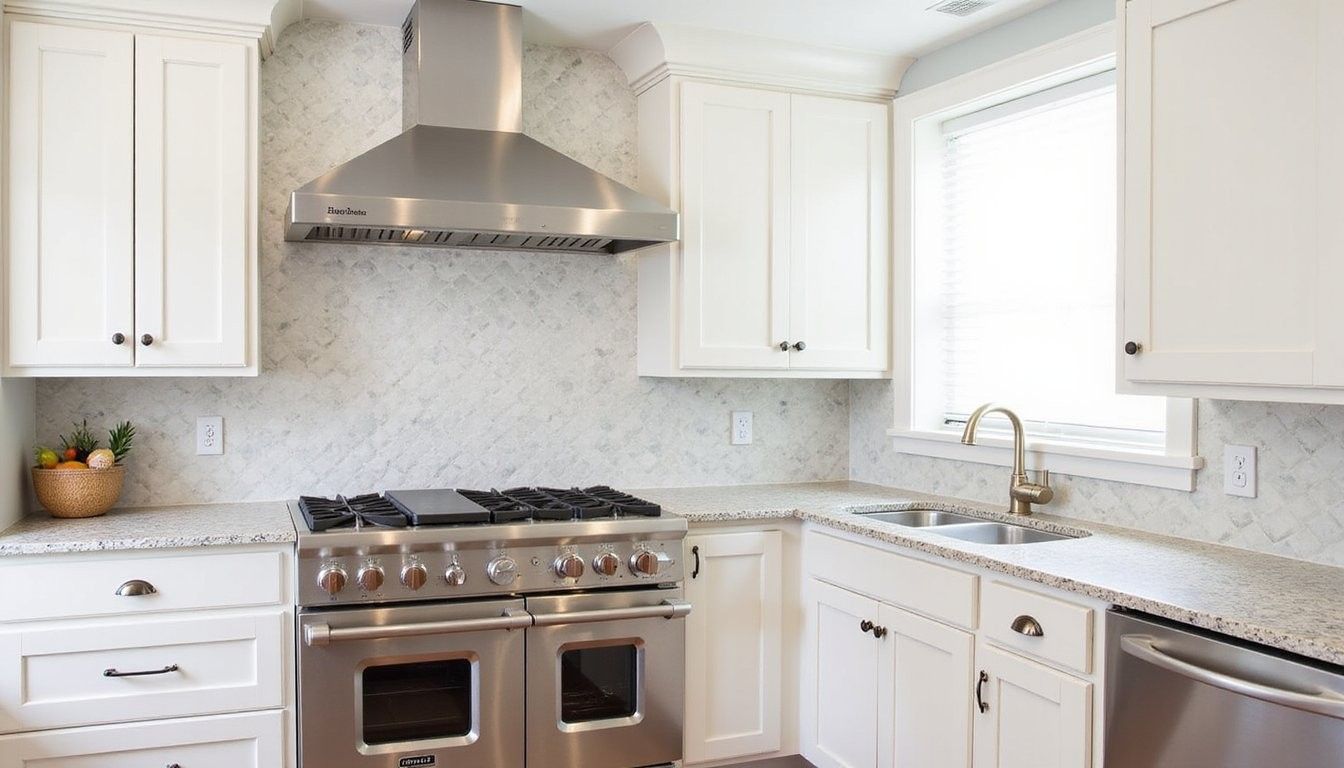
Ready for a change: A backsplash is one of the highest-impact, lowest-cost upgrades for a kitchen because it draws the eye and protects wall surfaces where splashes and stains are frequent.
Plan with care: Success depends less on talent and more on good prep, accurate measuring, and picking the right product for your wall surface and cooking habits.
Tools & Materials

Gather these basics: Before starting, collect tools and material so the work flows smoothly and you avoid mid-task trips to the store.
- Peel-and-stick tiles in chosen pattern and enough square footage plus 10% for cuts and waste
- Measuring tape for accurate width and height measurements
- Level to keep rows straight and professional looking
- Utility knife with sharp blades for clean edge cuts
- Straightedge or metal ruler to guide cutting
- Cleaning supplies such as isopropyl alcohol and lint-free cloths
- Painter’s tape to hold tiles temporarily and mark lines
- Seam roller or smoothing tool to press tiles down firmly
- Masking paper or drop cloth to protect counters
Prep & Planning
Start with a clean surface: Walls must be free of grease, wallpaper residue, and loose paint because adhesives bond to the substrate, not to dirt or flaking material.
Check wall texture and flatness: Smooth, flat walls produce the best adhesion and tidy seams, while rough textures or heavy grout lines can cause lifting over time and need attention before tiling.
Prep & Planning
Take accurate measurements: Measure width and height across the full area and calculate square footage, then add a buffer for cuts, repeats, and pattern alignment to avoid shortages mid-install.
Lay out a simple plan: Decide whether to center a feature, use a running pattern, or work from left to right so cutting needs and visual balance are handled ahead of time.
Measuring and Cutting
Mark guide lines first: Use a level and a pencil to draw light horizontal and vertical guides so each tile lines up and rows remain straight even if the wall is slightly out of plumb.
Account for outlets and fixtures: Measure around switches, outlets, and faucets and transfer those measurements to tile sheets before cutting so pieces fit snugly and safely around electrical elements.
Measuring and Cutting
Make controlled cuts: For vinyl and thin tiles, a straightedge with a sharp utility blade often scores cleanly, while thicker tiles may need a fine-tooth saw or shears designed for the product.
Test on scraps: Cut a small sample and trial-fit it in the edge area to confirm the cut method and adhesion behavior before committing to full edge pieces.
Installation Process
Begin at a corner or focal point: Start where the tiles will be most visible so seams and partial tiles fall into less obvious areas whenever possible and the most important sightlines look deliberate.
Peel and press with care: Remove backing slowly, align using your guide lines, and press from the center outward to avoid trapped air and ensure full contact with the wall.
Installation Process
Watch the seams: For patterned tiles, match motifs before pressing permanently and allow a small, consistent seam if recommended by the manufacturer to accommodate expansion and contraction.
Roll the surface: Use a seam roller to press edges and seams firmly and to activate the adhesive under pressure for the best long-term hold.
Installation Process
Tidy around outlets: Turn off power when working near electrical boxes, remove covers, and cut tiles to fit closely then replace covers so the finish looks factory-made.
Trim excess carefully: Use a sharp blade for final trimming and protect counters with masking paper to catch offcuts and avoid scratches.
Installation Process
Keep an eye on temperature: Adhesives stick best within recommended temperature ranges so avoid installing on very cold or hot days or near active stove burners without allowing the wall to cool.
Follow manufacturer cure times: Allow adhesive time to set before exposing the backsplash to heavy splashes or steam so the bond strengthens and edges do not lift prematurely.
Finishing & Care
Seal seams if needed: Some products recommend a thin bead of silicone at counters and corners to prevent moisture intrusion and make cleaning easier where water gathers.
Clean gently: Use non-abrasive cleaners and a soft cloth to avoid dulling the surface or lifting edges, and blot spills quickly to protect adhesive over time.
Finishing & Care
Plan for future removal: If you or a future owner might remove the tiles, keep original manufacturer guides and any leftover sheets so repairs or replacements match and removal is easier.
Touch-ups are simple: Minor nicks can often be hidden with paint matched to grout-look tiles or replaced tile pieces if you kept extras from the initial purchase.
Data Table: Cost vs Impact
Compare options clearly: When budgeting, compare material and time costs against visual impact so you choose a route that fits both wallet and style goals.
| Option | Estimated Cost | Visual Impact |
|---|---|---|
| Peel-and-stick tiles | $20–$8 per sq ft | High |
| Ceramic with grout (DIY) | $10–$20 per sq ft | Very High |
| Professional tile install | $50–$150 per sq ft | Very High |
Practical Comparison
Weigh pros and trade-offs: Peel-and-stick wins for speed and cost but trades off the permanence and deep texture of traditional tile, so match the choice to everyday use and long-term plans.
| Pro | Con |
|---|---|
| Fast, low-cost install | Less heat resistance than some ceramics |
| Easier removal | Adhesive may fail on very rough surfaces |
| Wide design choices | Limited long-term repair options compared to regrouting |
A Quick Reality Check
Not every wall is ideal: If a wall has heavy mildew, loose plaster, or oil-saturated paint, adhesive performance will suffer and those issues need correction first.
Accept reasonable limits: For high-heat backsplashes directly behind commercial ranges, choose products with manufacturer heat ratings or consider protective metal panels where appropriate.
Pro Tips
Mind the grain and pattern: If using tiles that mimic stone or wood, rotate and stagger sheets so the pattern reads natural rather than repeating too obviously.
Pro Tips
Protect edges during projects: Use painter’s tape to shield already-applied areas while you cut and fit adjacent sections so adhesives remain clean and strong.
Installation Safety
Switch off power near outlets: Always turn off circuit breakers before working around outlets and consider removing faceplates so tiles sit flush under the covers for a careful finish.
Wear protective gloves: Gloves protect hands from sharp edges when cutting and reduce the risk of oils or sweat interfering with adhesive contact.
What to Avoid
Troubleshooting Lifted Corners
Fix lifted edges quickly: If a corner starts to peel, clean under the edge with isopropyl alcohol, apply a small bead of clear adhesive or contact cement, and press firmly while holding with painter’s tape while it sets.
Replace if necessary: When adhesives fail across a broad area, removal and substrate repair may be faster and more lasting than attempting repeated local repairs.
Maintenance Routine
Regular gentle cleaning: Wipe the backsplash with a damp microfiber cloth after cooking sessions and use mild soap for grease while avoiding abrasive pads that can dull finishes.
Inspect seams seasonally: Check edges and corners every few months and re-seal with silicone where water might collect to keep the adhesive protected.
When Removal Is Needed
Heat helps removal: Warm the tile with a hair dryer to soften the adhesive and peel gently from a corner, working slowly to reduce damage to drywall or paint beneath.
Repair underlying walls: After removal, sand any adhesive residue, patch small gouges with spackle, and prime before applying a new finish so adhesion returns to a healthy level.
Quick Visuals Tip
Design confidence: Simple, repeating patterns read as calm and expansive while bold, contrasting tiles become a focal point and pair well with straightforward cabinetry to avoid visual competition.
Cost-Saving Moves
Buy slightly larger sheets: Purchasing a small overage saves money compared to rush purchases at higher retail rates and ensures pattern and dye lot match across the project.
Shop end-of-line colors: Discount colors or discontinued runs can deliver designer looks at a fraction of retail when you remain flexible about exact shades.
Frequently Asked Questions
Can peel-and-stick tiles handle stove heat? Many modern brands have improved heat tolerance and are fine for typical home cooking zones, but consult the product’s technical specs and avoid placing tiles directly where open flame contacts the wall.
Will tiles ruin the paint when removed? If the paint is sound and well bonded, careful heating and slow peeling often remove tiles cleanly, but older or poorly adhered paint may lift and require touch-up or repainting.
How do I match replacement pieces years later? Keep leftover sheets in a labeled box stored in a cool, dry place so future repairs use the exact same batch and pattern, avoiding visible mismatches.
Are there peel-and-stick options that mimic grout? Yes, some products come with printed grout lines or simulated grout strips that create the look of grouted tile while keeping the ease of a single-sheet install.