
Handmade Father’s Day Gift Crafts bring warm personal charm that outshines mass-produced options. Handmade Father’s Day Gift Crafts and handmade Father’s Day gifts create keepsakes that carry texture, scent, and small daily stories. Those Father’s Day craft ideas and DIY Father’s Day crafts turn simple materials into meaningful objects, letting handmade Father’s Day gift crafts sit on a shelf or desk as quiet reminders.
Choosing handmade Father’s Day gifts keeps memory and everyday warmth close.
Vintage leather keychain with pressed initials
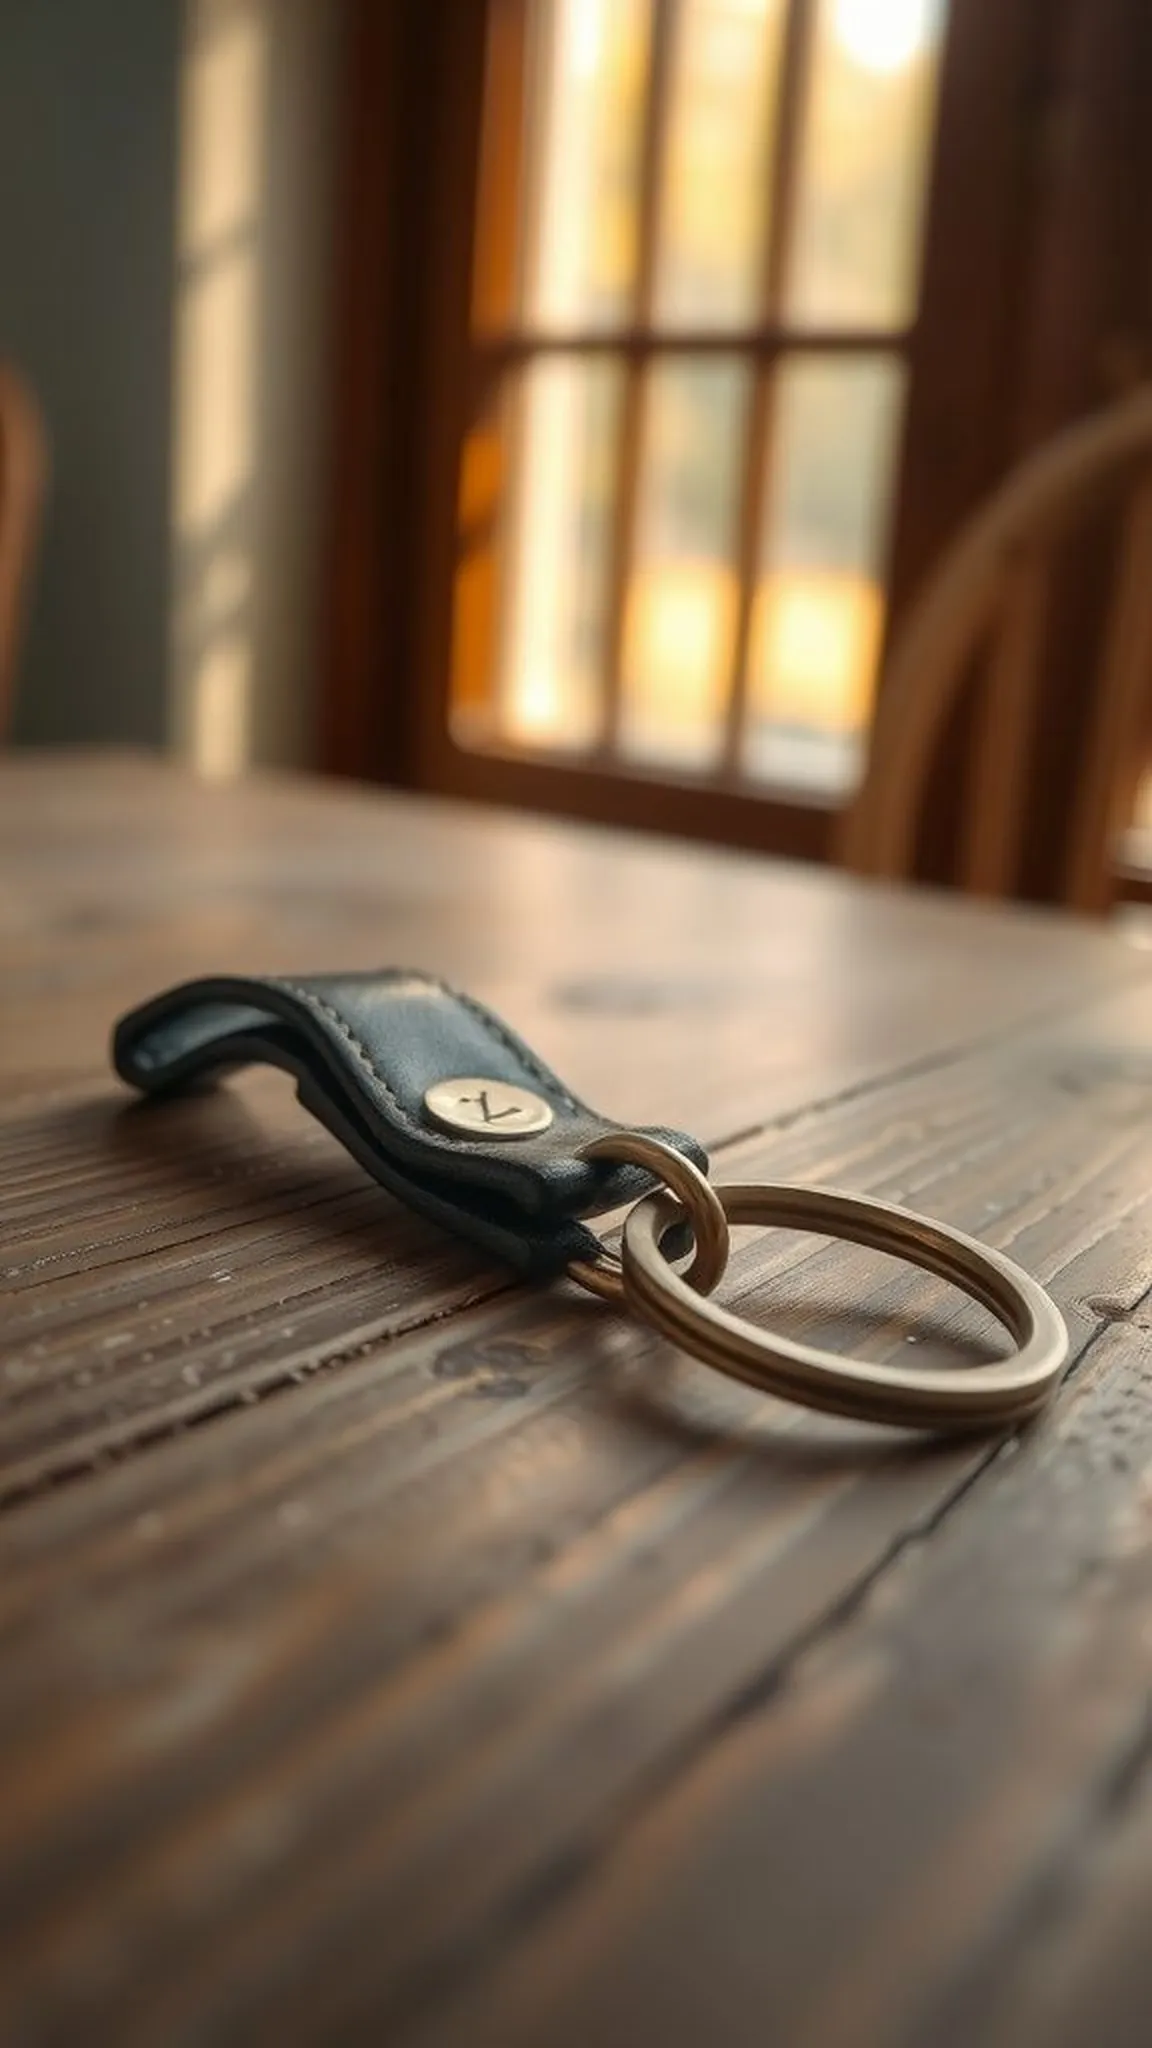
A soft, worn leather keychain feels like a well-loved object from the first touch. The leather smells faintly of cedar and conditioning wax, and a pressed initial sits dark and glossy at the center. The edges have a gentle sheen where hands have rubbed them, and the brass ring has a warm, dull glow.
This piece sits in a pocket and gathers tiny scuffs and stories, becoming an everyday comfort that carries a name without needing words.
Steps
- Choose a sturdy vegetable-tanned leather strip and mark the desired size on the surface.
- Trim the leather to size and smooth the edges with light abrasion along the sides.
- Heat a metal stamp with the chosen initial and press firmly into the leather to create an impression.
- Apply a thin coat of leather conditioner and buff until the surface shows a subtle shine.
- Attach a solid brass split ring through a punched hole and secure the keychain loop.
Hand-painted ceramic mug with messy brush strokes
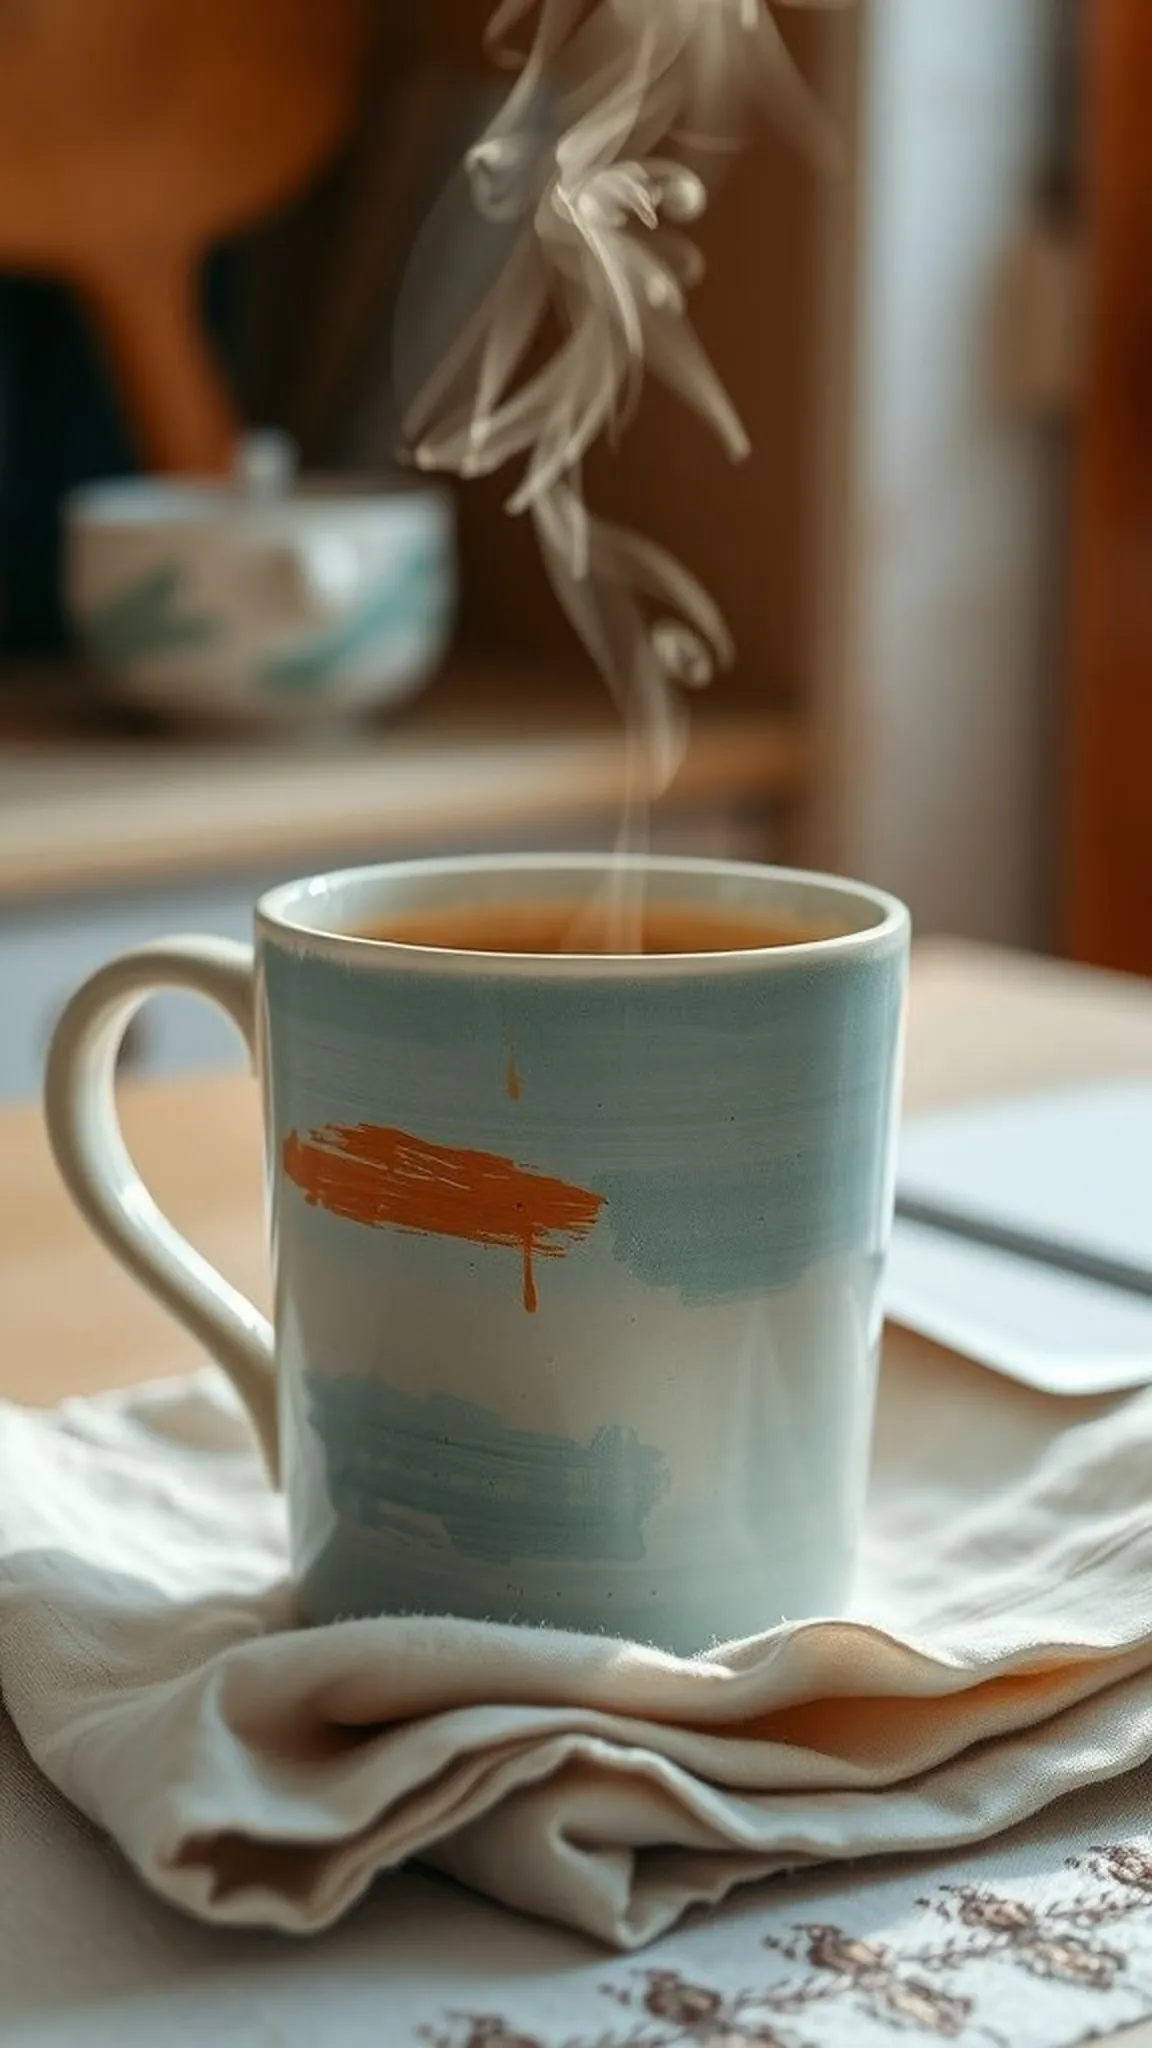
The mug carries the memory of a slow morning; the brush strokes curve and overlap in imperfect bands. Hot steam condenses at the lip and lifts faint watercolor blooms where glaze pooled. The painted motif has tiny ridges that catch light and thumb prints on the underside.
Holding it feels reassuring, with ceramic warmth transferring to fingertips. Each sip seems to nudge a small, private smile, as if the surface itself remembers the maker’s hand and a particular kitchen light.
Steps
- Select a plain white ceramic mug and clean the surface to remove any dust or oils.
- Sketch a loose design with a pencil or removable marker and build color with ceramic paints.
- Layer glazing strokes and allow areas to overlap for textured marks and painterly edges.
- Bake the painted mug following the paint manufacturer’s guidelines to set the design.
- Optionally apply a clear food-safe glaze and cure in an oven if required for durability.
Rustic wood-burned coaster set with grainy edges

The coasters smell faintly of warm pine and char, a comforting scent that brings to mind a quiet workshop. Wood grain patterns run beneath delicate dark lines where letters and tiny icons were burned, creating a contrast between pale tender sapwood and toasted marks. Each circular piece feels slightly different in thickness and temperature, and the rough edges soften with handling.
When a cold glass leaves a ring, the coaster embraces it like a small, honest shield for a favorite table.
Steps
- Cut round hardwood slices of consistent thickness and lightly sand the surfaces for smoothness.
- Sketch simple motifs or initials in pencil on each coaster as a guide for burning.
- Use a wood-burning tool at steady temperature to trace and fill the pencil designs.
- Apply a light coat of clear satin finish to protect the wood and emphasize the grain.
- Allow the finish to dry fully before stacking or packaging the coaster set.
Personalized photo collage shadow box frame
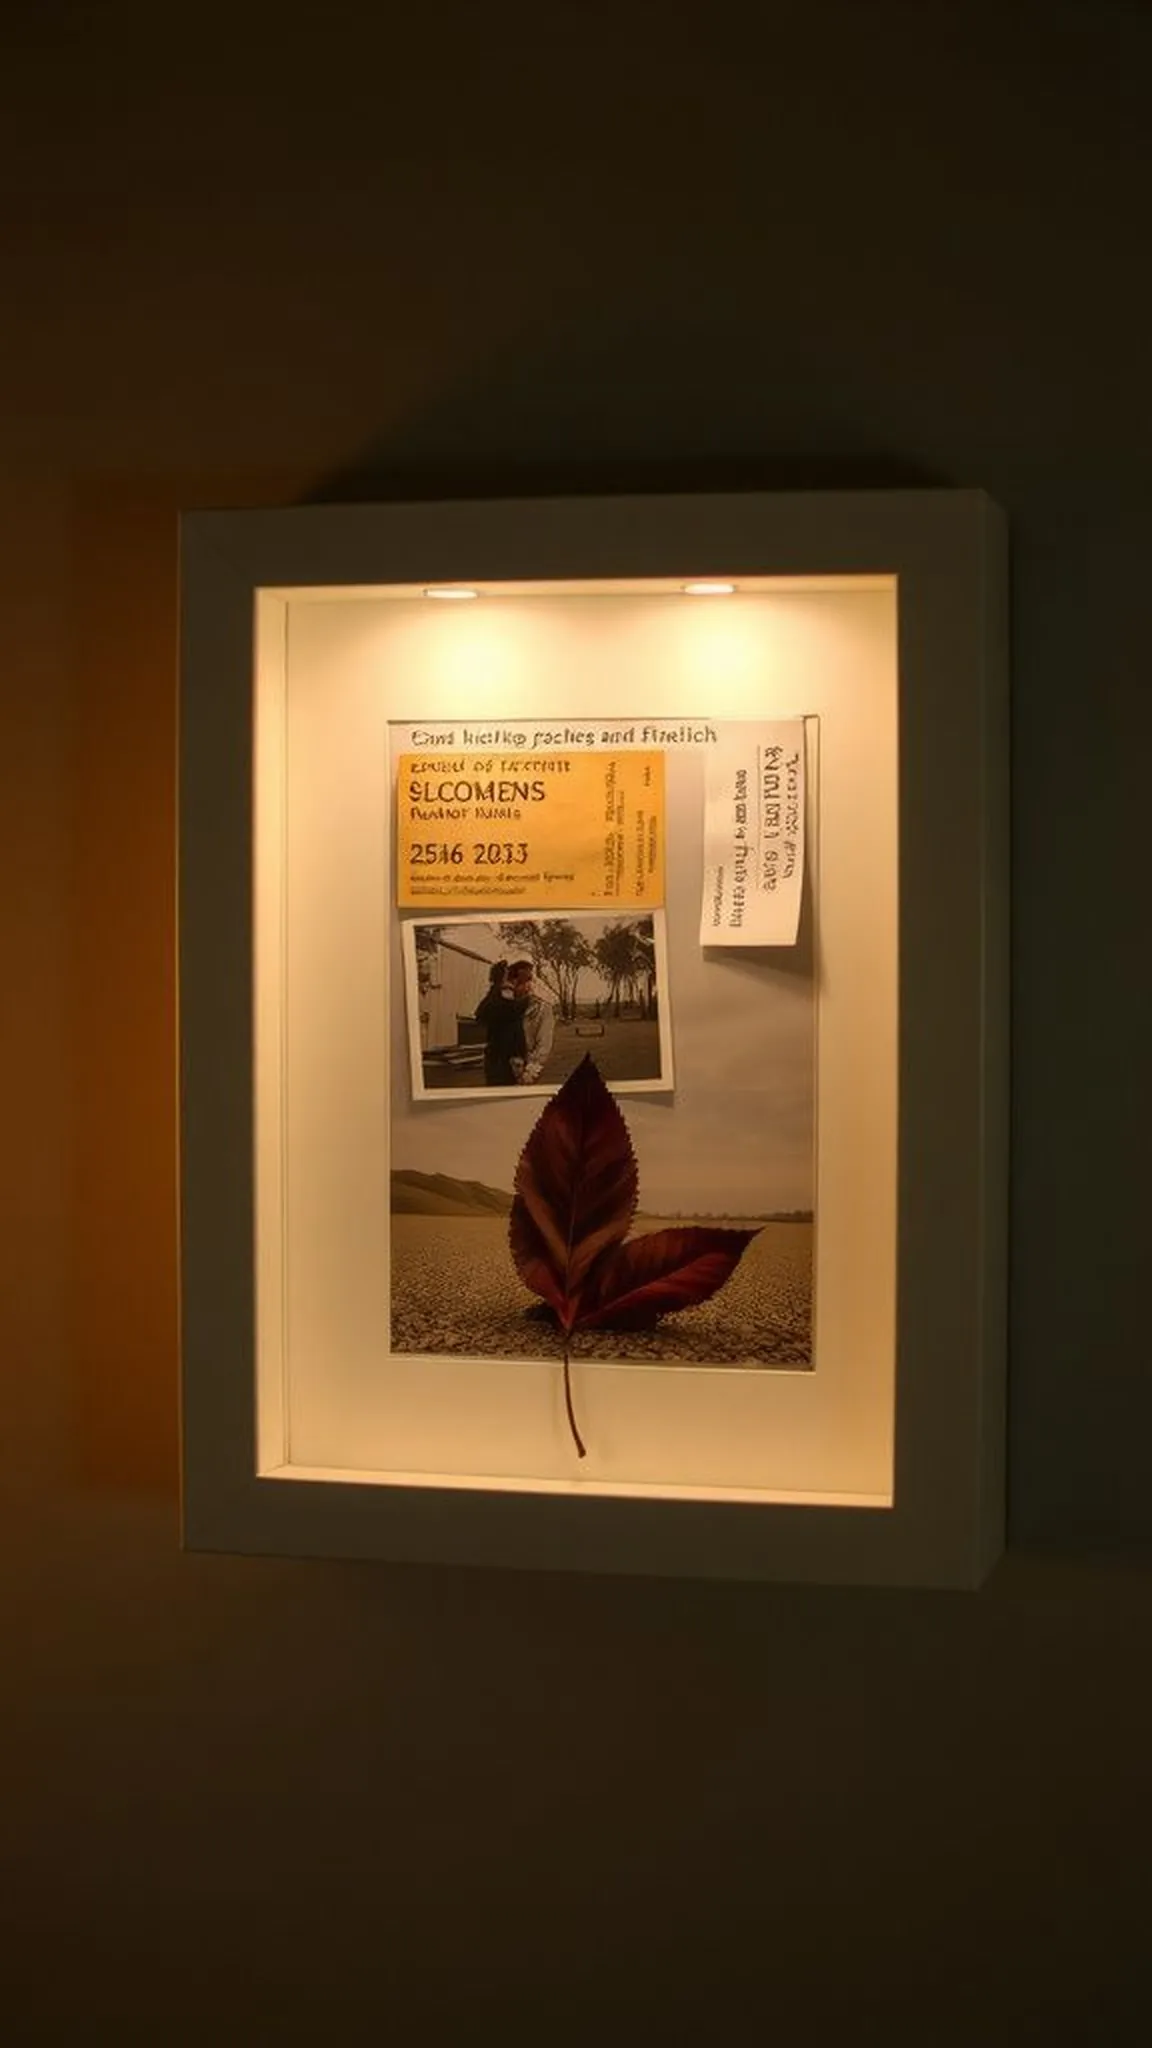
Opening the shadow box reveals layers of printed moments caught in different light: a sandy beach grin, a quiet Sunday breakfast, a small hand tucked into a larger one. Paper edges and tiny adhesive corners make a soft collage that rustles when touched. The frame’s depth creates pockets of shadow that highlight tiny objects tucked between photos—a ticket stub, a pressed leaf.
Hanging on a wall, it reads like a short, tactile story about ordinary days and the small textures that accumulate into belonging.
Steps
- Select a deep shadow box frame and arrange a collection of printed photographs and small flat keepsakes.
- Trim photos as needed and layer them along the back board, creating overlaps and varied depths.
- Secure each photograph and item with archival corners or acid-free adhesive to protect edges.
- Add small decorative elements like a ticket stub or pressed flower for visual anchors.
- Close the frame and wipe the glass clean before placing it on display.
Hand-stitched fabric wallet in muted tones
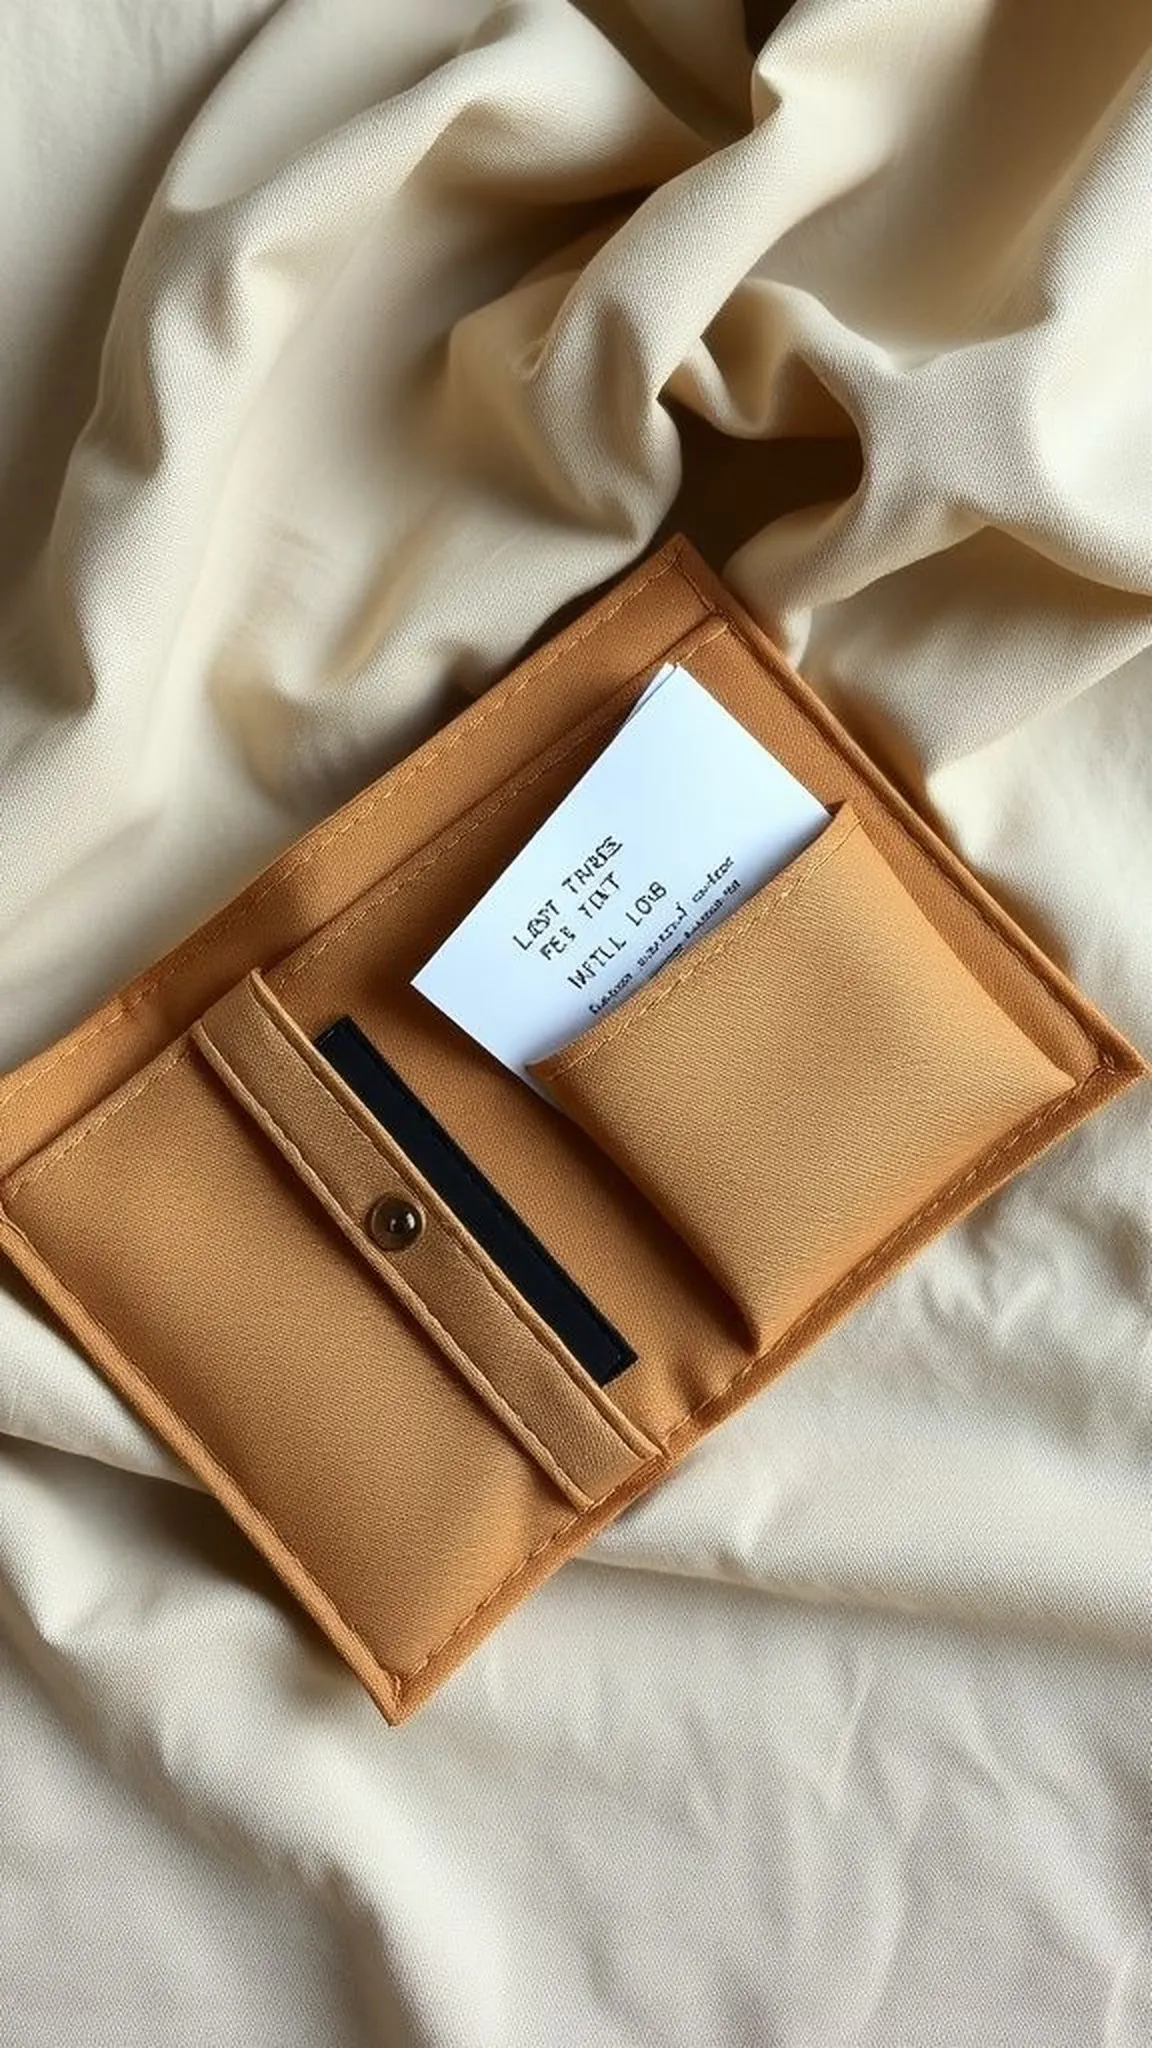
The wallet’s linen exterior has a gentle linen weave that feels dry and familiar under fingertips. Thread lines run in a confident, slightly uneven rhythm along the edges, and the inside pockets cradle old receipts and a folded note. The closure flap has a soft bend where it has been eased open many times, and the fabric corners have a mellowed look from pocket life.
Tucking it into a back pocket reveals a comfortable weight and a quiet humility that suits practical routines.
Steps
- Choose stable fabric and a contrasting lining, then cut pattern pieces to the desired wallet size.
- Pin and hand-stitch or machine-stitch main seams, leaving openings for pockets and bill compartments.
- Top-stitch edges for reinforcement and create card pockets by sewing parallel seams at measured intervals.
- Finish raw edges with binding or a folded facing and press the wallet flat.
- Add a snap or simple closure and give the wallet a final light pressing.
Stamped metal cufflinks with map coordinates

Small metal discs carry tiny, deliberate dents that read like handwriting. The stamped coordinates sit off-center, a private map that pulls memory into a compact form. Metal cools quickly against the skin but warms with contact, and a faint ring remains where an edge catches light.
The backing mechanism has a slight weight, steady in the palm, and the overall piece feels like a quiet nod to a place or day. Wearing them seems to invite a private smile at an unexpected hour.
Steps
- Cut or select small round metal blanks suitable for cufflinks and polish the surfaces.
- Mark the desired coordinates lightly with a guide to ensure alignment.
- Use metal letter punches and a hammer to stamp the coordinates into each blank.
- Clean the blanks, apply a patina if desired, and buff raised areas for contrast.
- Attach cufflink findings with strong metal adhesive and allow full curing.
Memory jar of handwritten note slips
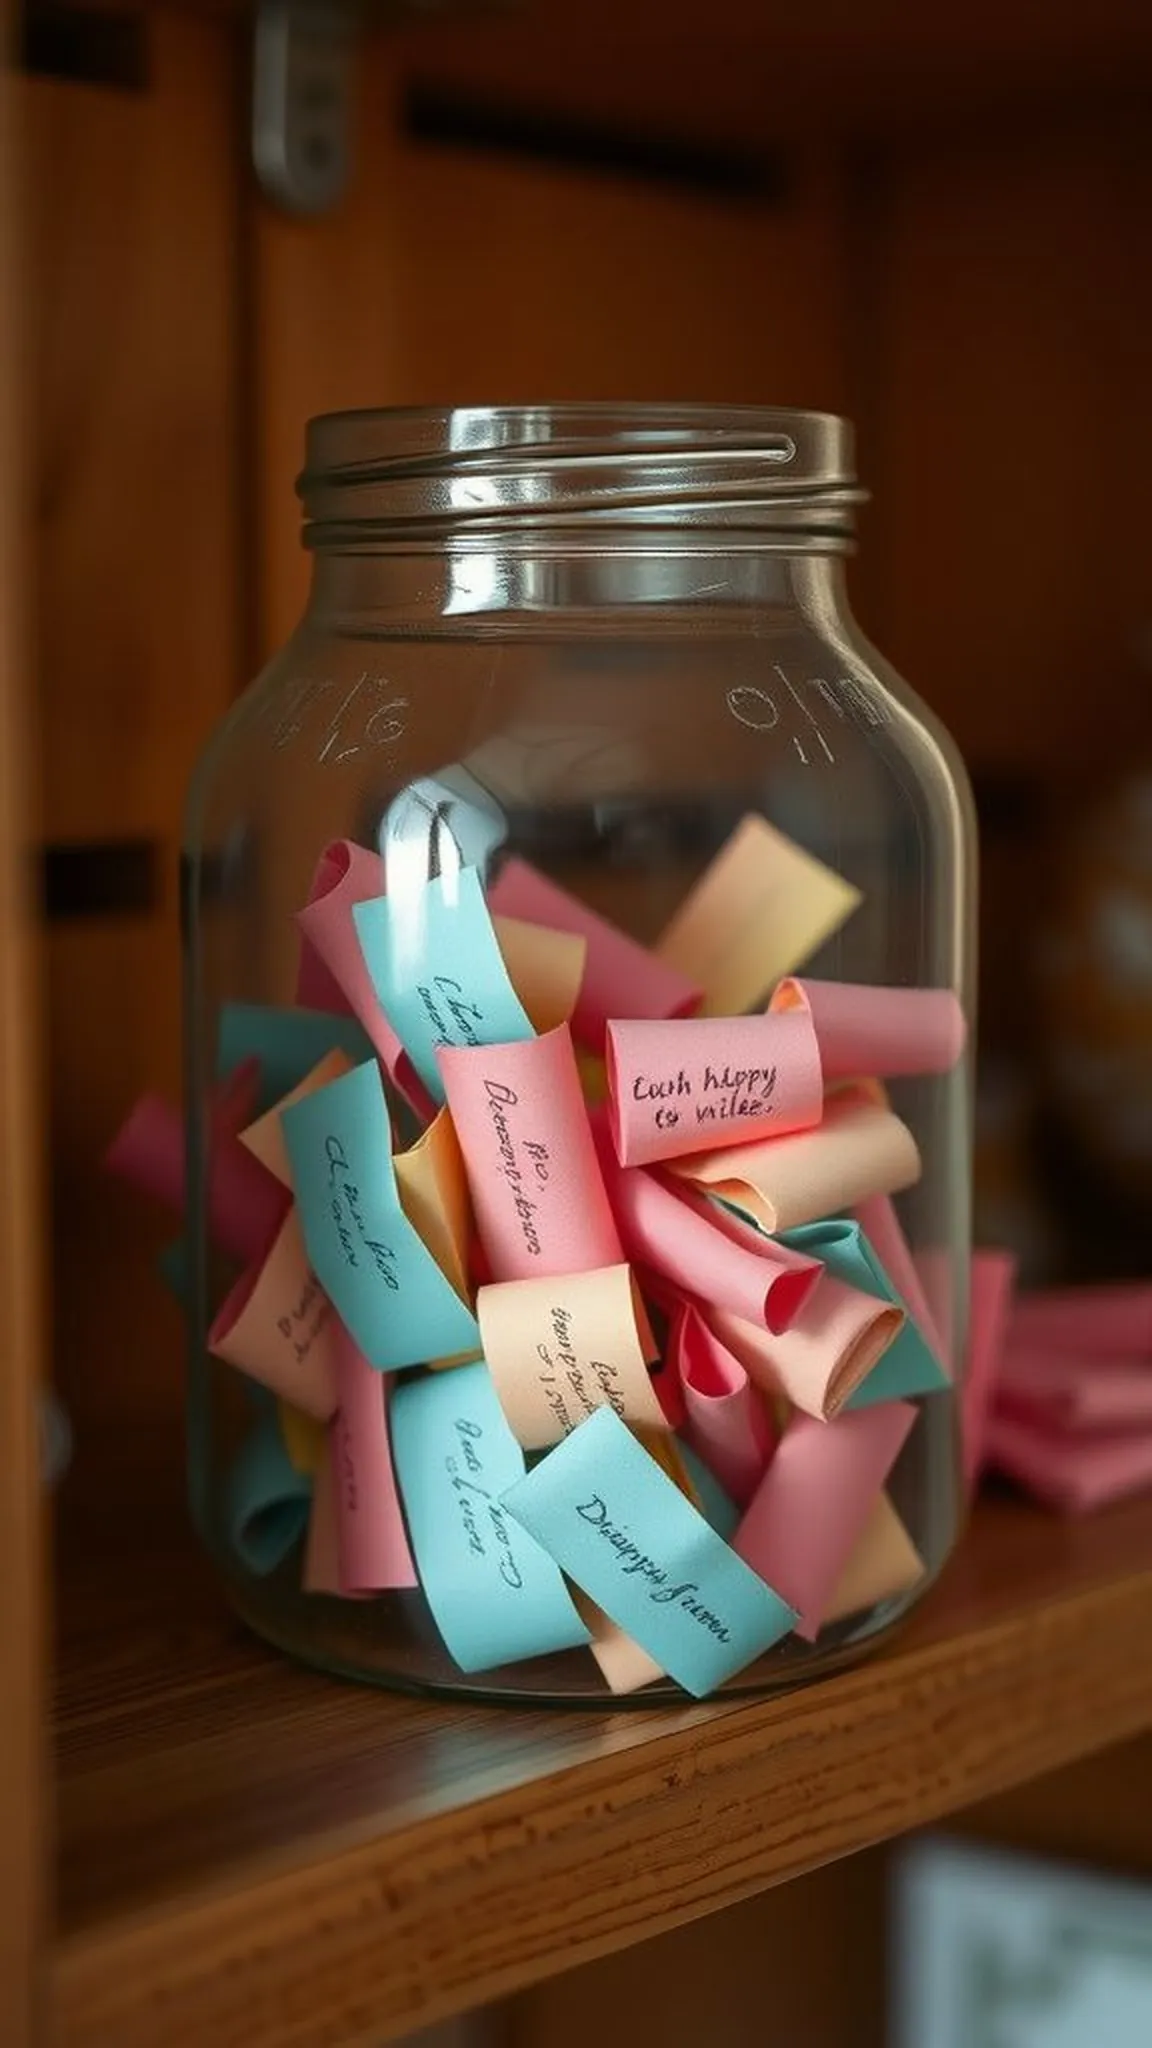
The jar looks ordinary until the lid is lifted and a scent of paper and faint ink rises. Inside, folded slips of paper ripple like tiny flags, each edge showing a flourish of handwriting. Drawing one out yields a short, vivid line that tastes like bread and late-night laughter, a weekend route, or an offhand compliment.
The glass catches light and throws tiny highlights across a table. Keeping the jar on a shelf makes daily life feel threaded with small, recoverable stories.
Steps
- Select a clear glass jar and prepare a stack of small paper slips in a variety of colors.
- Write short, personal notes or memories on each slip, folding them neatly before placing them inside.
- Fill the jar to the top and seal with its lid, optionally decorating the lid with a simple tag.
- Place the jar somewhere visible so individual notes can be pulled when wanted.
- Refresh the jar seasonally by adding new notes to keep the collection growing.
Concrete terrazzo desk paperweight with flecks

The paperweight is pleasantly cool and heavy, the concrete surface broken by tiny chips of stone and glass set like constellations. Light catches the embedded fragments and throws thin speckles across a desk under lamp glow. Fingers trace smooth, slightly pitted surfaces and linger over the irregular edges where aggregate peeks out.
It sits steady on scattered notes, an anchor among pens and a small stain of coffee. The object feels modern but familiar, an honest weight for day-to-day rhythms.
Steps
- Mix a small batch of fine concrete and fold in chosen terrazzo chips such as stone or glass pieces.
- Pour the mixture into a suitable silicone mold and tap gently to settle the aggregate.
- Allow the concrete to cure fully according to the material’s setting time.
- Demold and sand any rough spots, polishing exposed chips to reveal their color.
- Seal the surface with a matte concrete sealer to protect and deepen the finish.
Custom engraved wooden bottle opener bar tool
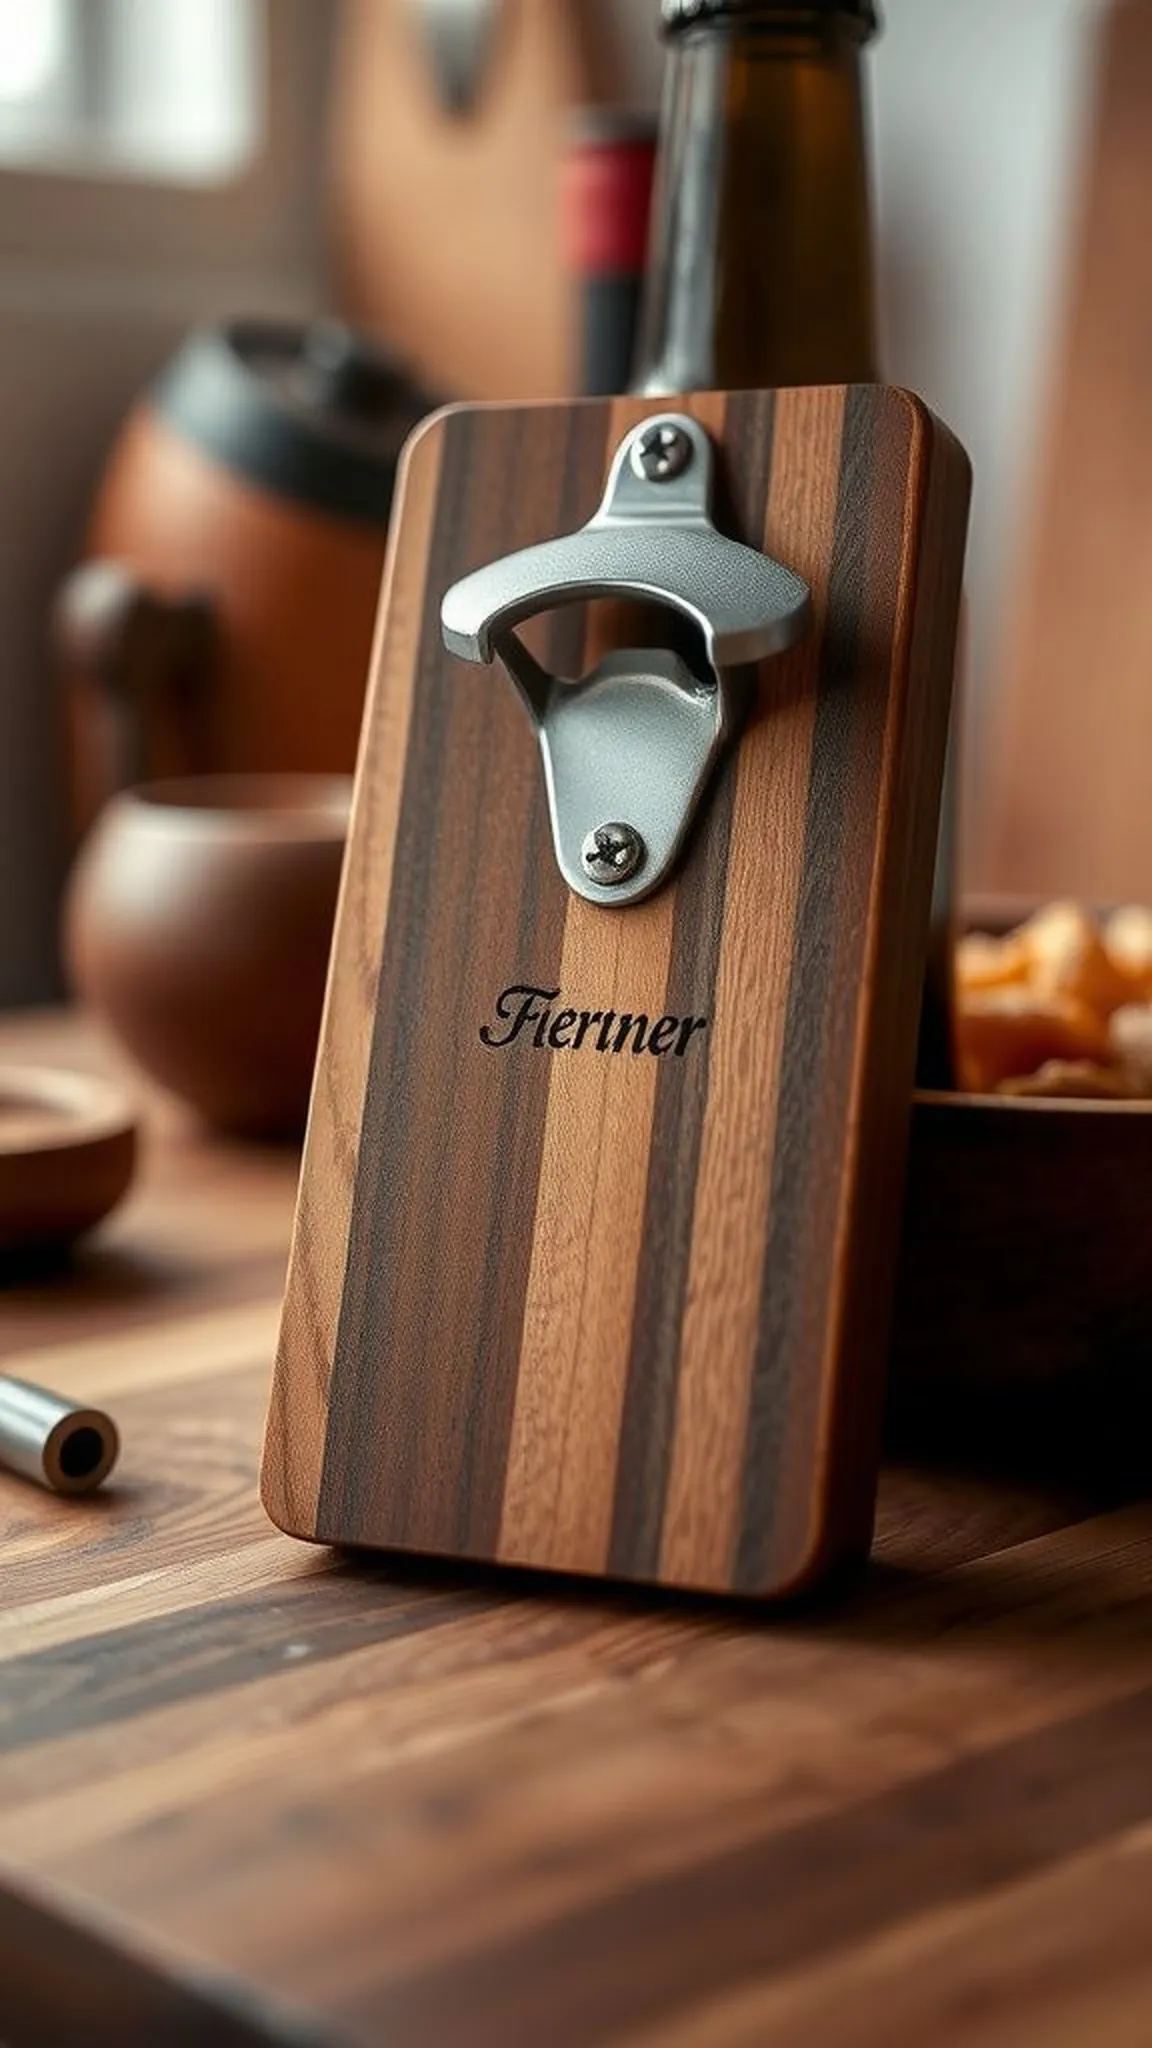
The opener’s wood is warm under a palm, the engraved name sunk slightly into the grain where darker tones collect. Metal hardware meets wood with a subtle whisper when opened, and a faint metallic tang hangs in the air after use. The shape fits like a memory of other tools, natural and slightly asymmetrical.
It rests near bottles and a worn cutting board, ready for a casual toast or a slow Saturday project. The whole piece radiates a calm practicality and a sense of small ritual.
Steps
- Select a sturdy hardwood blank and mark the outline of the bottle opener handle.
- Mill or cut the handle shape and sand all surfaces smooth before engraving.
- Use a rotary tool or laser engraver to add a name or short phrase into the wood.
- Attach a metal opener piece securely with rivets or screws into a countersunk area.
- Finish with food-safe oil to enhance the wood grain and provide protection.
Scented beard oil in amber apothecary bottle

The bottle gives a soft amber warmth, and a single drop released by the glass pipette smells like citrus peel and cedar or a quiet pine trail. The oil moves like slow sunlight along the skin and leaves a satin trace on fingertips. A small handwritten label wraps the glass with inked letters and a faint smudge from pressing the stamp.
It sits on a shelf with other grooming items, a modest touch of ritual that signals attention to small, daily comforts.
Steps
- Choose carrier oils like jojoba and sweet almond, measuring them into a clean mixing vessel.
- Add essential oils for scent, blending small drops until a pleasing aroma balance is achieved.
- Stir gently and transfer the mixture into amber glass dropper bottles to protect from light.
- Label each bottle with contents and a batch date, sealing the cap tightly.
- Allow the oil to rest for a short period so scents marry before use.
Hand-stitched leather cord bracelet with clasp

The bracelet rests on the wrist like a thin promise, the braided leather warm and slightly tacky after a few hours of wear. Tiny stitch marks along a narrow leather strip show where pieces joined and a small metal clasp offers a quiet click. The smell of treated leather lingers faintly, and under lamp light the braid shows subtle color shifts.
Each time it slips on, there’s a small comfort in the familiar weight and the gentle sound as links meet the clasp.
Steps
- Select leather cords and a durable clasp, cutting cord lengths to suit wrist measurements.
- Braid or twist the cords together, keeping tension consistent for an even profile.
- Secure ends with a fine, neat stitching or a small clamp to prevent fraying.
- Attach the clasp ends firmly using rivets or strong adhesive and allow to set.
- Finish by conditioning the leather lightly to enrich color and flexibility.
Mini recipe book of family-favorite breakfasts

The little book smells faintly of paper and butter from a few splashed notes, edges softened by repeated handling. Handwritten recipe headings tilt differently, reflecting hurried mornings and careful weekends. Some pages have small flour smudges and a splatter that became part of the narrative.
The binding is compact and flexible, fitting into a kitchen drawer or next to a coffee tin, and flipping a page brings a flash of memory tied to tastes and the cadence of shared bowls and quiet conversation.
Steps
- Collect favorite family breakfast recipes and type or write them onto individual pages.
- Arrange the pages in a compact order and print or photocopy onto quality paper stock.
- Bind the pages with a simple pamphlet stitch or small ring binder for durability.
- Design a modest cover with a title and a small illustration or family emblem.
- Trim edges and optionally add a protective clear cover for kitchen use.
Cedar-scented drawer sachets with lavender buds
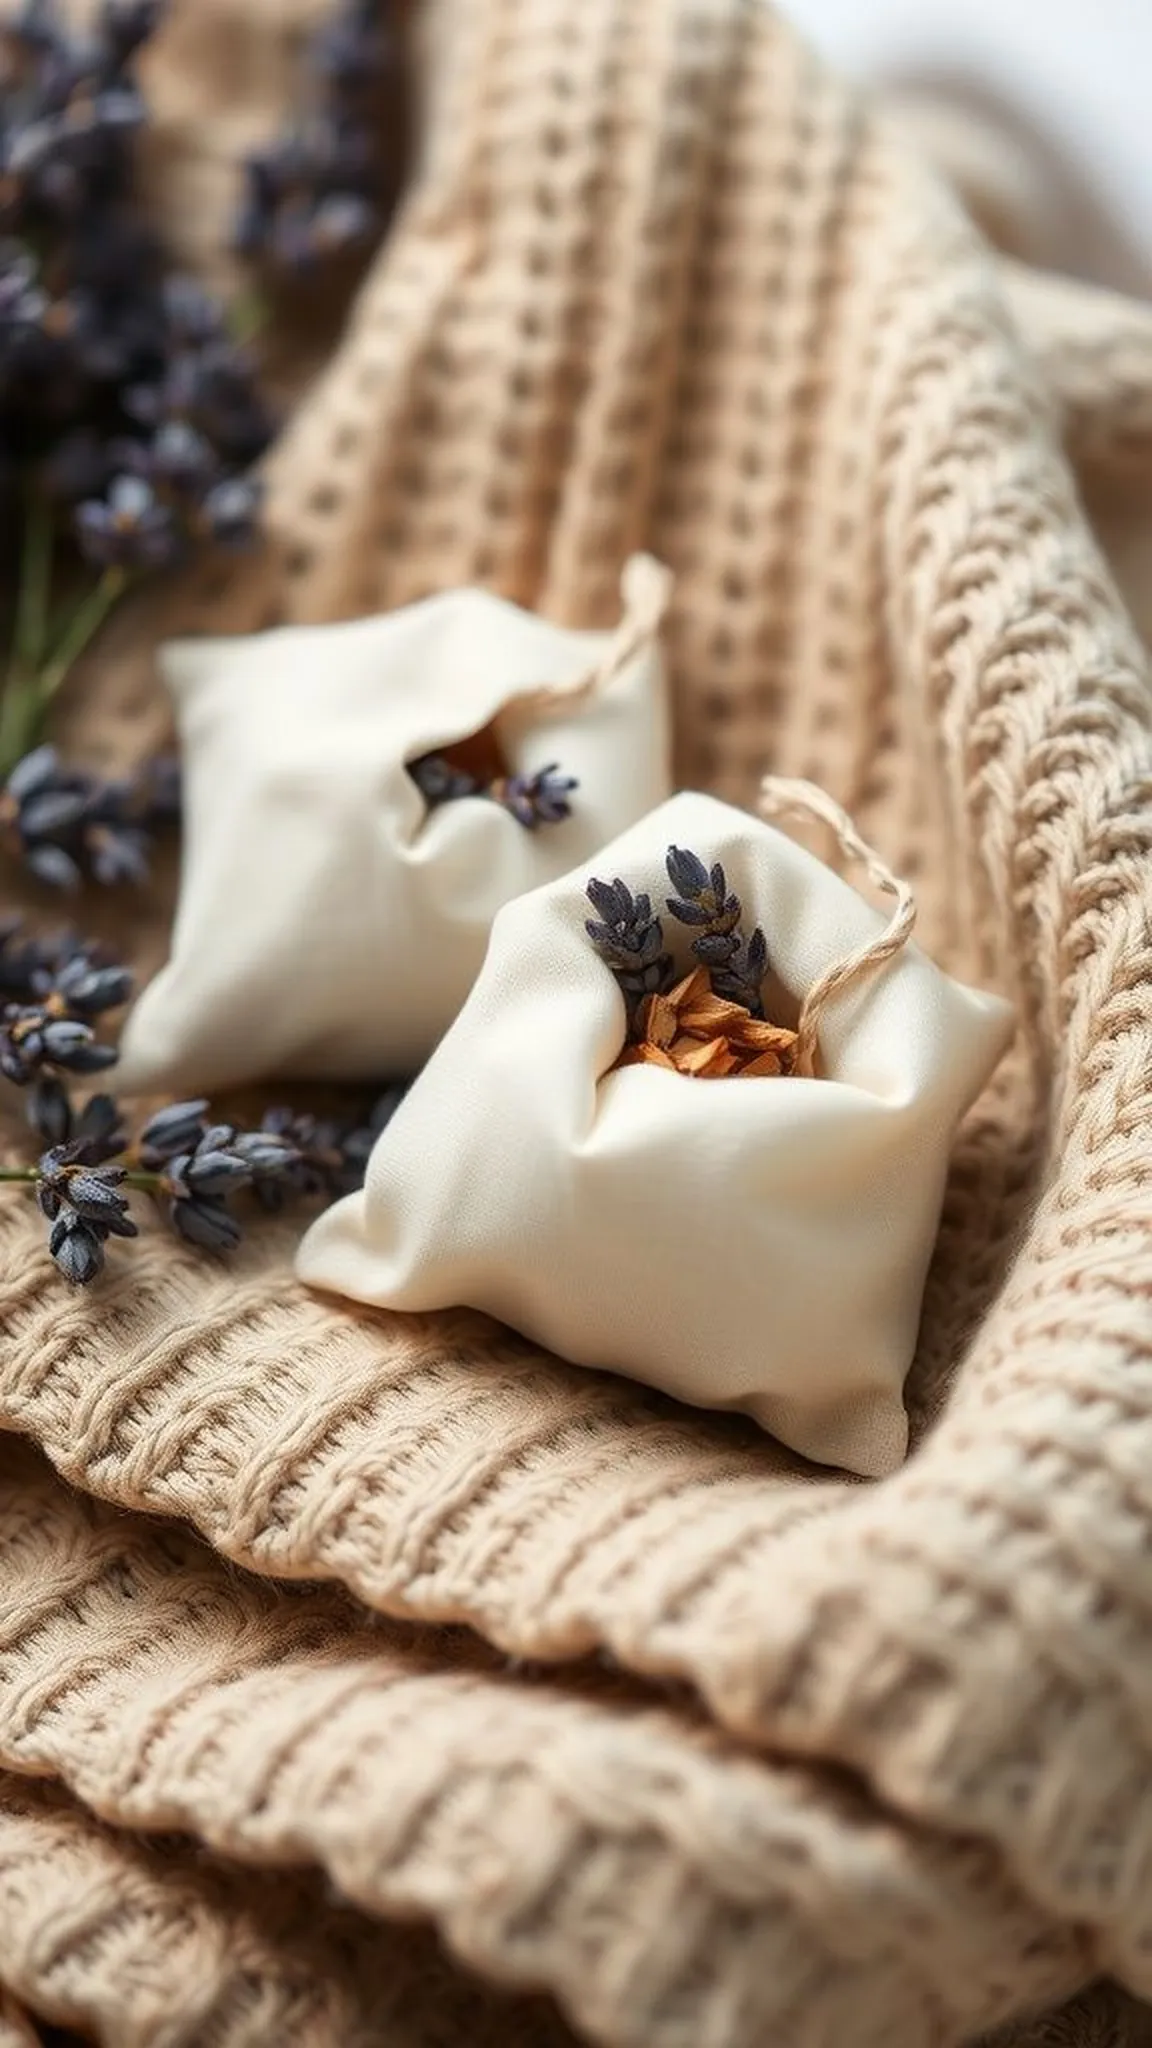
These sachets slip into a drawer and leave a whisper of cedar and dried lavender when opened. The linen fabric has a soft, slightly coarse touch, and tiny buds rustle like small dry bells when the sachet is moved. Edges are stitched close and the corners have a gentle fullness where the stuffing meets fabric.
Pulling a sweater from the drawer yields a faint, calming aroma, a small ritual of scent that turns an ordinary morning into a quiet, sensory pause.
Steps
- Cut squares of breathable fabric and fill them with a mix of dried lavender buds and small cedar shavings.
- Sew the fabric squares closed with neat stitches, leaving a small seam allowance.
- Trim loose threads and press the sachets slightly to compact the filling.
- Optionally add a simple stitched motif or stamped label to each sachet.
- Place sachets in drawers or closets, refreshing filling as aroma fades over time.
Customized map-etched wooden wall plaque
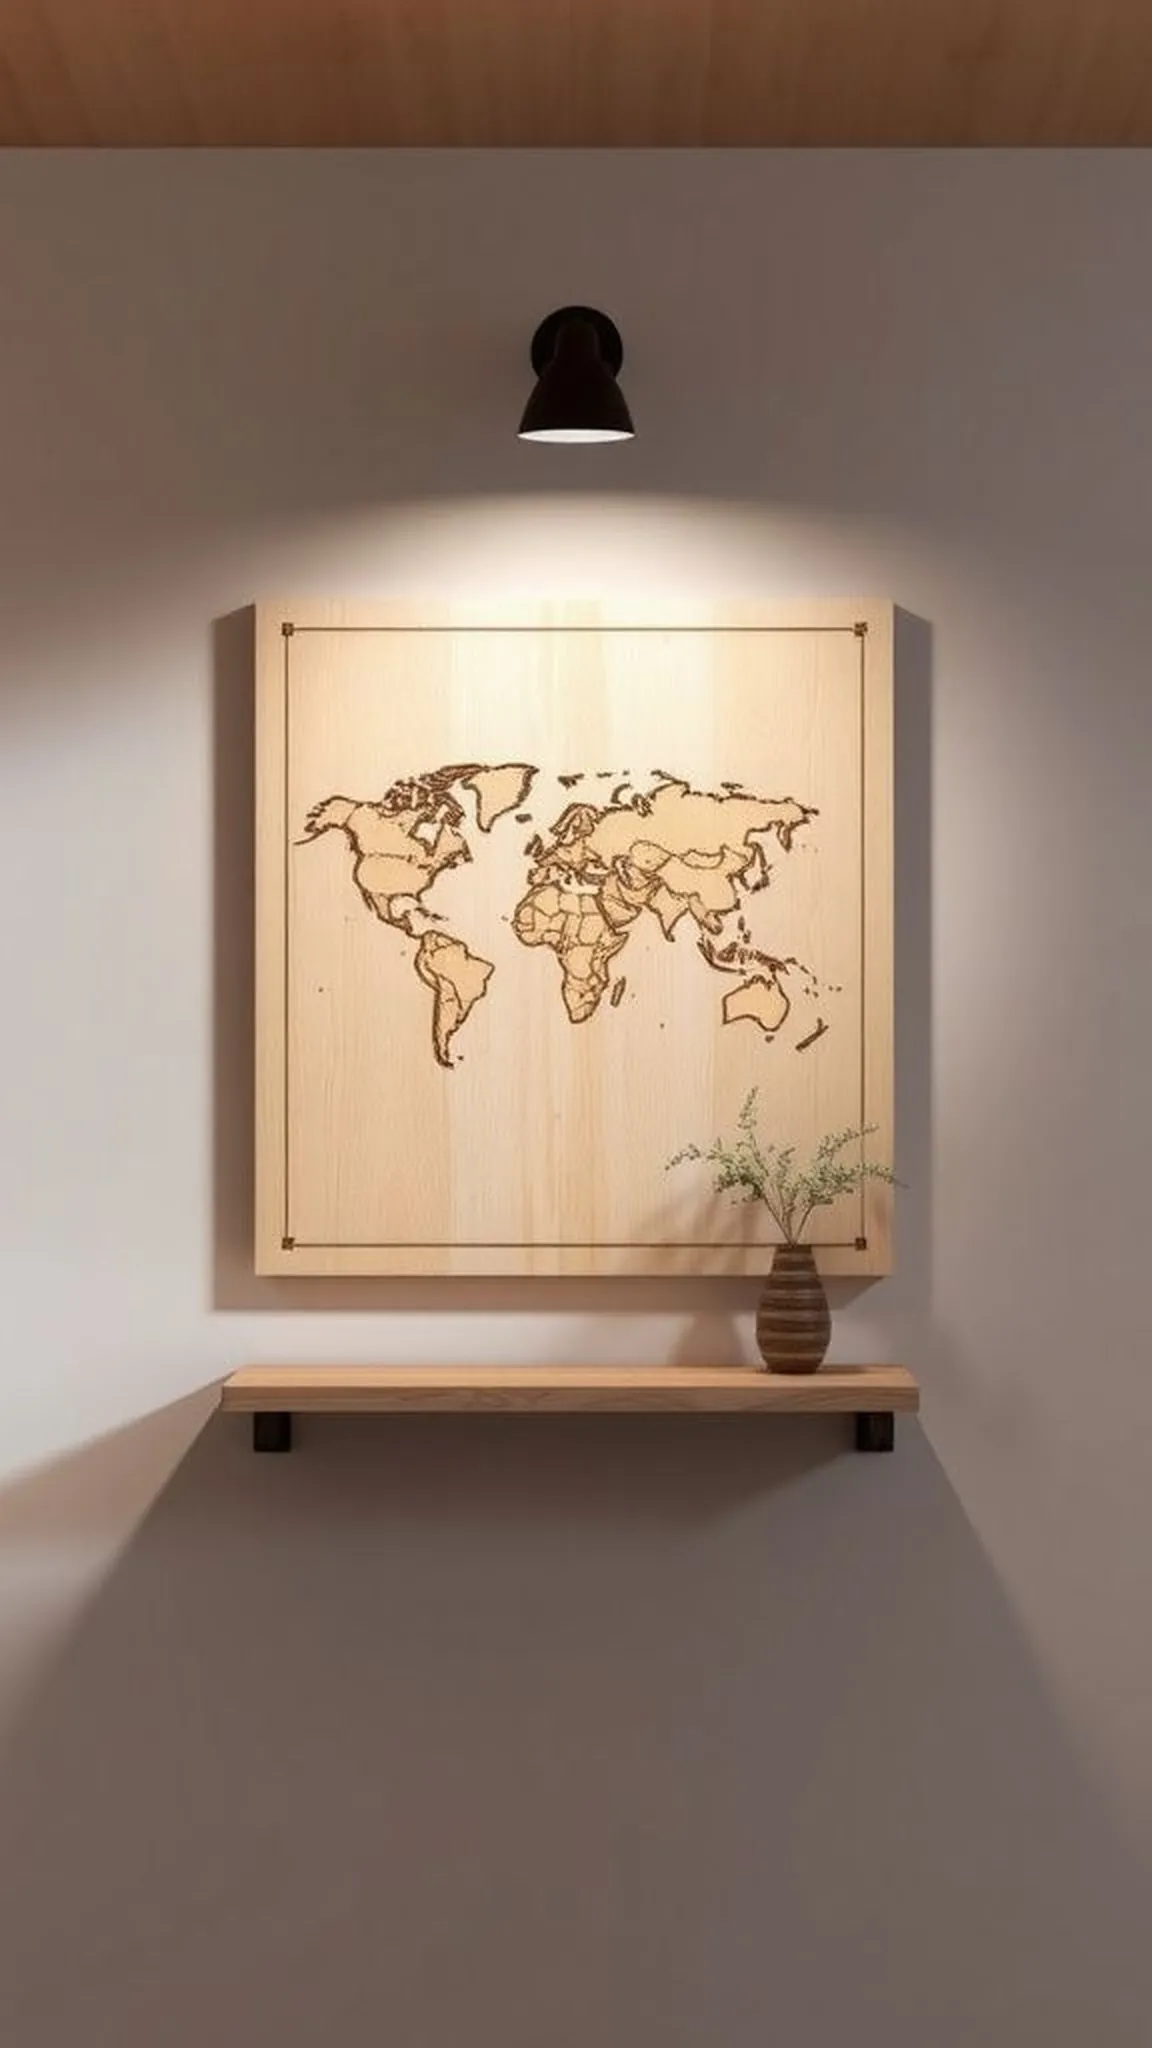
The plaque holds a thinly carved route or coastline, pale channels of exposed wood contrasting with a stained surface. The etched lines are slightly rough to the touch, and the stain pools in them like ink in a well. Hanging on a wall, the plaque casts a subtle shadow that gives the map depth.
The wood has a warm hum when lightly knocked, and small knots peek through the finish. It reads like a quiet commemoration of a place whose name alone brings back weather and light.
Steps
- Select a smooth hardwood panel and transfer a simplified map or route design to the surface.
- Etch the design using a carving tool or laser engraver to achieve clear lines.
- Sand the surface gently to remove debris and enhance the contrast of etched areas.
- Apply a wood stain to deepen tone, wiping excess to reveal carved detail.
- Seal the plaque with a matte finish and add hanging hardware on the back.
Personalized coupon booklet for everyday favors
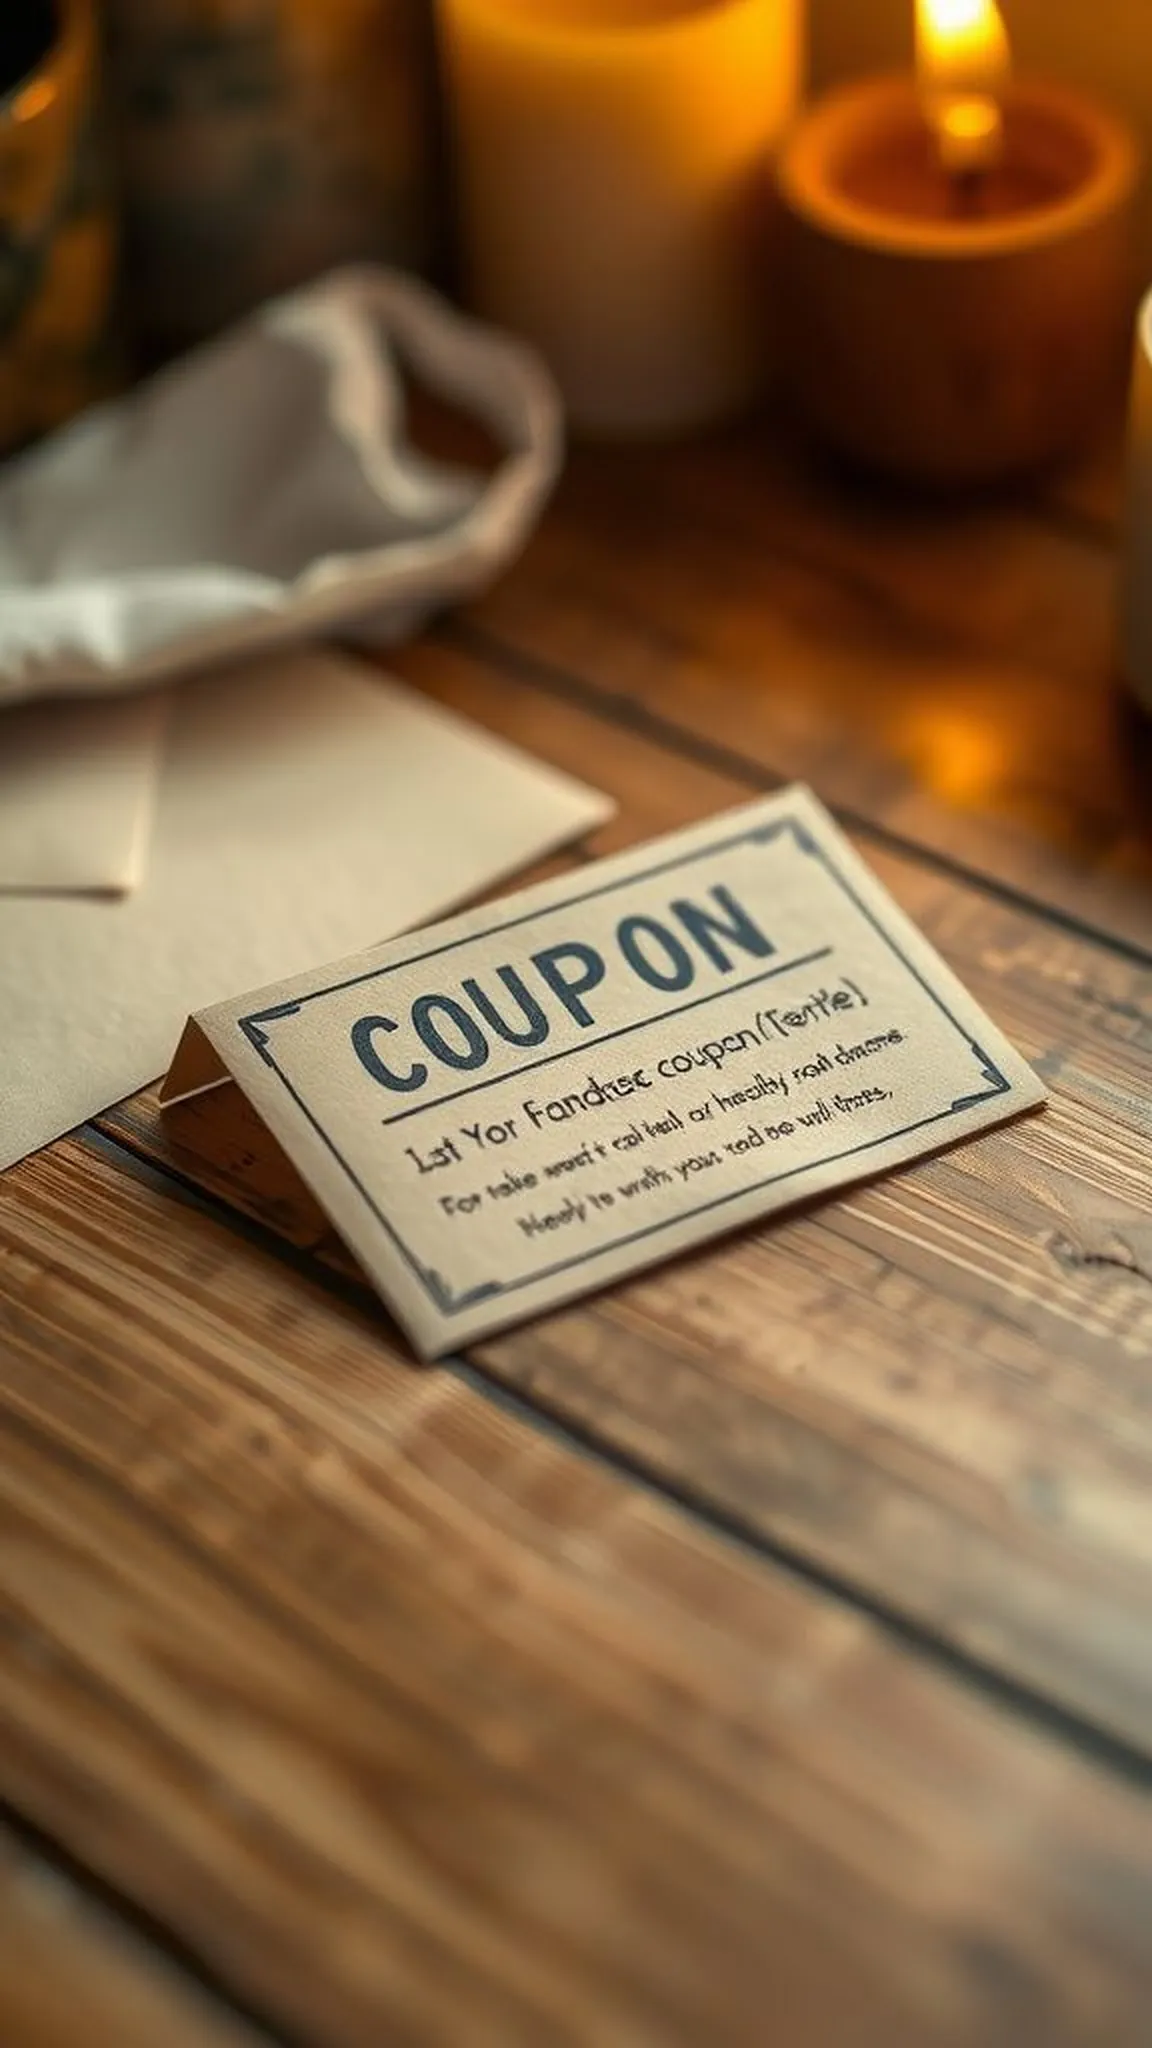
The little booklet flips with a rustle of paper and reveals hand-drawn icons and neat, smiling scripts promising small returns of time. The paper has a matte tooth and a faint scent of printer ink. Corners are rounded and the staples have a modest shine.
Tucking a coupon into a wallet feels like offering a gentle trade: a quiet hour, a favored snack, an afternoon walk. The booklet sits lightweight and unassuming, a small bank of goodwill that can be cashed in across ordinary days.
Steps
- Design a set of modest coupons with simple text and small illustrations on sturdy paper.
- Print the pages and cut to size, rounding corners for a neat finish if desired.
- Stack the coupons and staple them or bind them with a slim ribbon along one edge.
- Decorate the cover with a short title and a small illustration to personalize it.
- Present the booklet in a small envelope or tied with twine for a tidy gift.
Framed pressed wildflower bouquet from a local walk
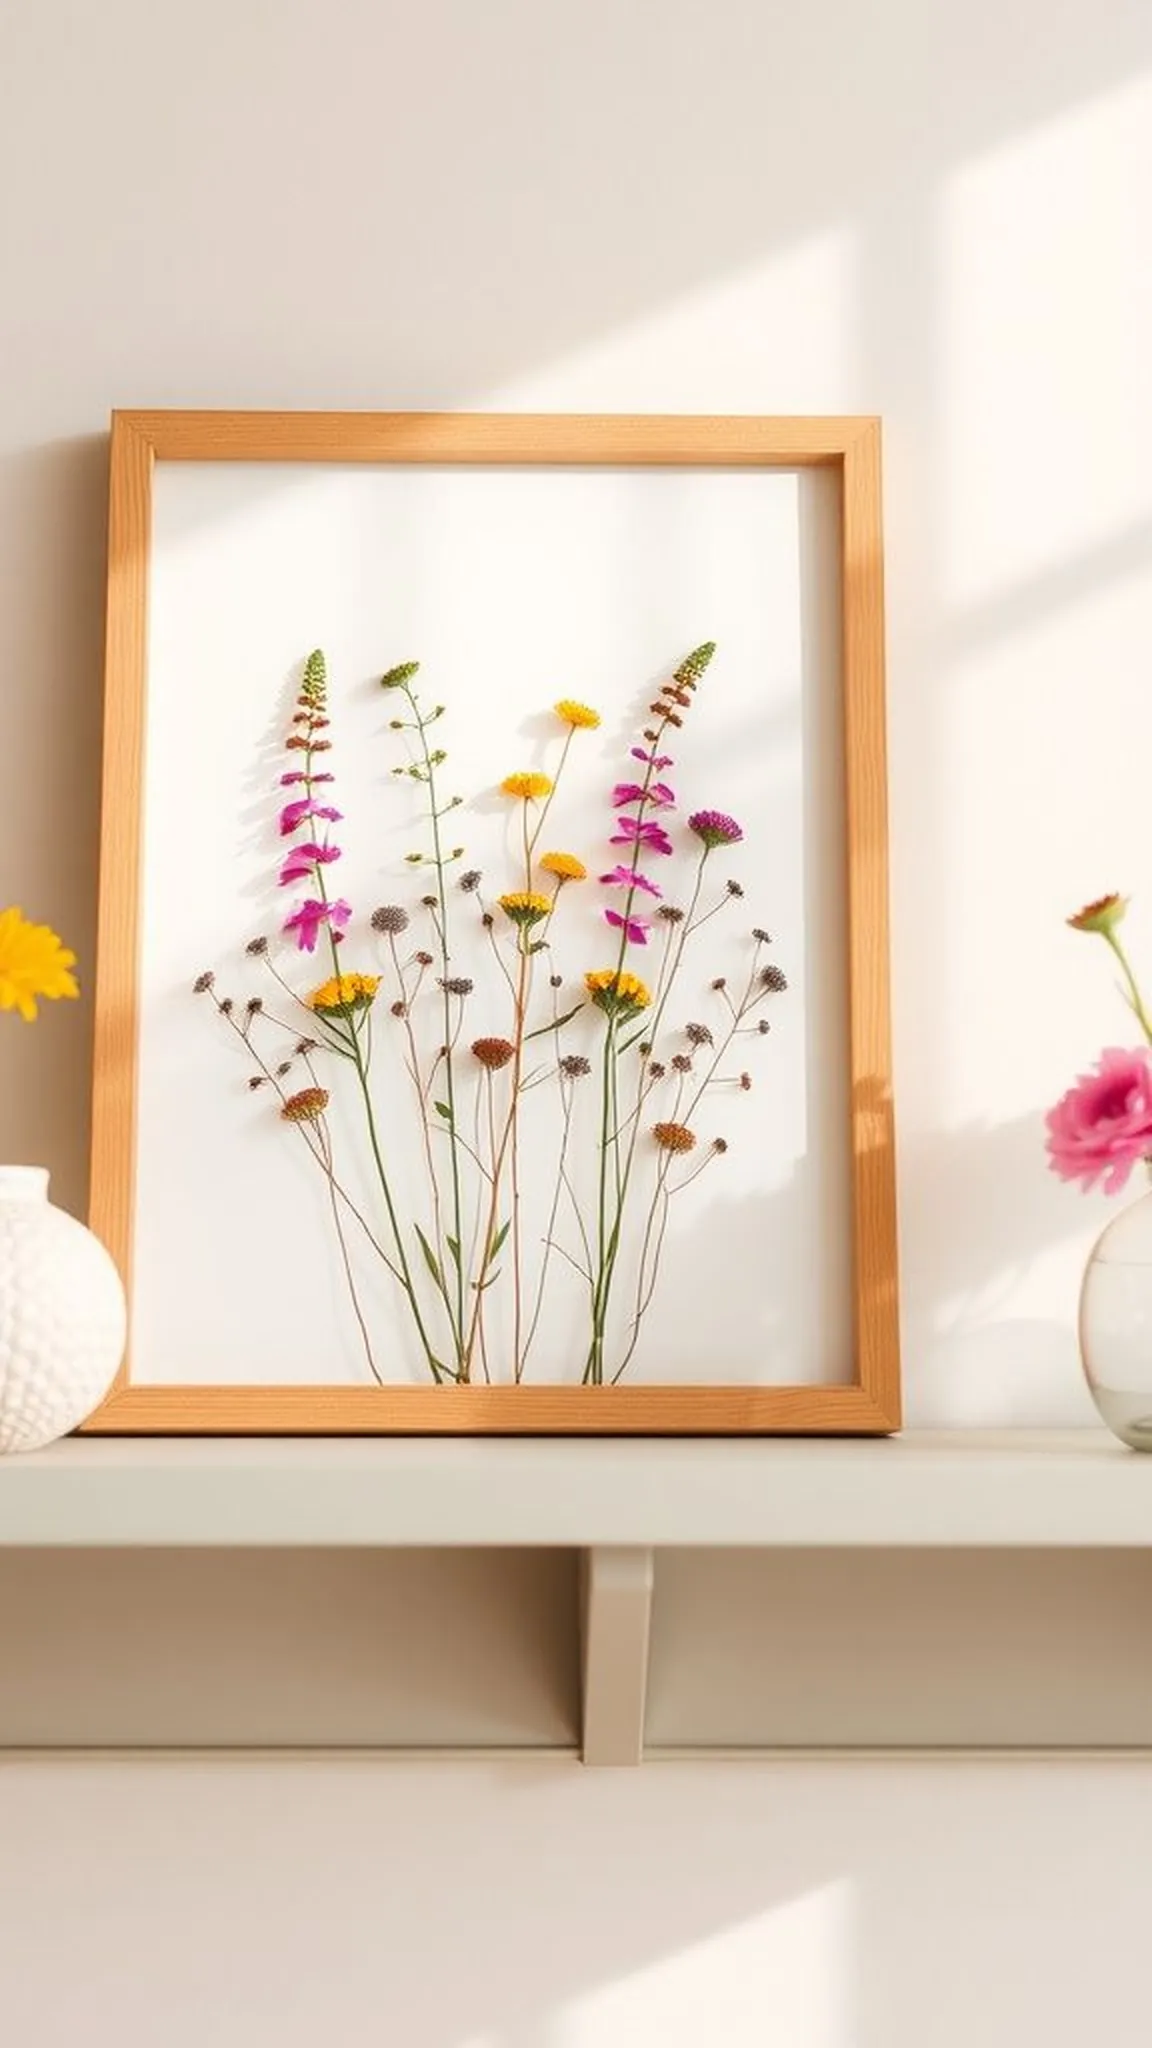
The bouquet keeps the pale translucence of petals, a pressed hush pressed between crisp archival paper and glass. Stems flatten into delicate calligraphy, and faint pollen specks dot the margins like tiny constellations. The frame’s matting creates a narrow breath of blank paper that makes the florals feel held and deliberate.
A faint dried-leaf scent lingers on the edges, and the arrangement reads like a small map of a particular afternoon: the route, the season, and the light folded into petals.
Steps
- Collect wildflowers and press them between absorbent paper under weight for several days until fully flattened.
- Arrange the pressed flowers on archival backing paper, balancing shapes and negative space.
- Mount the arrangement with archival corners or minimal adhesive to avoid damage.
- Place the mounted backing into a frame with UV-protective glass to preserve colors.
- Seal the frame and label the piece with the collection date or location if desired.
Hand-carved wooden bottle opener with natural patina

The opener’s handle is smooth from repeated contact, the grain guiding fingers to a rounded end. The carved form has slight tool marks that feel reassuring under touch, and the fixed metal edge has a steady weight and a faint metallic scent after use. Light plays along curving faces, highlighting a warm honey tone where hands have warmed the wood.
Resting on a counter, it suggests slow evenings and shared bottles, a crafted pause in the middle of everyday motion.
Steps
- Select a solid piece of hardwood and sketch an ergonomic handle shape to suit the hand.
- Carve the profile with carving knives and rasps, refining the silhouette and smoothing transitions.
- Create a recessed area for a metal opener and fit the opener securely with rivets or screws.
- Sand all surfaces progressively to a fine finish and round any sharp edges.
- Apply a natural oil finish to bring out the wood tone and offer protection.
Minimalist concrete and leather desk tray
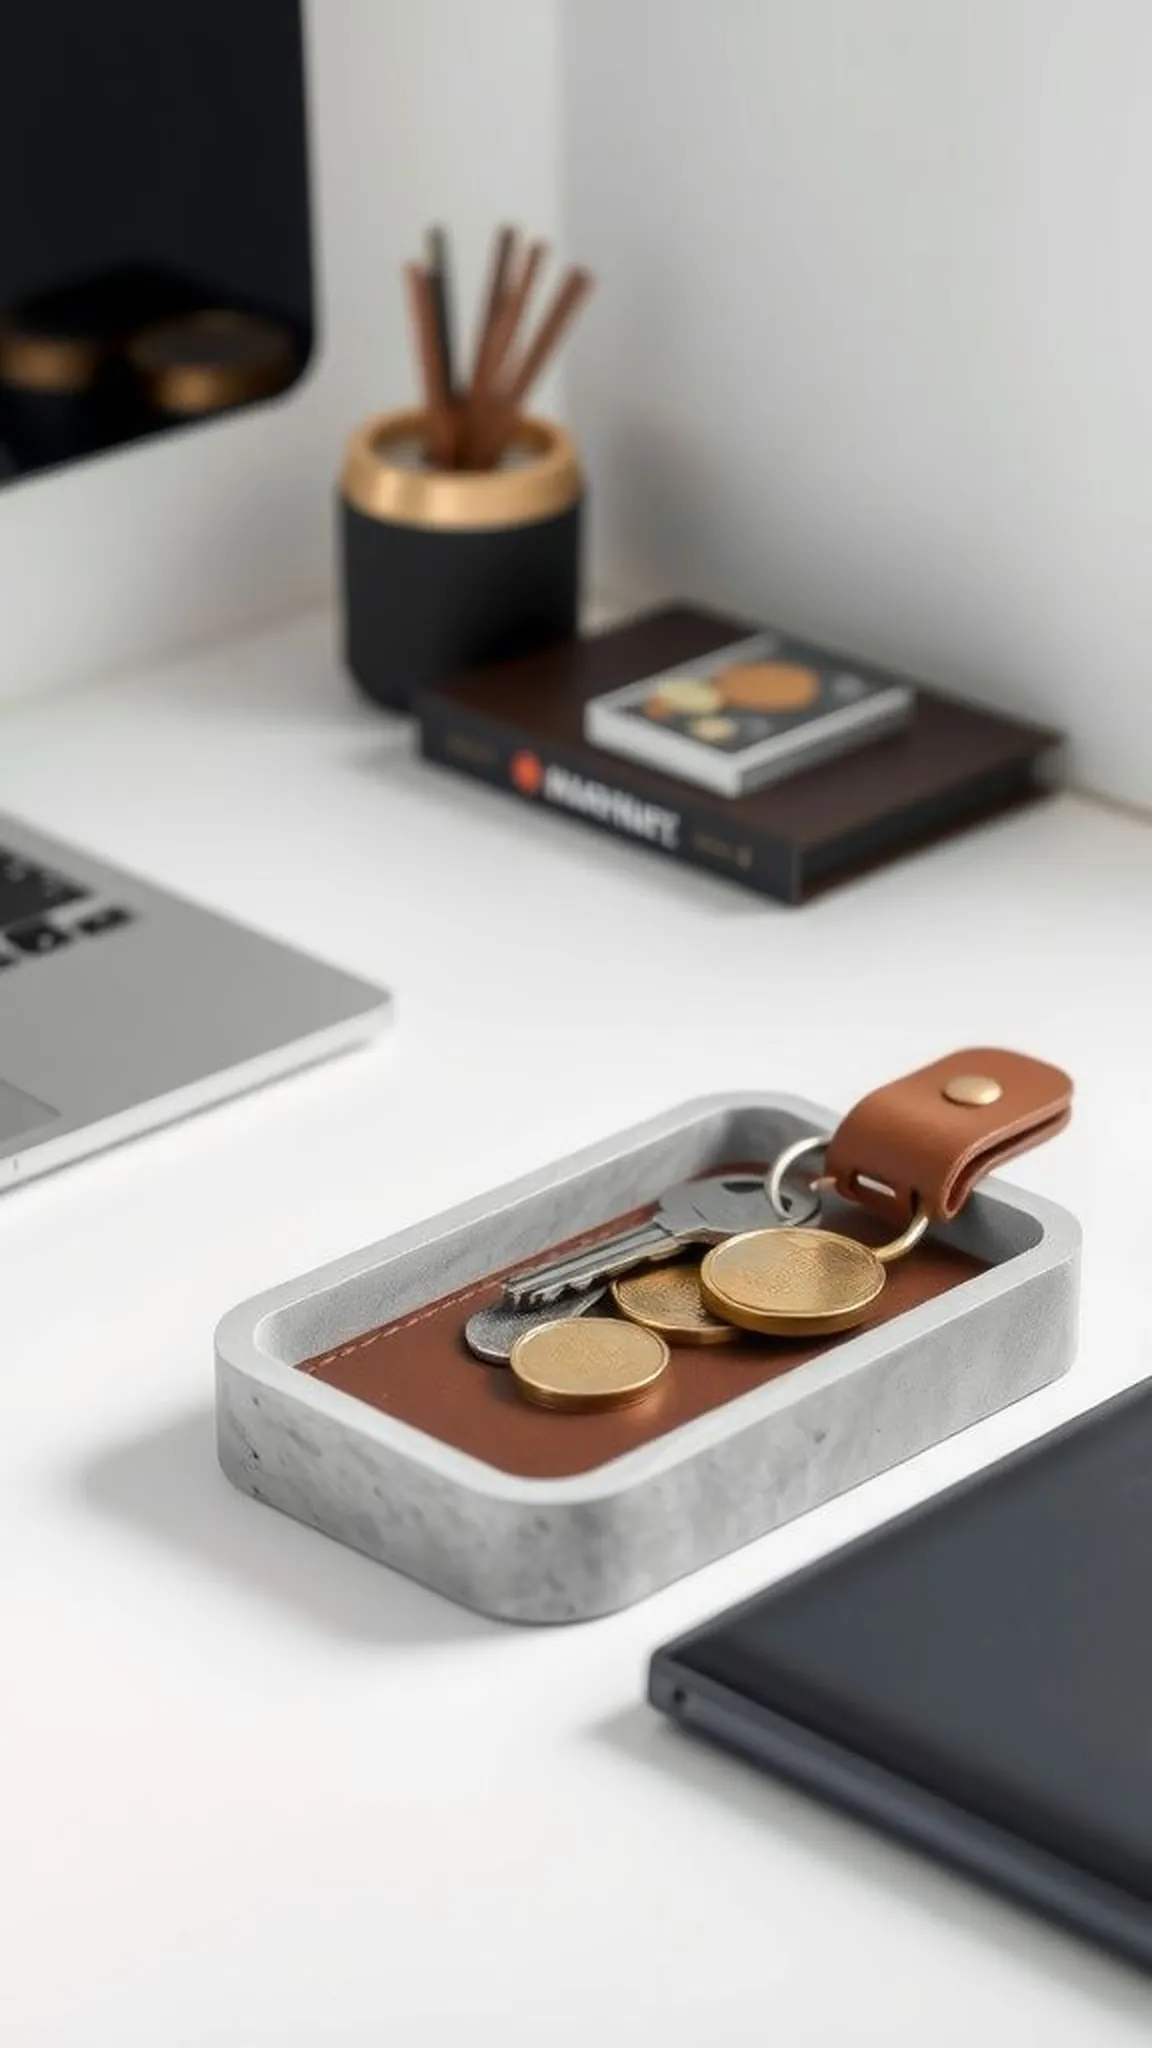
The tray pairs cold concrete with soft leather, a tactile contrast that delights each time hands hover over keys or coins. The concrete edge is crisp and slightly cool, while the leather lining has a quiet warmth that deepens with small scratches. Coins and small objects sit with a muted clink that echoes the tray’s compact geometry.
It occupies a corner of the desk without fuss, the overall presence both practical and quietly composed, a small stage for everyday miscellany.
Steps
- Cast a shallow concrete tray in a rectangular silicone mold, embedding a leather sheet to line the interior.
- Allow the concrete to cure fully, then demold and sand edges to a smooth finish.
- Trim the leather to fit snugly and adhere it to the tray interior with a thin layer of contact adhesive.
- Burnish the leather edges and condition the surface lightly for a soft sheen.
- Place the tray on a desk and adjust leather placement if needed for a neat fit.
Retro-style mixtape playlist in a handmade sleeve
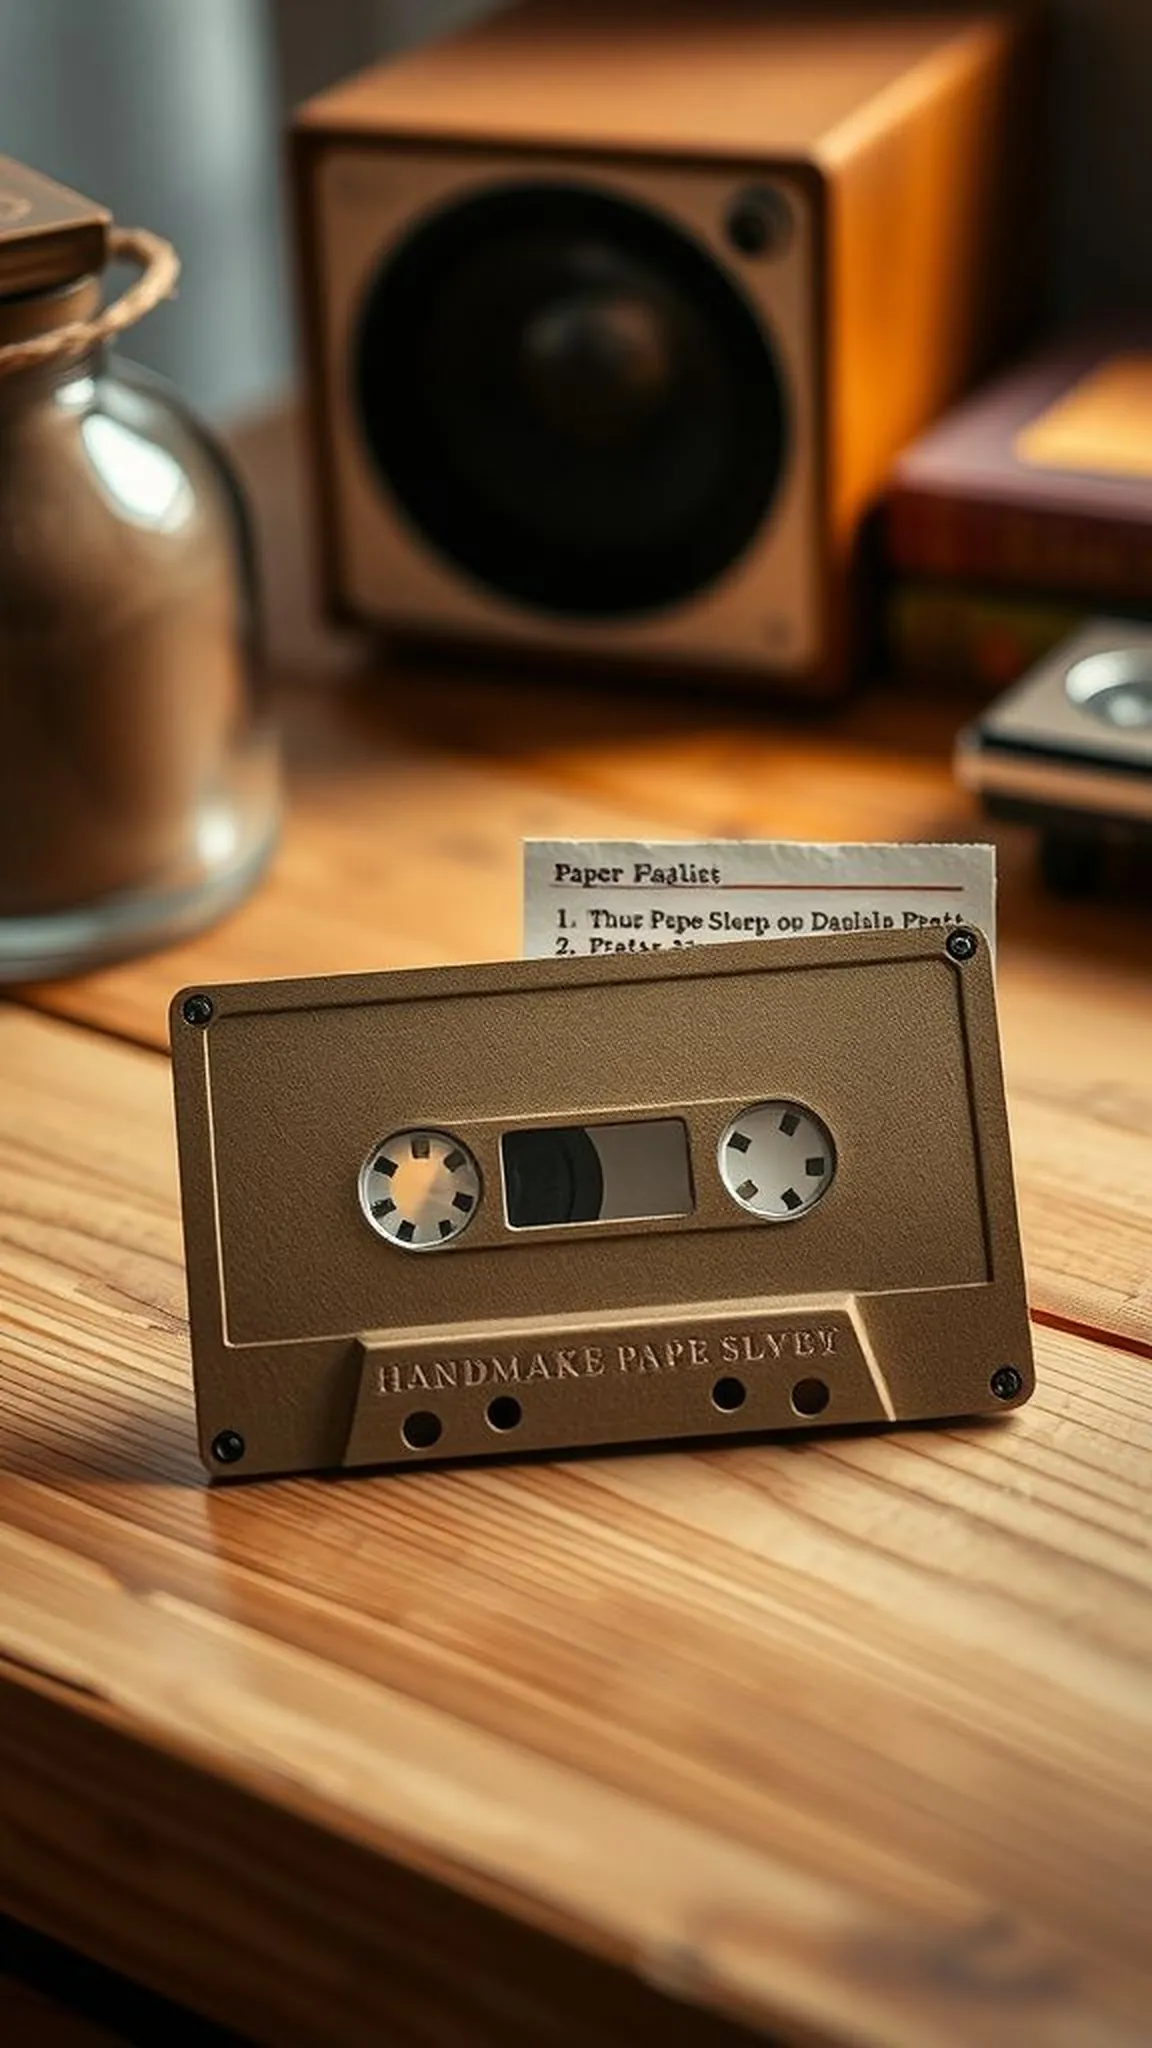
The sleeve has a warm, slightly grainy paper texture and a hand-drawn label listing songs like small landmarks. Tucked inside is a printed playlist that reads like a short diary: songs tied to breakfasts, a summer drive, or a late-night conversation. The sleeve smells faintly of ink and folded paper, and the corners have a soft give from being slid in and out.
Handing it over feels like sharing a particular radio hour frozen in time, an audible thread that links two people across small hours.
Steps
- Design a sleeve with a retro aesthetic and print it on textured paper stock.
- List the curated playlist on a small insert and format it to fit inside the sleeve.
- Fold and glue the sleeve edges neatly to form a snug pocket for the insert.
- Add hand-drawn details or a stamped emblem to personalize the cover.
- Slide the playlist into the sleeve and present it with a note about favorite tracks.
Embroidered handkerchief with tiny skyline motif
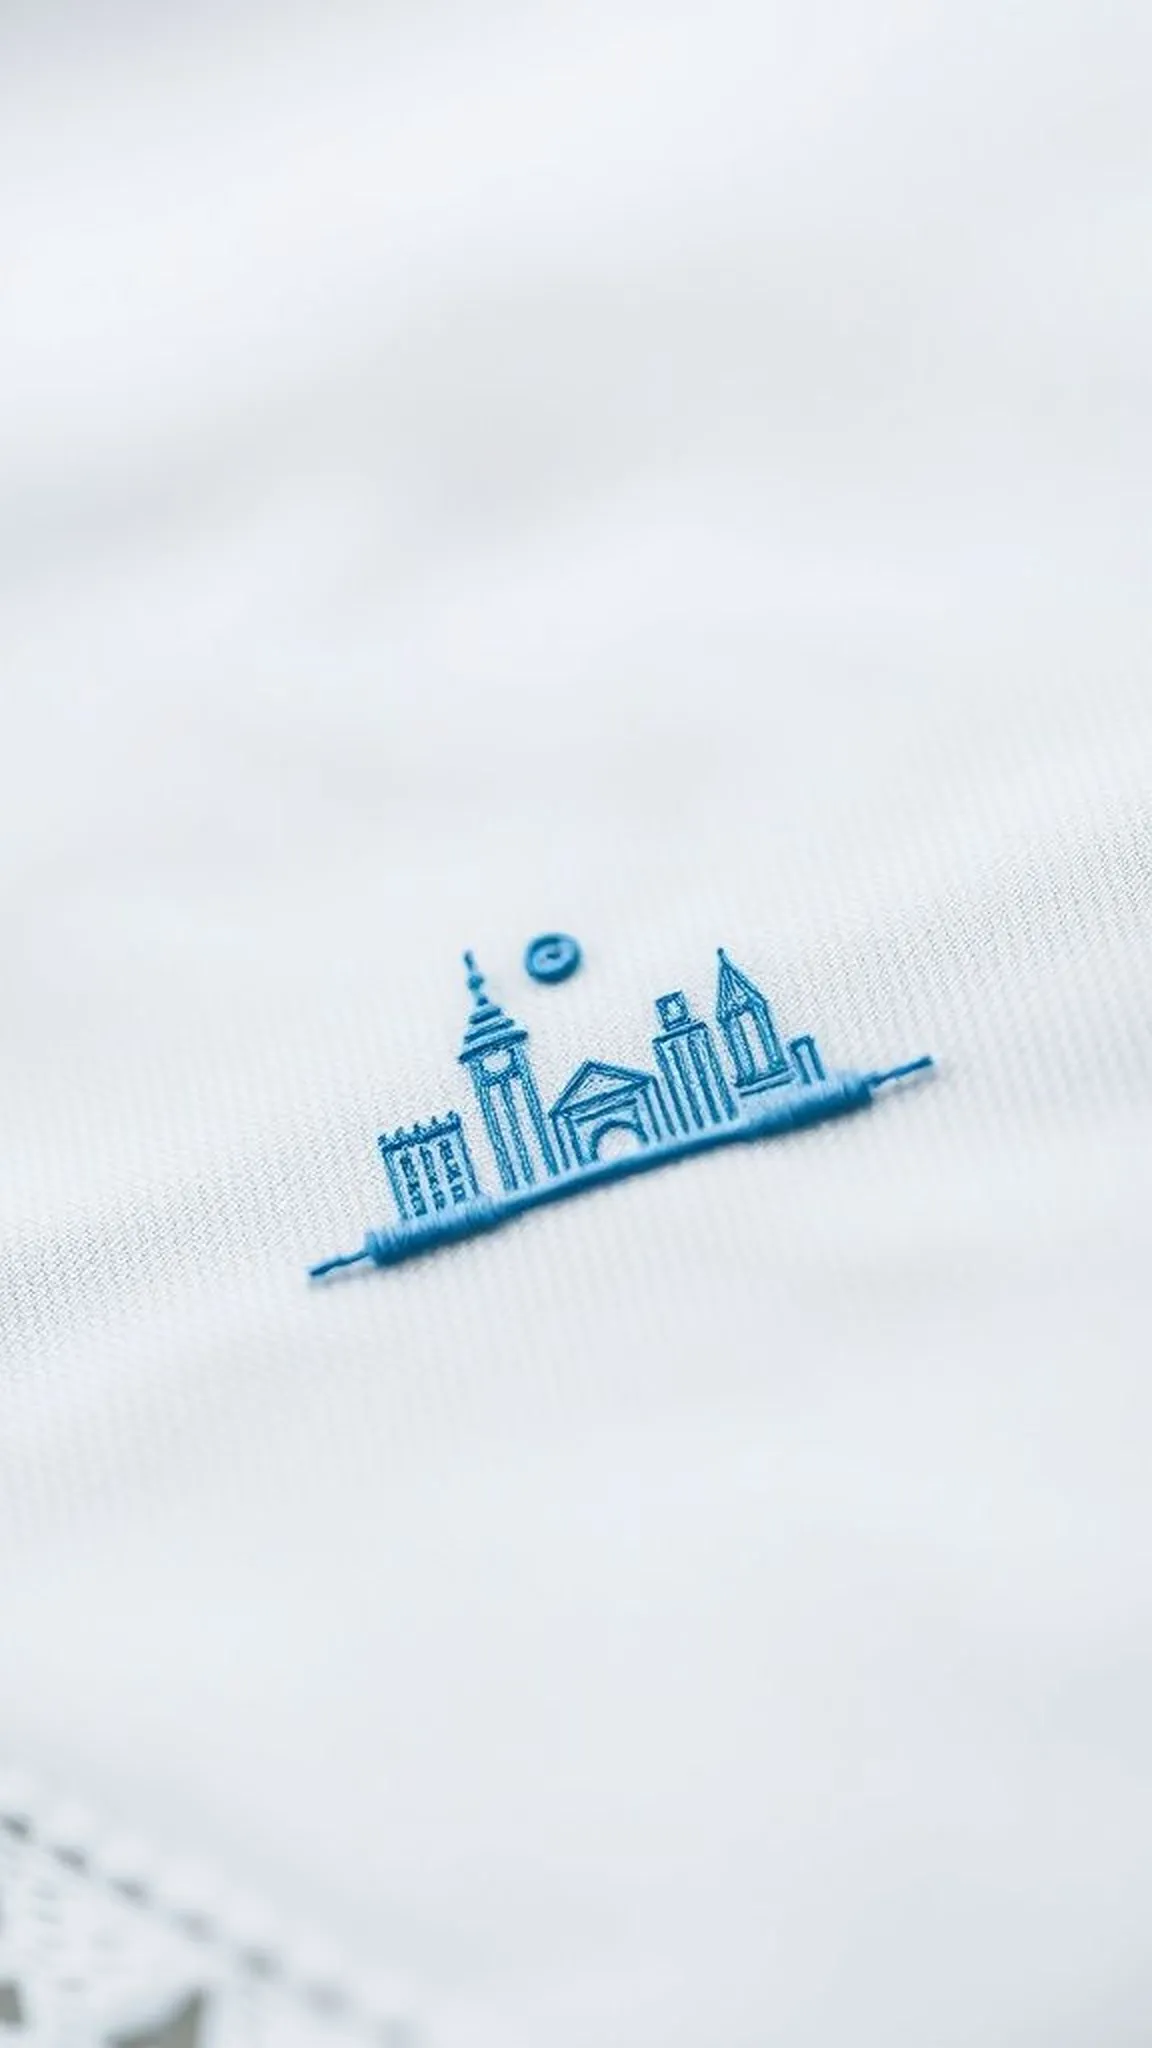
The handkerchief has a cool cotton feel and faint creases from being folded, edges finished with tiny satin stitches that humbly frame a stitched skyline. Tiny colored threads form a horizon of roofs and chimneys, and the needlework shows small irregularities that read like a private script. When unfolded, the cloth carries a subtle texture under the thumb and a faint linen scent.
Folding it back up becomes a small ceremony, the skyline nestling into a pocket as a compact memory of place.
Steps
- Choose a soft handkerchief and mark a small skyline design in a light removable pencil.
- Select embroidery threads and use simple stitches like backstitch and satin stitch for the motif.
- Work slowly to keep small stitches even and maintain a compact design near one corner.
- Tie off thread ends securely on the underside and trim any loose fibers.
- Press the handkerchief gently to set the stitches and present it neatly folded.
Wooden valet tray with inlaid compass detail
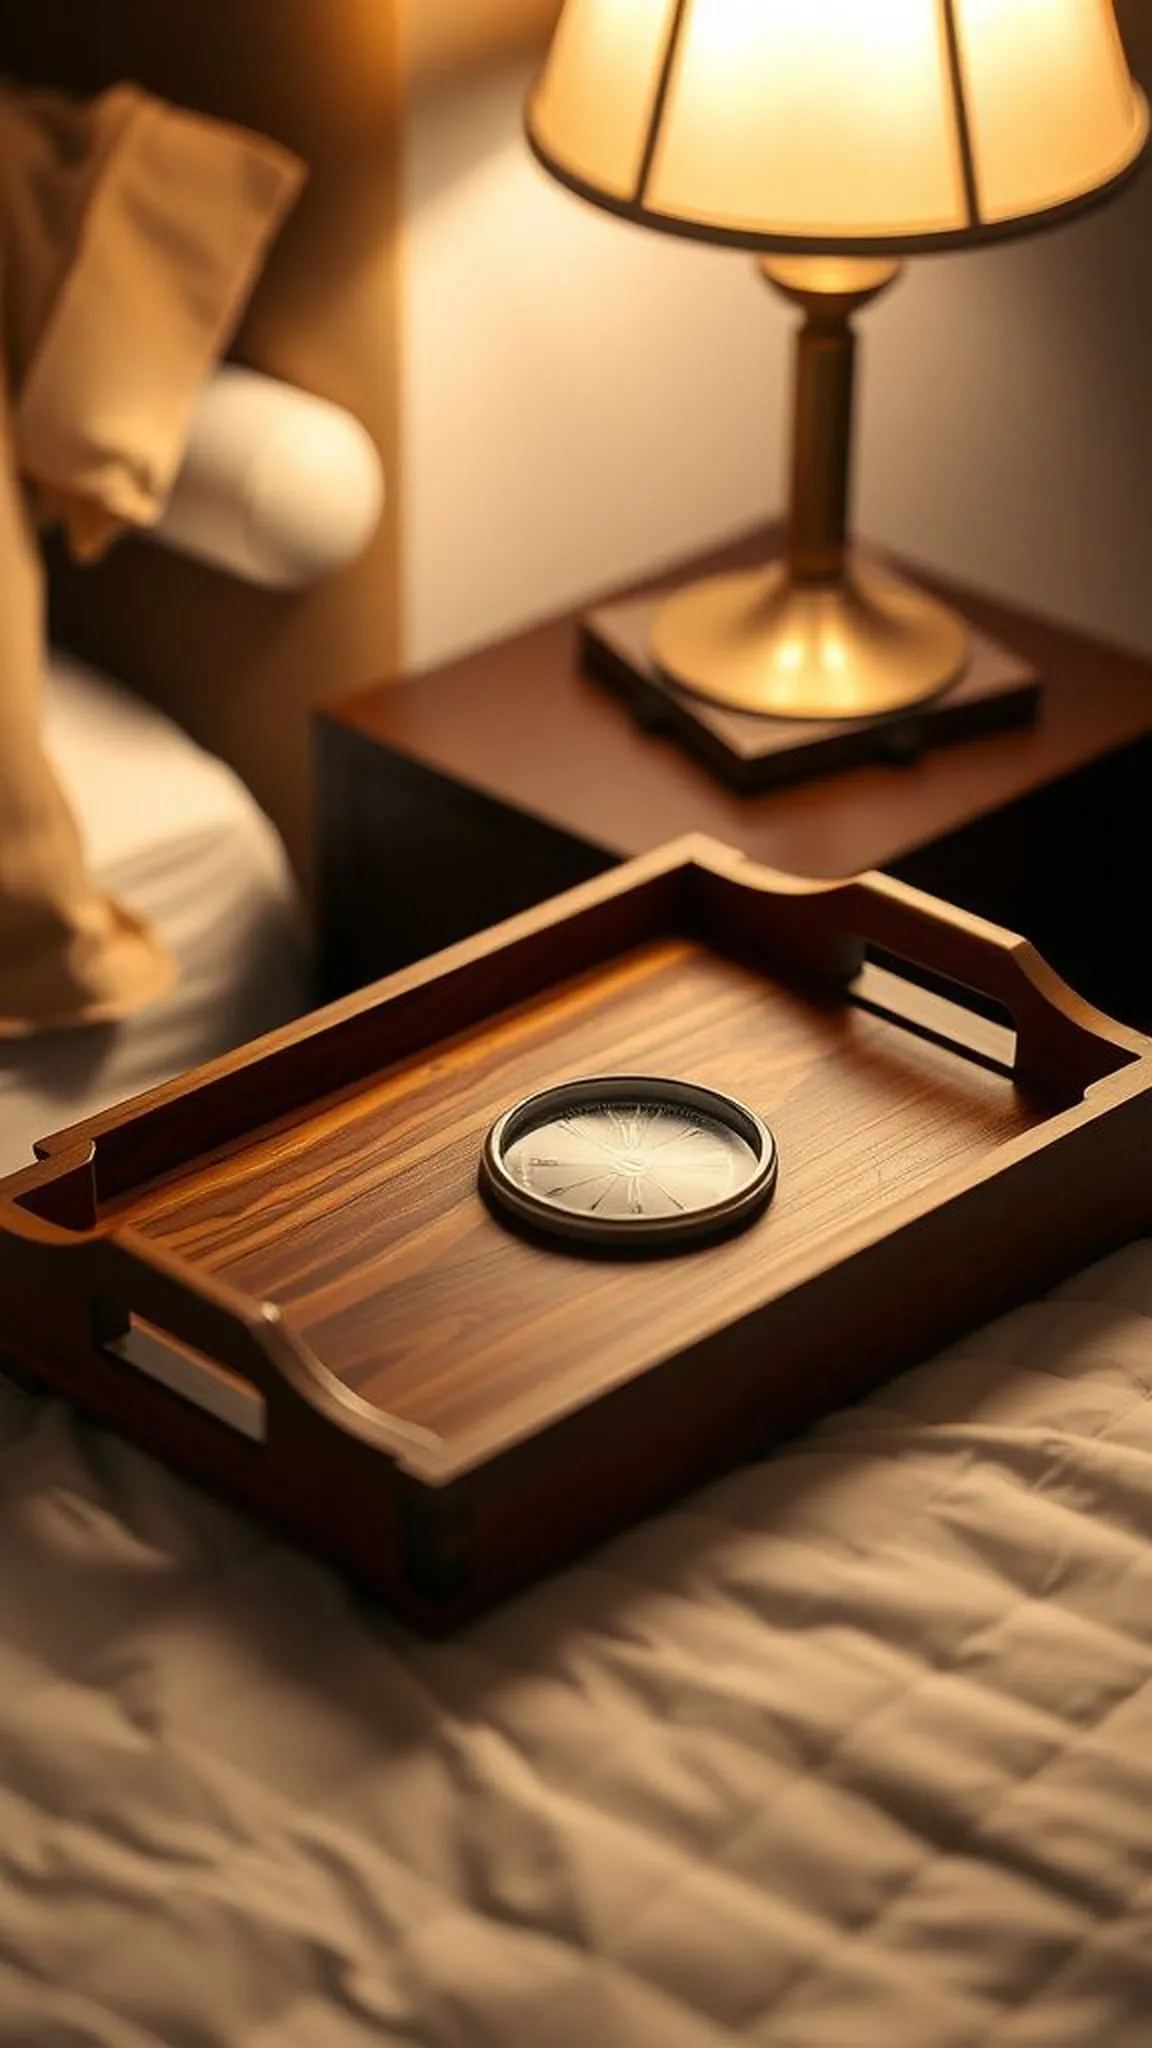
The tray’s shallow walls cradle loose coins, a watch, and a simple ring. The inlaid compass sits at the center, tiny wedges of contrasting wood forming a soft graphic that draws the eye. The tray’s finish is smooth and satiny, and the corners have gentle rounding from repetitive rubbing.
When the tray is lifted, the base gives a muted wooden note, and the surface gleams at certain angles. It acts as a modest landing place for carried objects, an order-making presence in an otherwise cluttered morning.
Steps
- Cut and assemble a shallow wooden tray from hardwood, fitting corners tightly for a neat profile.
- Router a shallow recess at the center to accept an inlaid compass motif crafted from contrasting wood veneers.
- Glue and clamp the inlay pieces, then sand the entire surface flush and smooth.
- Apply a natural finish such as oil or beeswax to bring out the wood grain and protect the tray.
- Allow the finish to cure before placing items on the tray.