
DIY Braided Hairstyles are a fun, budget-friendly way to refresh your look without a salon appointment. These DIY Braided Hairstyles range from quick weekday options to intricate braids that feel like a celebration — perfect for hair of all lengths and textures.
Whether you have straight, wavy, curly, or coily hair, DIY Braided Hairstyles can add polish, hold hair back for warm weather, and flatter round, oval, and heart-shaped faces.
Try a few at home to find which braid becomes your signature look.
Easy French Braid For Everyday Chic

The classic French braid is a top pick among DIY Braided Hairstyles because it looks polished yet relaxed. Start with brushed, slightly damp hair for grip, then cross sections smoothly while keeping tension even for a clean finish. This look flatters medium to long hair and works well for school runs, office days, or a quick tidy after workouts. You can loosen the braid at the end for a lived-in vibe or tuck the tail into a low bun for a neater silhouette. Finish with a light mist of spray for hold without crunch.
Styling Tips
- Prep hair with light texturizing spray for grip.
- Keep sections even and smooth to avoid bumps.
- Pancake the braid gently for fuller appearance.
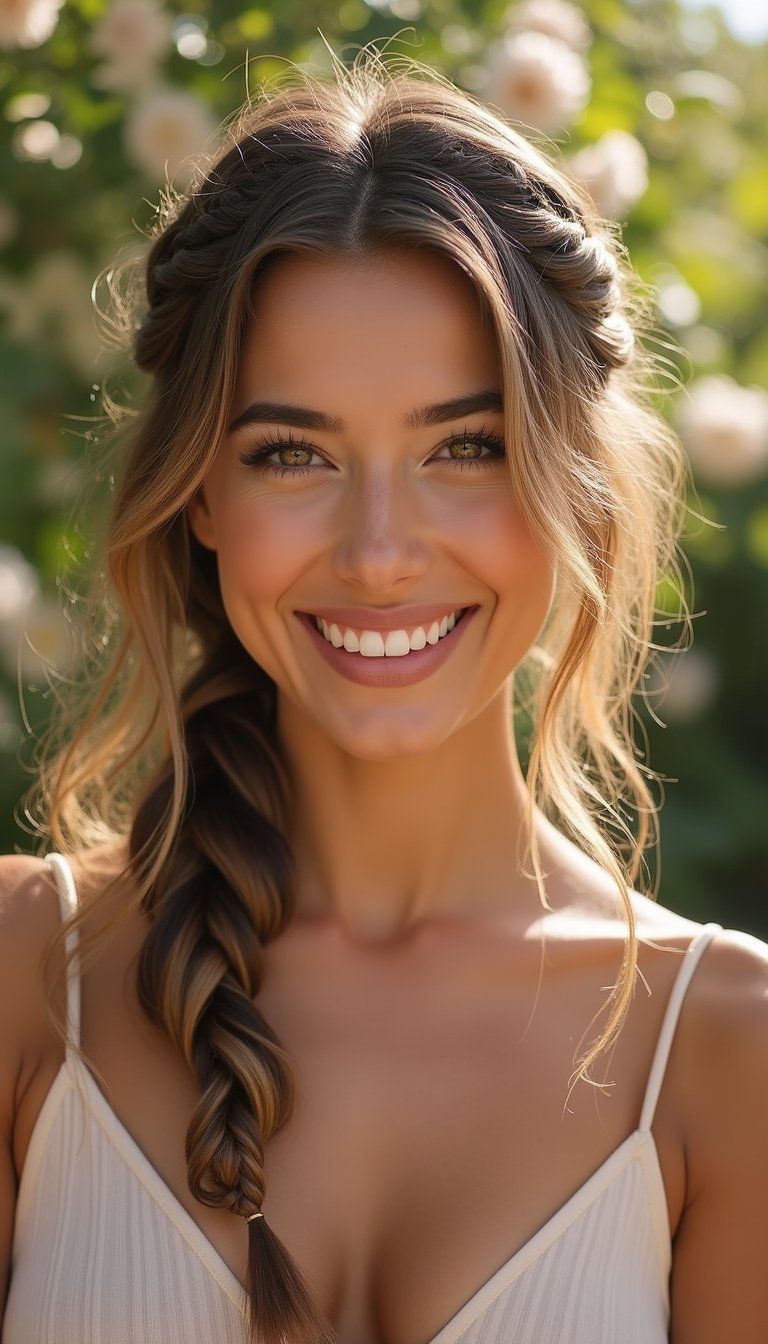
Boho Fishtail Braid With Loose Waves
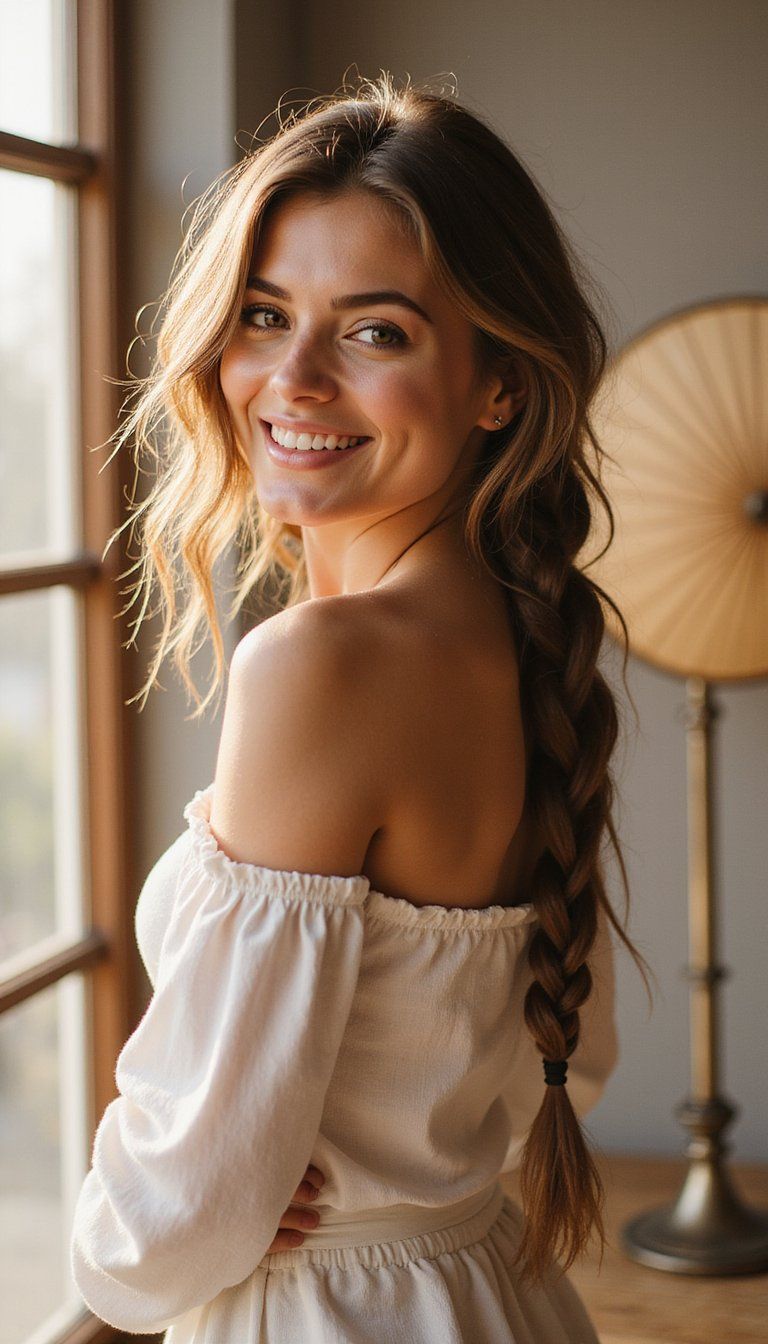
This boho fishtail braid is a dreamy option among DIY Braided Hairstyles, blending loose texture with a slightly undone finish. Begin by adding soft waves with a large-barrel iron or braiding damp hair overnight. Create a fishtail braid starting lower at the nape for a relaxed, off-duty vibe, then gently pull at the braid to widen it for that lived-in look. This style flatters long hair and brings width to narrow faces. Add tiny flowers or metallic hair cuffs for a festival-ready touch, or keep it simple for weekend brunch outings.
Styling Tips
- Rough-dry with sea-salt spray for texture.
- Use small elastic bands to secure the end.
- Pancake sections to make the braid look fuller.
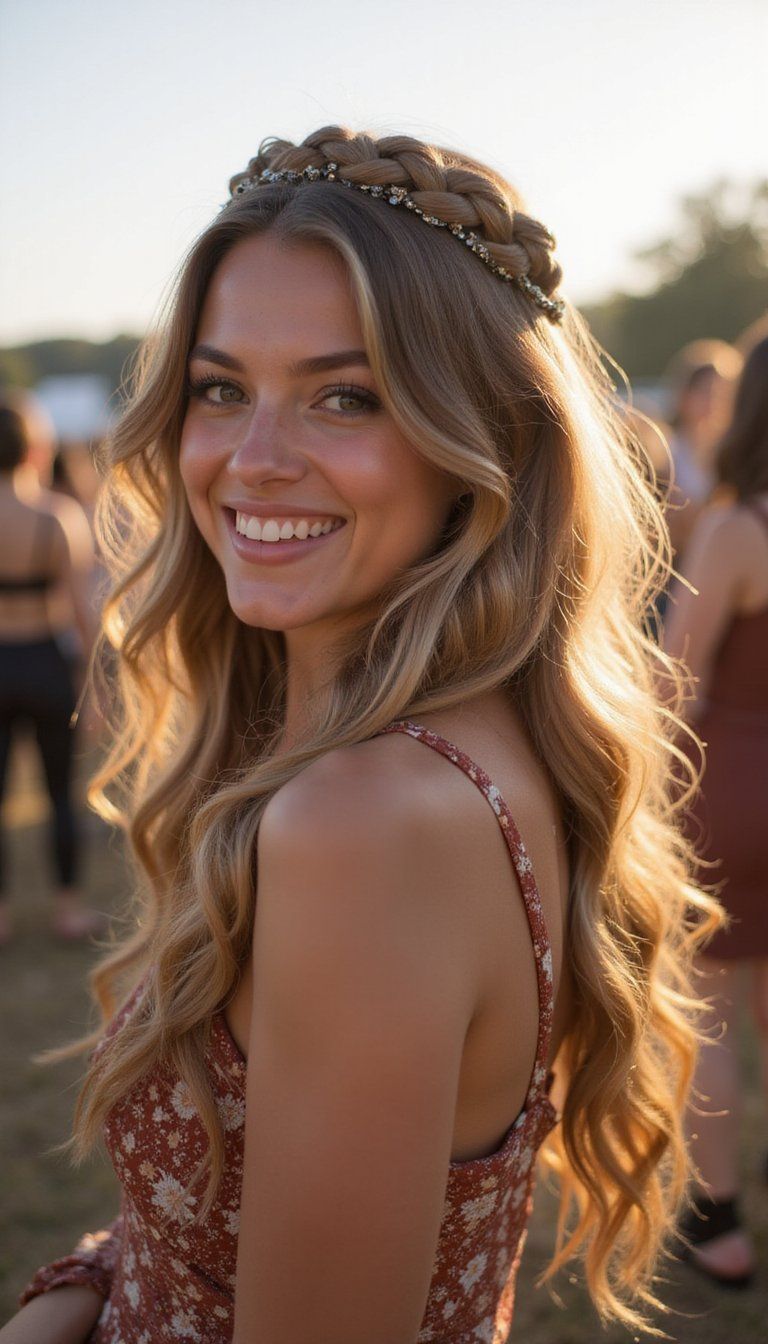
Dutch Crown Braid For Romantic Looks
The Dutch crown braid wraps around the head like a halo and ranks high among DIY Braided Hairstyles for special occasions. Start by creating Dutch braid sections along the hairline, crossing strands under rather than over, then continue around to form a crown. This polished style works on medium to long hair and offers a romantic, vintage feel that complements dresses or flowy tops. Tuck the end beneath the braid and secure with pins, then loosen face-framing pieces for softness. Add pearl pins or a delicate ribbon for an extra feminine touch.
Styling Tips
- Keep braids tight near the scalp for durability.
- Use bobby pins that match your hair color.
- Spray lightly to keep flyaways in place.
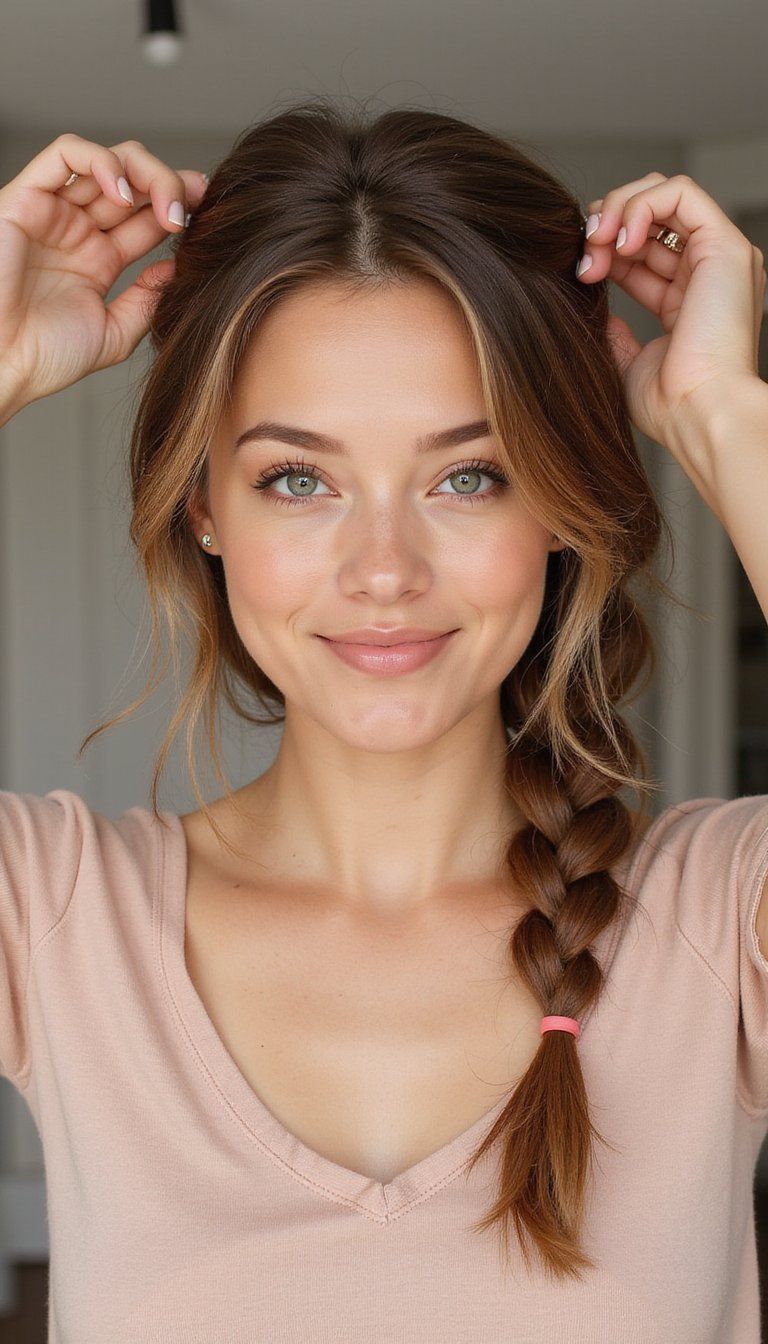
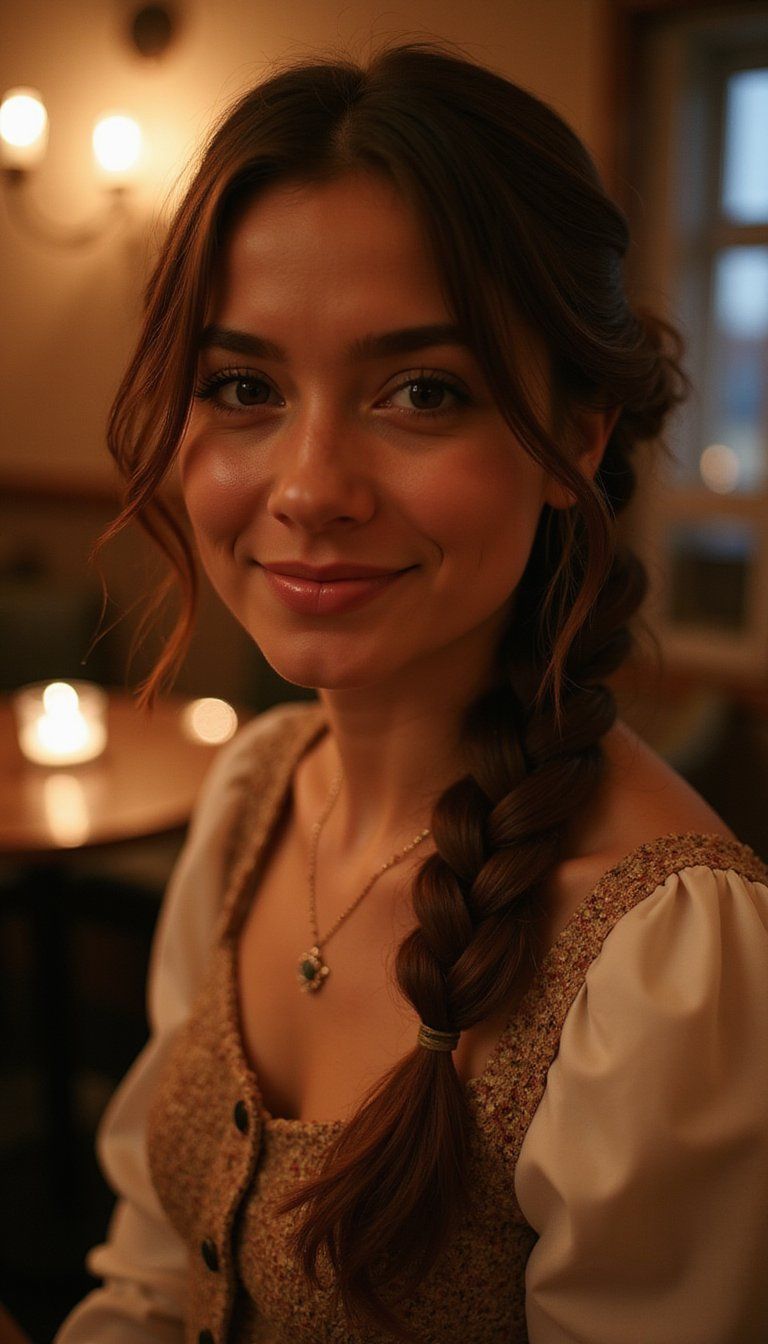
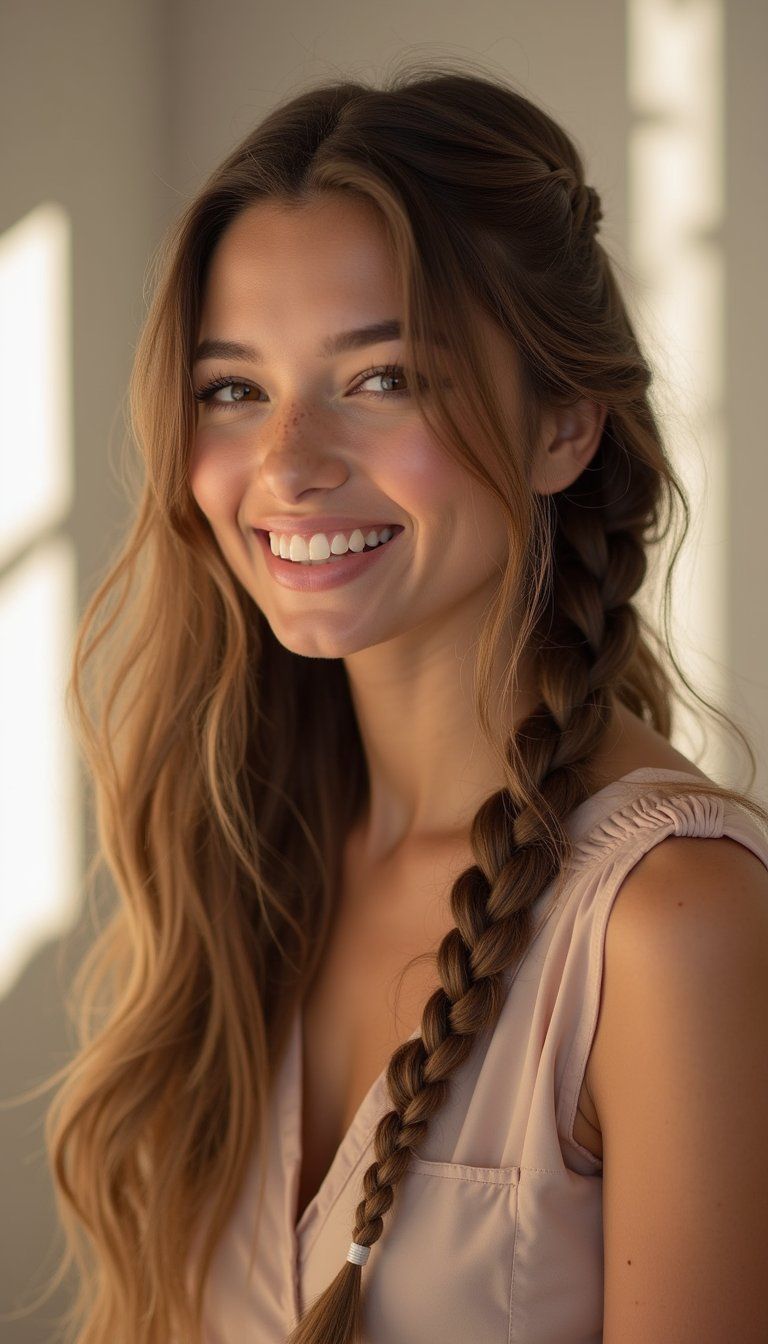
Messy Side Braid With Face-Framing Strands
The messy side braid is a relaxed favorite among DIY Braided Hairstyles for when you want effortless charm. Sweep hair to one side and begin a loose three-strand or fishtail braid, keeping it slightly undone by pulling at sections as you go. Leave a couple of pieces out near the face to frame your features and soften the look. This style suits medium to long lengths and complements square or angular jawlines by balancing proportions. It’s perfect for casual dates, quick errands, or when you want hair off your neck without a polished finish.
Styling Tips
- Add a touch of dry shampoo for texture and hold.
- Loosen strands gently for a lived-in effect.
- Tuck ends under and hide with a ribbon if desired.
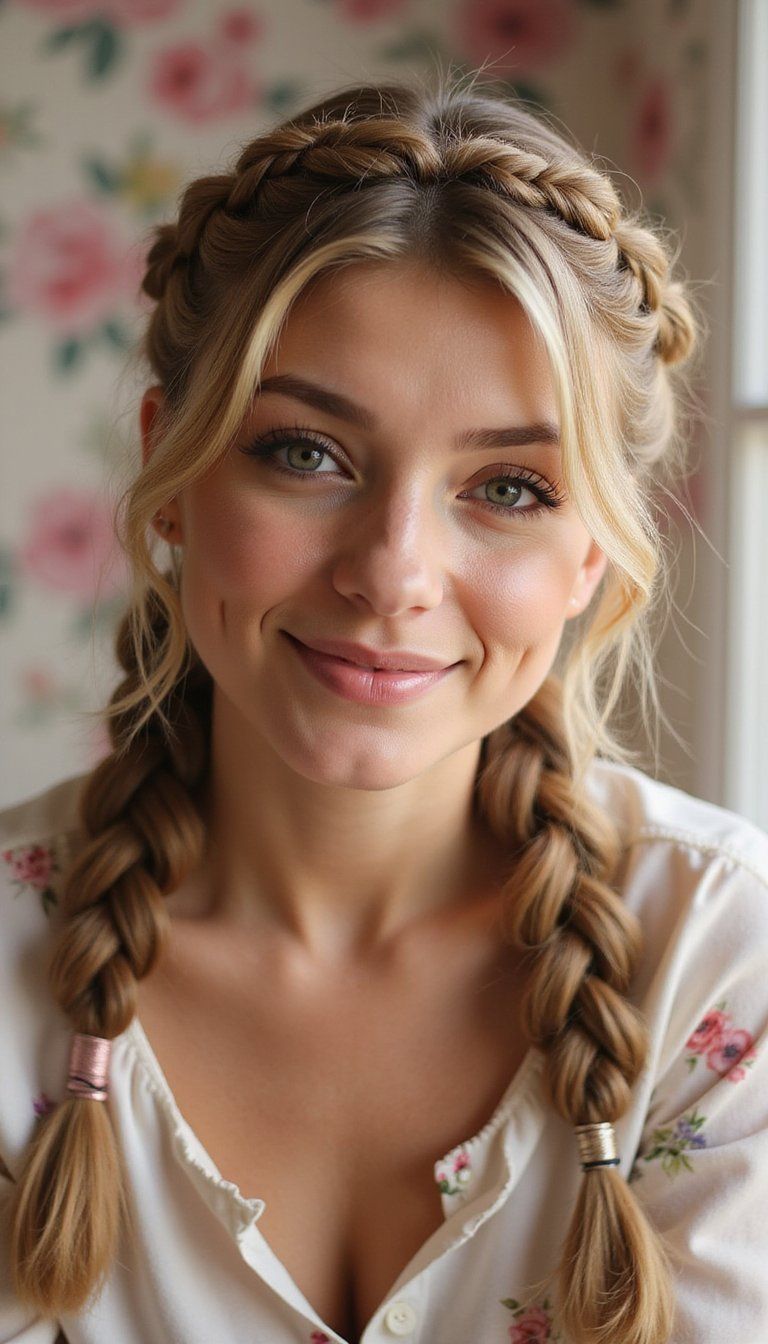
Double Dutch Boxer Braids For Sporty Days

Double Dutch boxer braids are a go-to among DIY Braided Hairstyles when you need hair secure and stylish. Part hair down the center and create two tight Dutch braids close to the scalp, working all the way down to the ends. This sporty look suits active days, gym sessions, and sun-filled outdoor plans while keeping hair out of your face. It flatters oval and heart-shaped faces and works best on medium to long hair. Smooth flyaways with a little serum and add elastics at the ends for a clean finish that lasts.
Styling Tips
- Work with slightly damp hair for cleaner braids.
- Use a boar-bristle brush to smooth sections before braiding.
- Secure ends with strong elastics to prevent slipping.
Elegant Low Braided Bun For Events
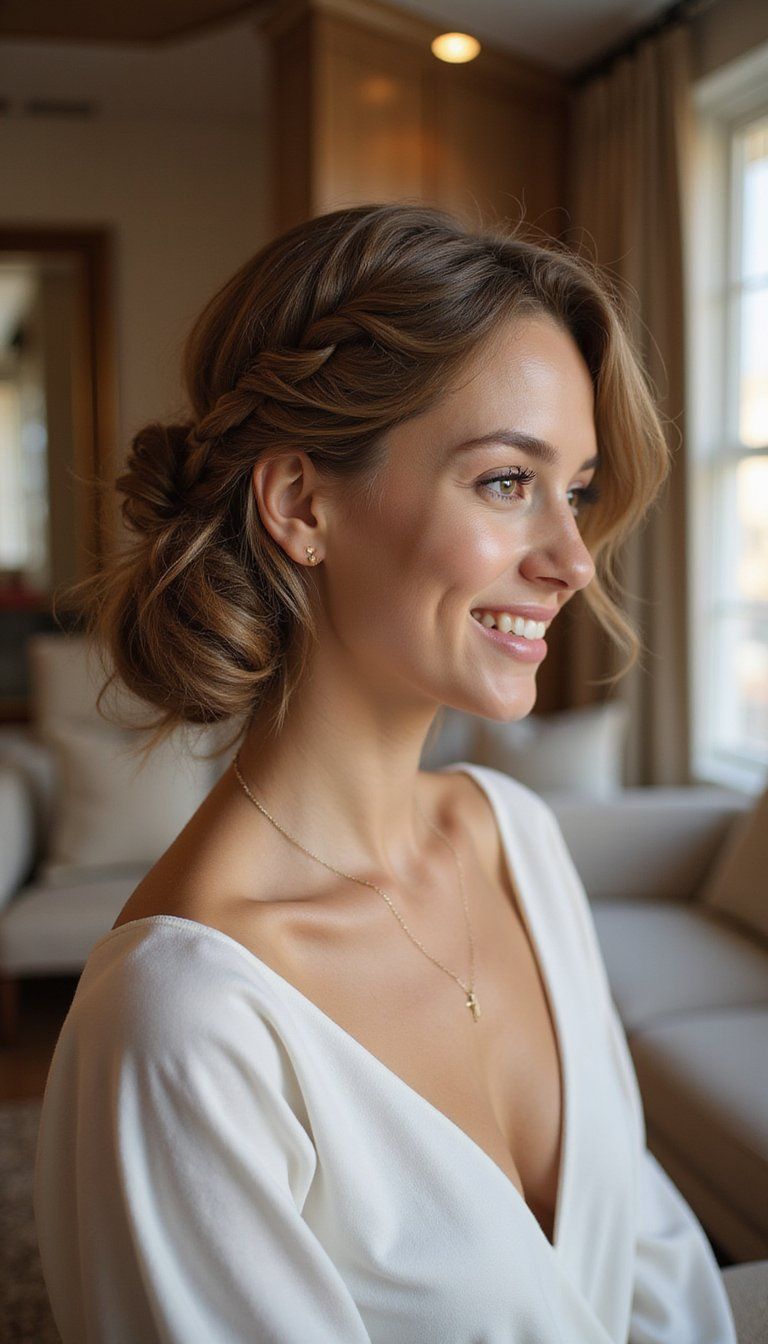
The low braided bun is a refined pick among DIY Braided Hairstyles for weddings, dinners, or zoom meetings. Start with a loose braid at the nape—choose a three-strand, fishtail, or rope braid—then twist it into a low bun and pin securely. This look flatters medium to long hair and softens facial features, especially when paired with wispy bangs or tendrils. It’s a chic alternative to a plain bun and can be dressed up with jeweled pins or a silk scarf wrapped around the base for an elegant finish.
Styling Tips
- Backcomb the crown lightly for added volume.
- Use discreet pins to anchor the bun securely.
- Add a shine spray for a polished finish.
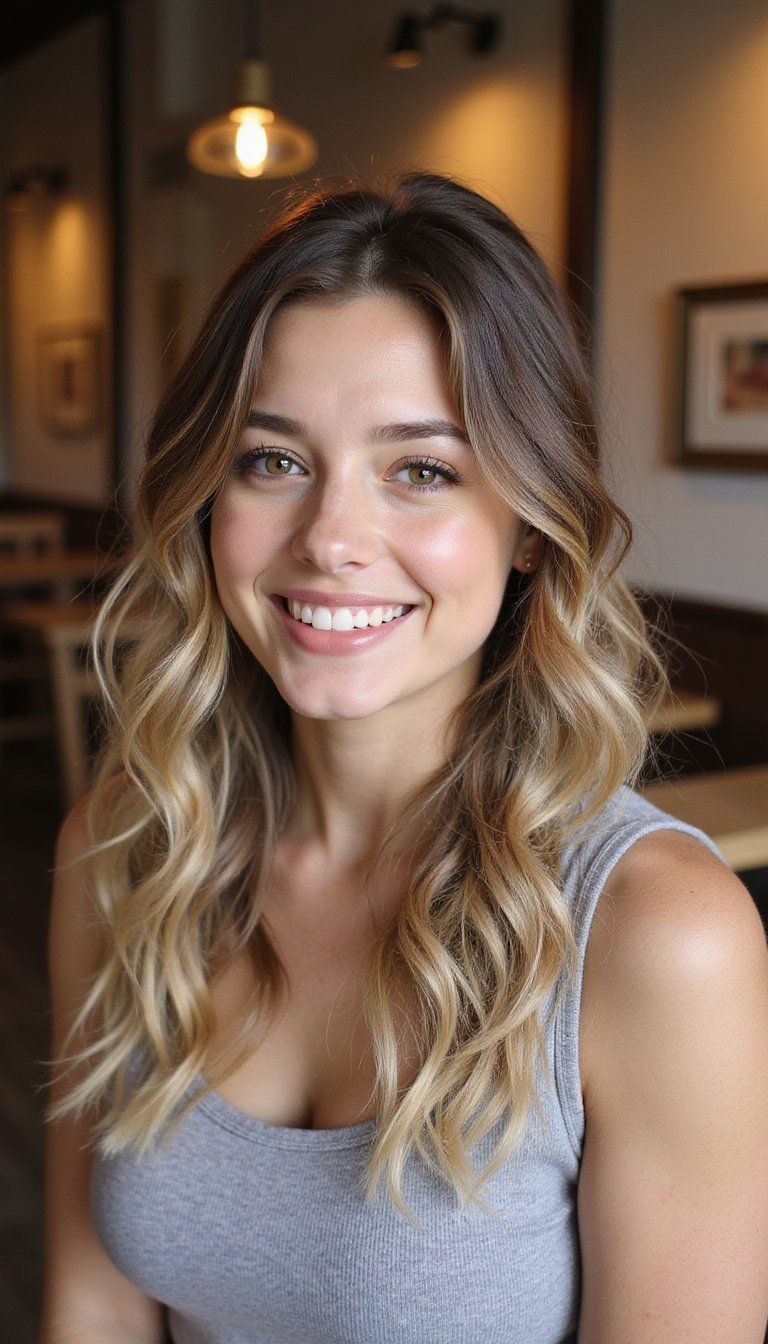
Waterfall Braid With Soft Curls And Shine
The waterfall braid is a delicate entry in the DIY Braided Hairstyles lineup that creates a cascading ribbon of hair across the crown. Work small sections, dropping the bottom strand each time to create the waterfall effect, and finish by curling the ends for a soft, romantic finish. This style suits medium to long hair and flatters oval or heart-shaped faces. It’s ideal for backyard parties or date nights when you want a pretty accent that feels whimsical yet put-together. Add a light gloss spray for radiant, camera-ready shine.
Styling Tips
- Section off hair with clips to keep control while braiding.
- Use a curling iron to add loose curls to the ends.
- Secure the end with a hidden elastic and pins.
Milkmaid Braids With A Twist Of Glam
Milkmaid braids bring vintage charm to the DIY Braided Hairstyles world and can be modernized in seconds. Create two braids on either side, then wrap them over the top of the head and pin underneath for a classic crown effect. For a glam spin, add a thin metallic ribbon woven through one braid or slip in decorative pins along the top. This style flatters medium to long hair and frames the face in a way that highlights cheekbones. It’s a polished pick for daytime events or garden parties with a feminine vibe.
Styling Tips
- Loosen the braids slightly for a softer silhouette.
- Hide pins under the braid for a seamless finish.
- Introduce a hair ribbon or small pearls for evening looks.
Pull-Through Braid Ponytail For Volume
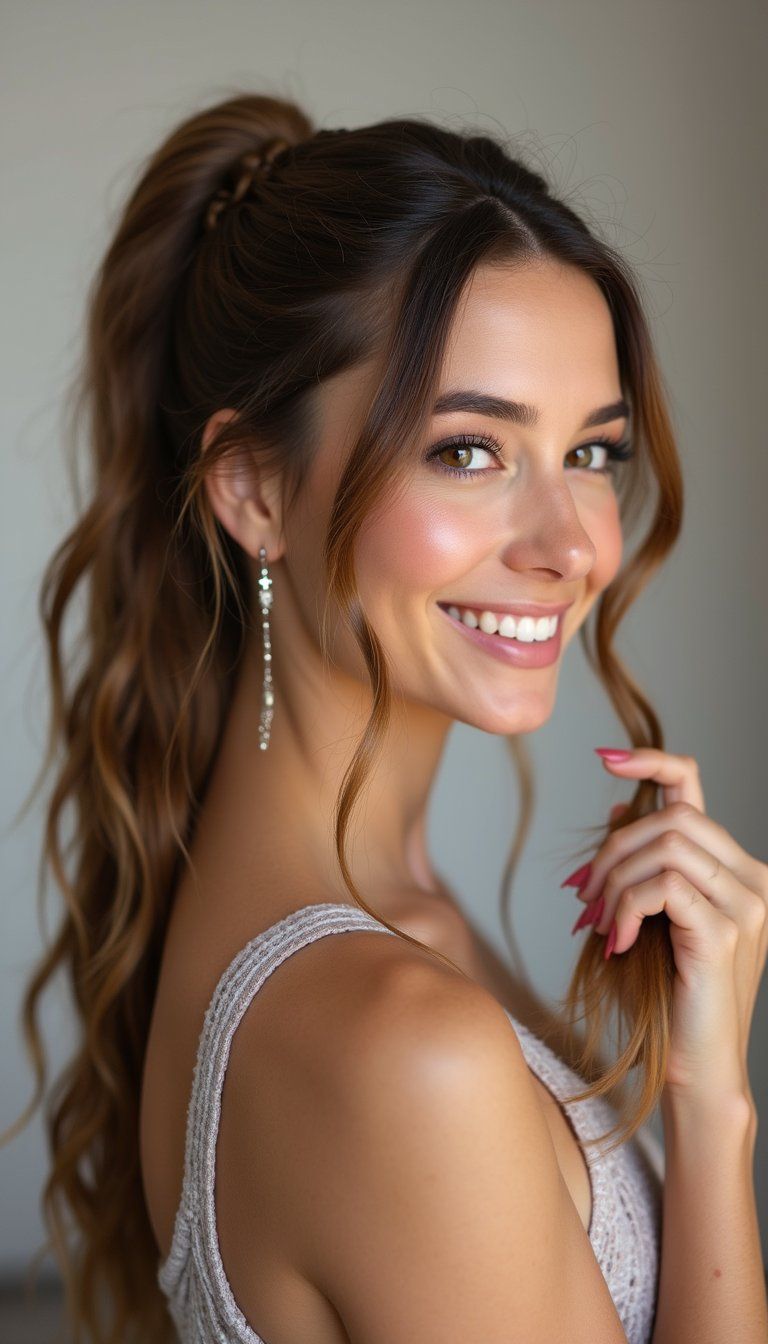
The pull-through braid ponytail looks like a complicated style but is a favorite among DIY Braided Hairstyles for creating big, voluminous texture without heavy heat. Section the hair into elastics, pull sections through to form loops, and tighten to build the braid-like appearance. This style lifts flat hair and is great for medium to long lengths, adding fullness for long faces or fine hair. It’s a chic option for evenings out when you want a bold ponytail that reads like a braid. Finish with a shine serum to highlight the loops.
Styling Tips
- Use multiple small elastics to define each segment.
- Pancake each loop to make it look fuller.
- Add light hairspray to keep sections in place.
Rope Braid Accent For Sleek Styles
The rope braid makes a chic little accent in many DIY Braided Hairstyles and works well whether hair is straight or wavy. Twist two small sections tightly, then wrap them around each other to form the rope effect; secure and pin as an accent over a ponytail or along a hairline. This tiny detail gives sleek looks an interesting edge and flatters short to long hair, depending on placement. Rope braids are perfect for minimalist outfits that need a subtle hair detail. Use a dab of smoothing cream to keep frizz away.
Styling Tips
- Apply a tiny amount of serum to reduce flyaways.
- Keep twists tight for a clean rope effect.
- Pin discreetly to maintain the sleek finish.
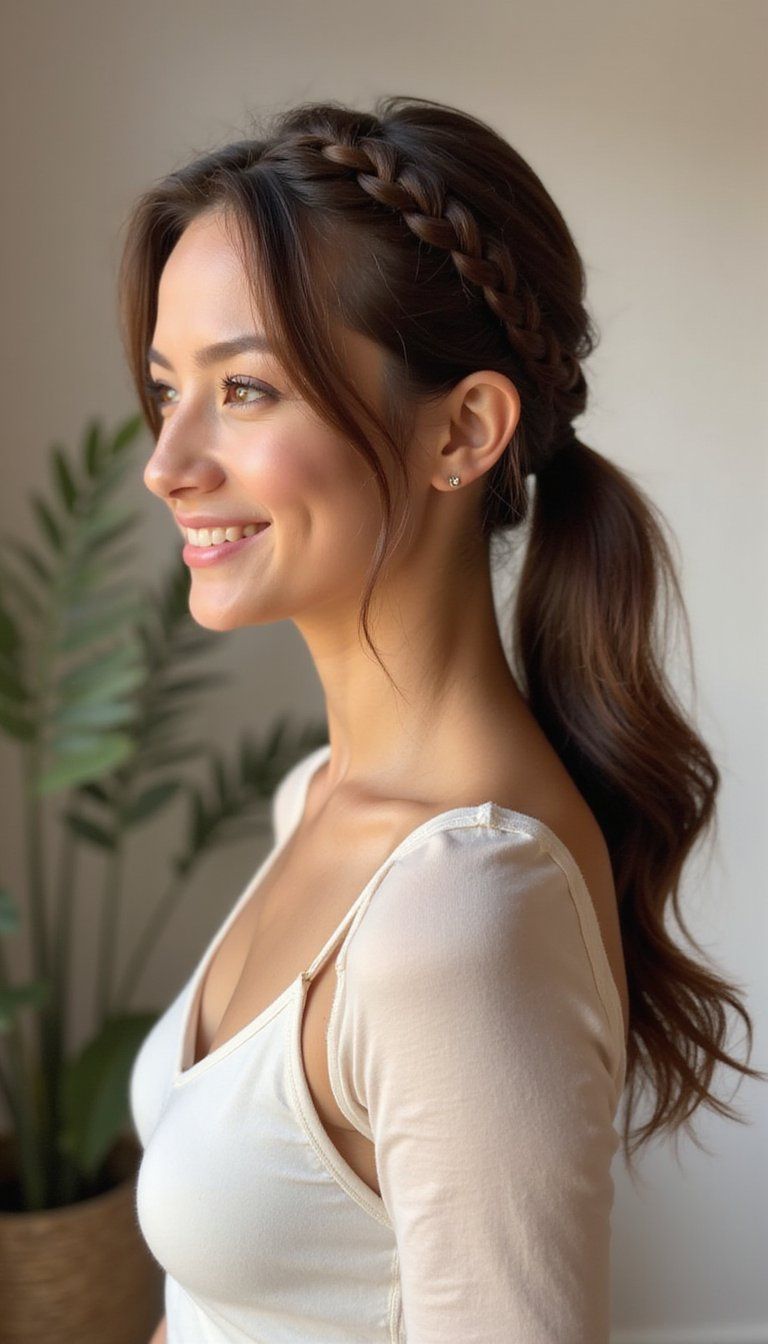
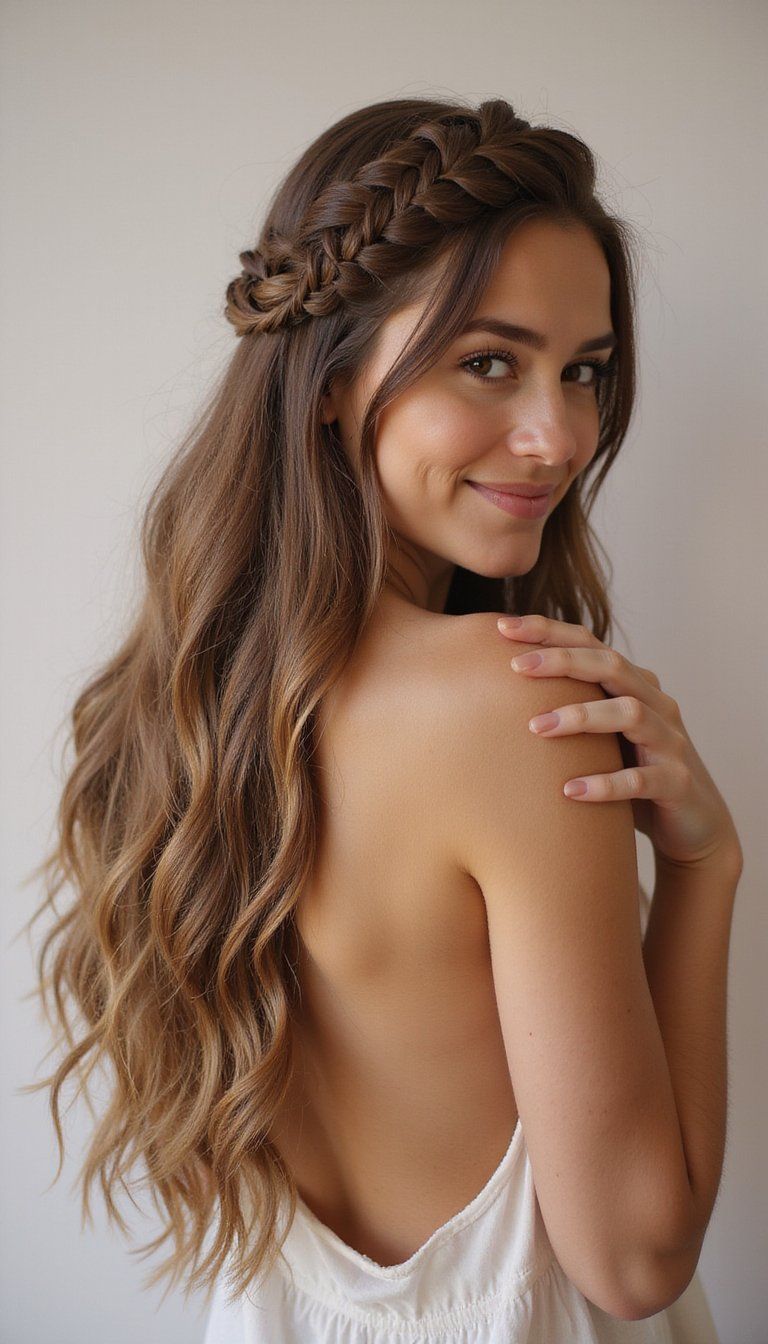
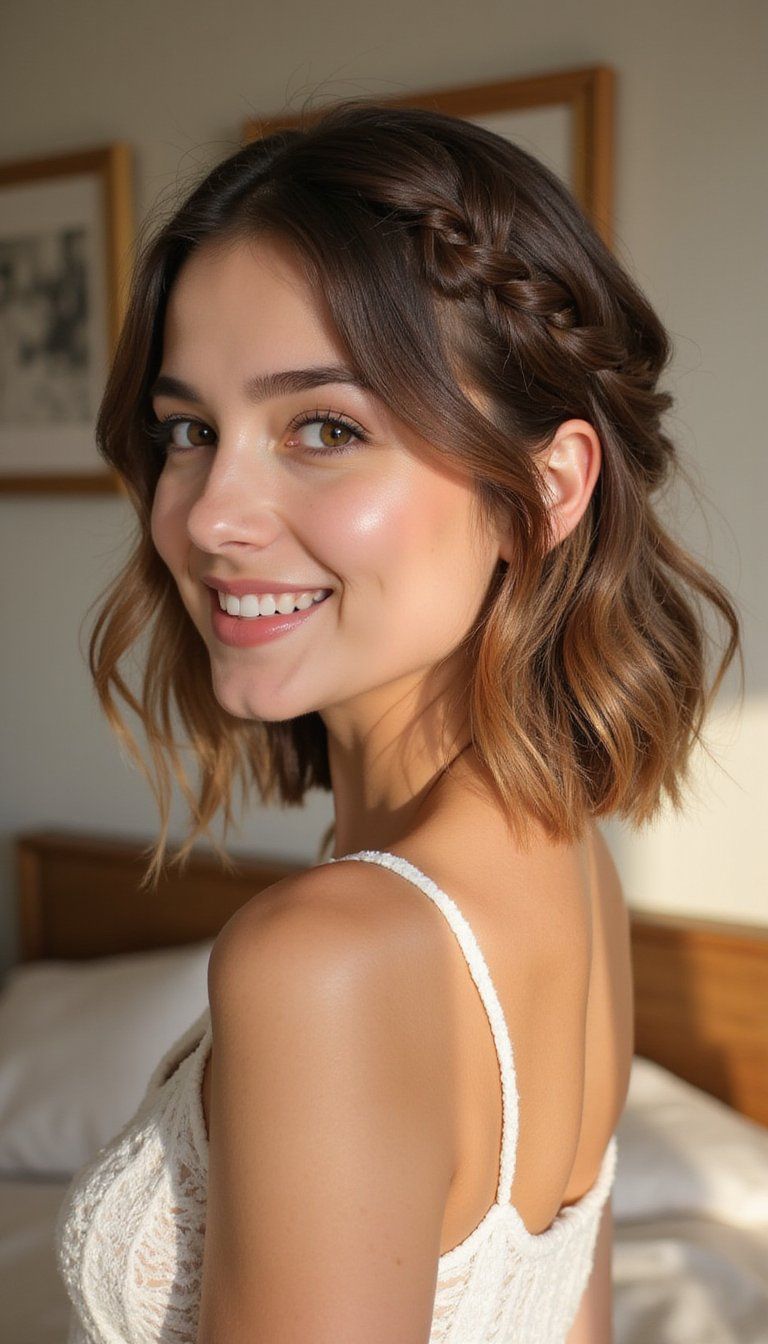
Half-Up Braided Crown For Casual Vibes

A half-up braided crown is a carefree entry among DIY Braided Hairstyles that keeps hair out of your face while still showing off length. Braid two small sections from the temples and meet them at the back, pinning to create a soft crown. This style works with straight, wavy, or curly textures and suits medium to long hair lengths. It flatters round and oval faces by lifting hair off the cheeks. Wear it for weekend markets or coffee dates, and add a spritz of texture spray to keep the braid in place without stiffness.
Styling Tips
- Loosen the braid slightly for a relaxed feel.
- Secure with small pins hidden under the braid.
- Use texturizing spray for a natural hold.
Fishtail Halo Braid For Festival Feels
The fishtail halo braid brings a bohemian touch to DIY Braided Hairstyles, perfect for outdoor gatherings and statement looks. Create a fishtail braid along each side and wrap them around the head, tucking the ends beneath to form a halo. This look flatters long hair and highlights texture, especially when combined with beachy waves or braiding slightly loosened sections for volume. Add small charms, beads, or flowers for festival vibes, or keep it simple for a breezy weekend. Use a light-hold spray to keep the halo secure through the day.
Styling Tips
- Braid with slightly tousled hair for fuller texture.
- Pancake the fishtail to widen it for impact.
- Secure ends with discreet pins under the braid.
Textured Bubble Braid For Playful Flair
The bubble braid is a playful addition to DIY Braided Hairstyles that creates whimsical volume without complex technique. Secure hair into a ponytail, then add elastics every few inches and gently pull each section to create rounded ‘bubbles.’ For more interest, weave a thin braid into the top part or surround the bubbles with small rope braids. This style flatters medium to long hair and adds a fun lift for casual outings, workouts, or themed events. Finish with a light mist of flexible hold spray to keep the shapes intact and bouncy.
Styling Tips
- Use clear elastics for a clean look.
- Pancake each section gently to form smooth bubbles.
- Add a second braid for a textured contrast.
Four-Strand Braids Create Intricate Hair Texture
Four-strand braids elevate DIY Braided Hairstyles with an intricate woven look that reads designer without needing a pro. This braid weaves four strands in an over-under pattern to build rich texture and depth. It works best on medium to long hair and looks stunning on layered cuts where the weave shows contrast. Try a single four-strand braid down the back, or use two to frame the face. With a bit of practice, this braid becomes a go-to for date nights or creative photoshoots. Keep the weave tight for structure or loosen it for a softer appearance.
Styling Tips
- Practice the weaving pattern on a small section first.
- Use a smoothing balm for sleekness if desired.
- Loosen the braid at the end for a relaxed finish.
Mermaid Braid For Long Wavy Hair
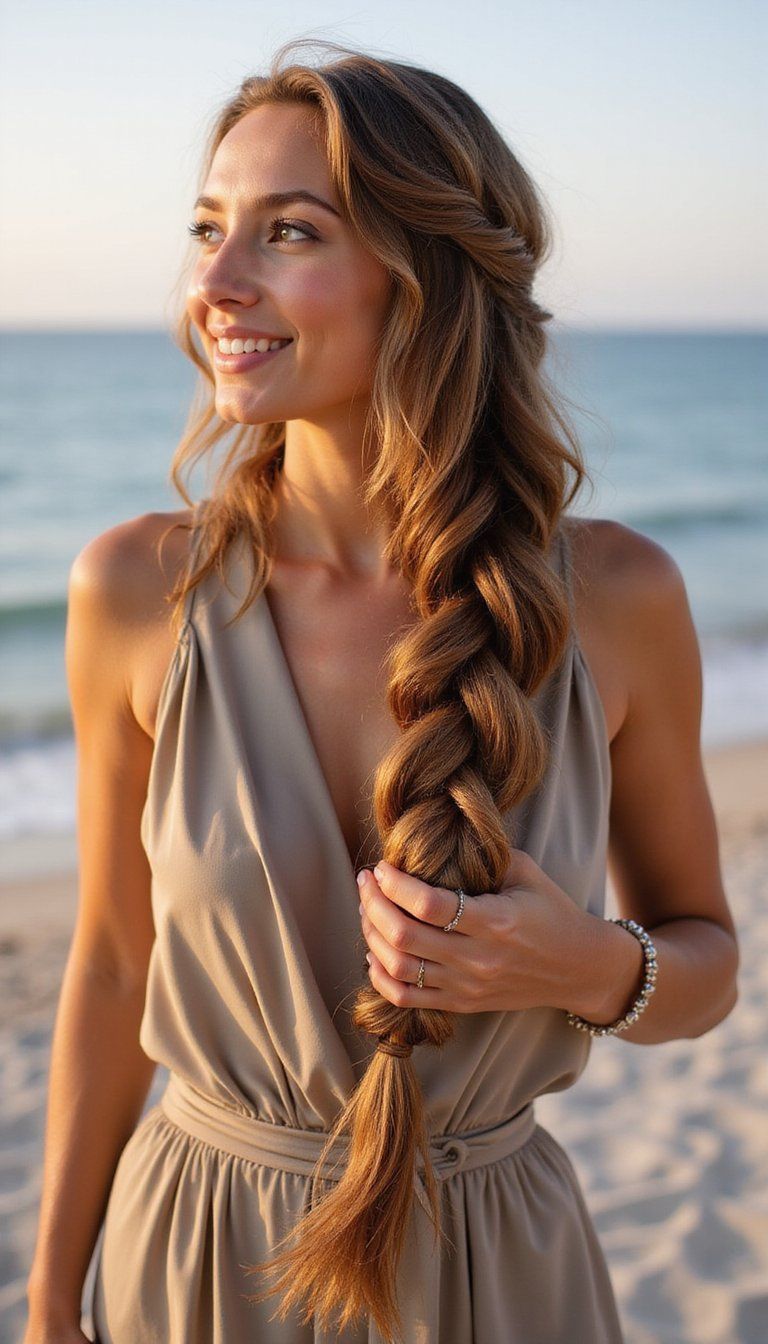
The mermaid braid blends curls and braiding into a cascading, ocean-inspired look that shines among DIY Braided Hairstyles. Begin with loose waves, then create chunky fishtail or pull-through segments down the length, keeping some curls free for a flowing effect. This style flatters very long hair by emphasizing movement and works well for warm-weather gatherings or evening walks. Add a subtle shimmer spray to catch light across the waves, and consider small metallic cuffs threaded through the braid for a mystical accent. It reads whimsical and feminine in photos and real life.
Styling Tips
- Create loose waves before braiding for better texture.
- Pancake braid sections to enhance fullness.
- Add small hair cuffs or clips for sparkle.
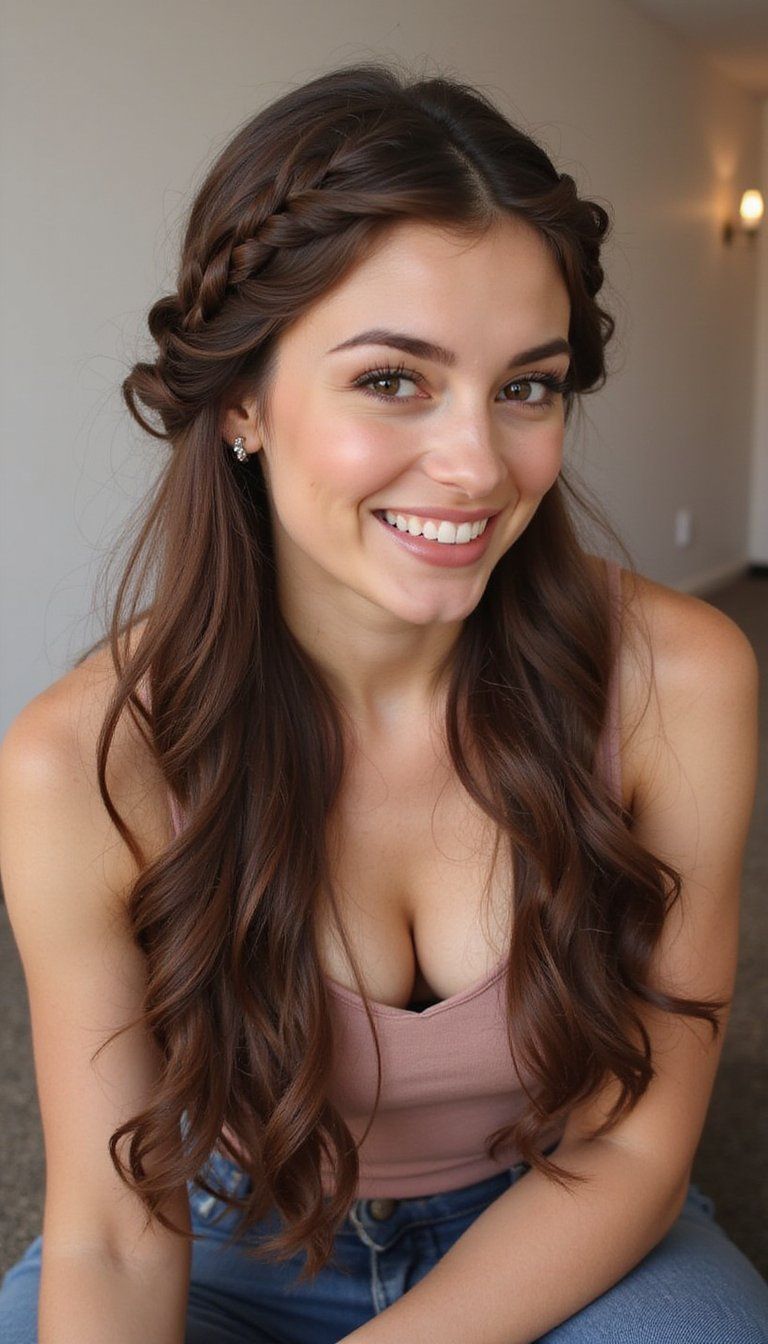
Lace Braid Along Hairline For Soft Framing
The lace braid is a gentle variation among DIY Braided Hairstyles that adds subtle framing without pulling too much hair away from the face. Braid by picking up new hair only on one side as you move along the hairline, creating a neat, partial crown that softens features. This finish is flattering on short to medium lengths and pairs beautifully with bangs or side-swept fringe. It’s an understated choice for office looks or casual dinners that keeps hair tidy but romantic. Lightly tug the braid after securing to make it look fuller and more natural.
Styling Tips
- Keep the braid close to the scalp for clean framing.
- Loosen slightly to make it appear softer.
- Use small pins to anchor the braid discreetly.
Dutch Fishtail Combo For Bold Statement Looks
Combining Dutch and fishtail techniques creates a striking option in DIY Braided Hairstyles for anyone wanting an attention-grabbing look. Start with Dutch braids at the crown for lift, then continue into a fishtail toward the ends for texture contrast. This hybrid works on medium to long hair and frames the face with structure while showcasing intricate detail down the length. It’s a great choice for nights out or photos where you want hair that reads handcrafted and deliberate. Keep the top neat and allow the fishtail to be slightly undone for balance.
Styling Tips
- Create tight Dutch sections at the top for lift and hold.
- Finish with a loose fishtail and pancake the strands.
- Secure with clear elastics and conceal with hair wrap.
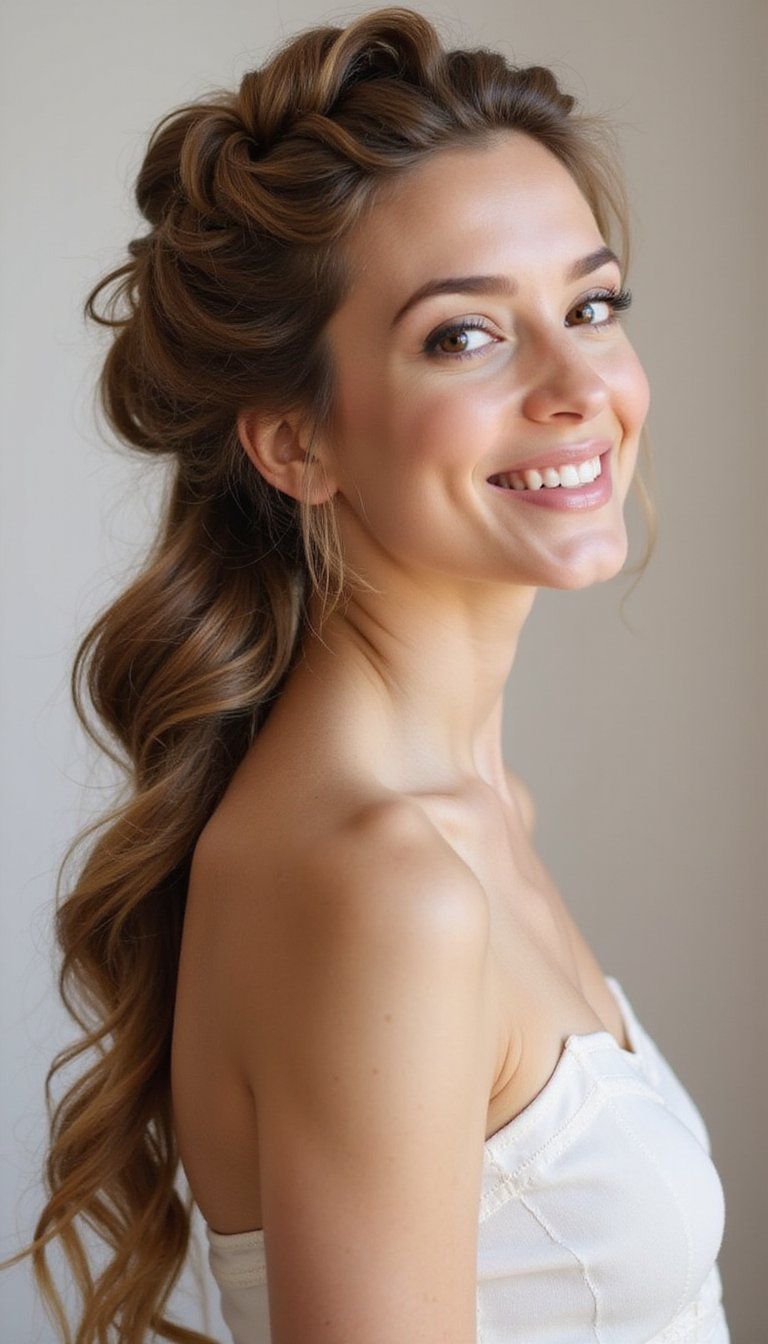
Braided Topknot With Chic Face-Framing Wisps
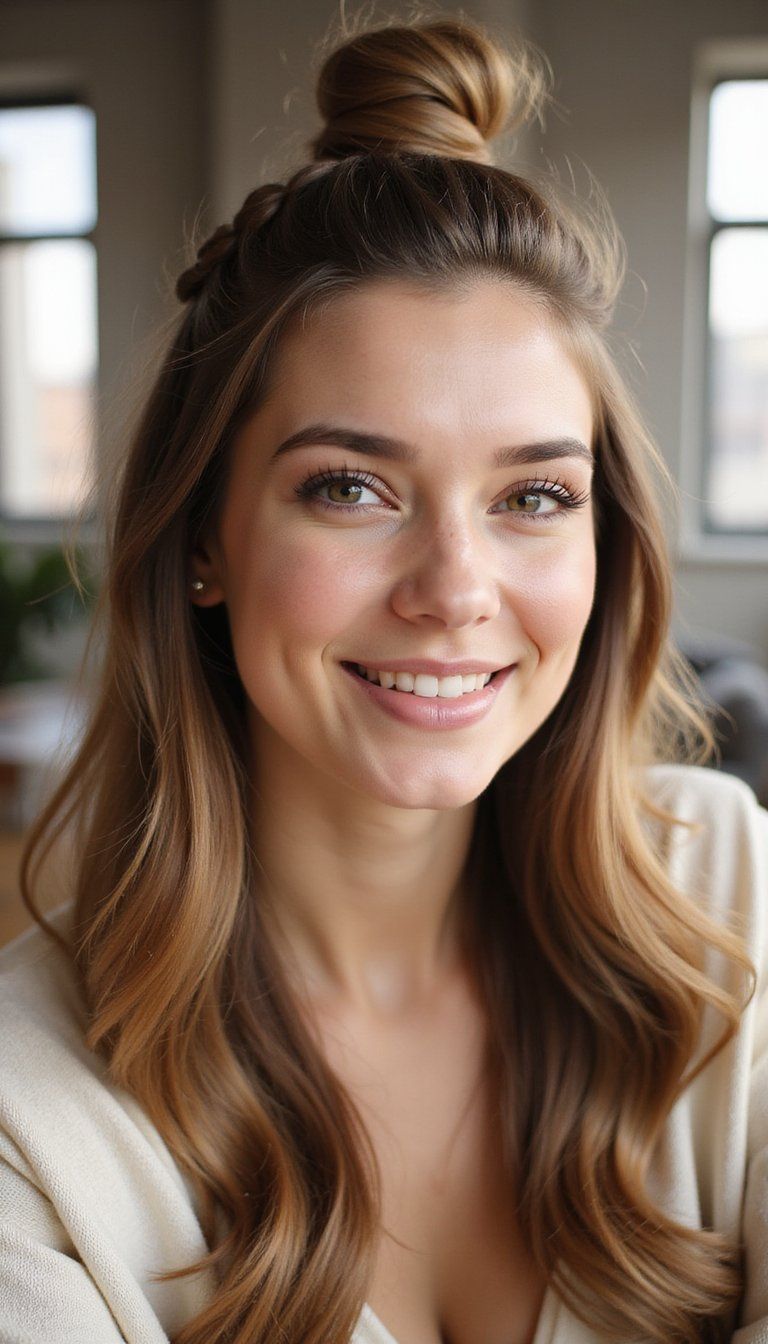
A braided topknot pairs practicality with panache in the DIY Braided Hairstyles collection, keeping hair up while looking intentional. Create a braid up the crown and wrap it into a topknot, leaving a few wispy pieces to frame the face. This style is flattering on medium to long hair and helps elongate round faces by adding height. It’s perfect when you want a pulled-together look without effort—great for hot weather or last-minute plans. Use strong pins to hold the knot and spritz lightly to keep strands from escaping during the day.
Styling Tips
- Backcomb the base slightly for added grip and volume.
- Secure the knot with plenty of pins for stability.
- Pull a few face-framing strands for softness.
Side-Swept Milkmaid Braid For Date Night
The side-swept milkmaid braid offers a romantic twist among DIY Braided Hairstyles for evenings and special outings. Braid hair loosely on one side, then wrap across the crown and secure on the opposite side, creating an asymmetrical look that draws attention to the neckline. This approach flatters oval and heart-shaped faces and works best with medium to long lengths. Keep a few delicate strands loose to soften the look. Add a subtle highlight or a metallic clip at the pinned area for an elegant finish that catches candlelight during dinner.
Styling Tips
- Loosen the braid gently for a softer, romantic vibe.
- Use decorative pins to accent the pinning point.
- Pair with soft makeup to complement the hairstyle.
Triple Strand Mini Braids For Textured Hair
Mini triple-strand braids add playful texture to DIY Braided Hairstyles and are great when you want to mix braided accents with loose hair. Make several small three-strand braids around the crown or incorporate them near the face, then blend with the rest of your hair. This look flatters medium to long lengths and highlights textured or curly hair beautifully. It’s a fun weekend option and also makes a trending detail for photos. Secure braid ends with tiny elastics and add a bit of shine oil to bring out definition in each mini braid.
Styling Tips
- Section hair carefully to keep mini braids neat.
- Use tiny elastics to secure ends discreetly.
- Add serum to enhance definition and reduce frizz.
Romantic Crown Braid With Braided Accents
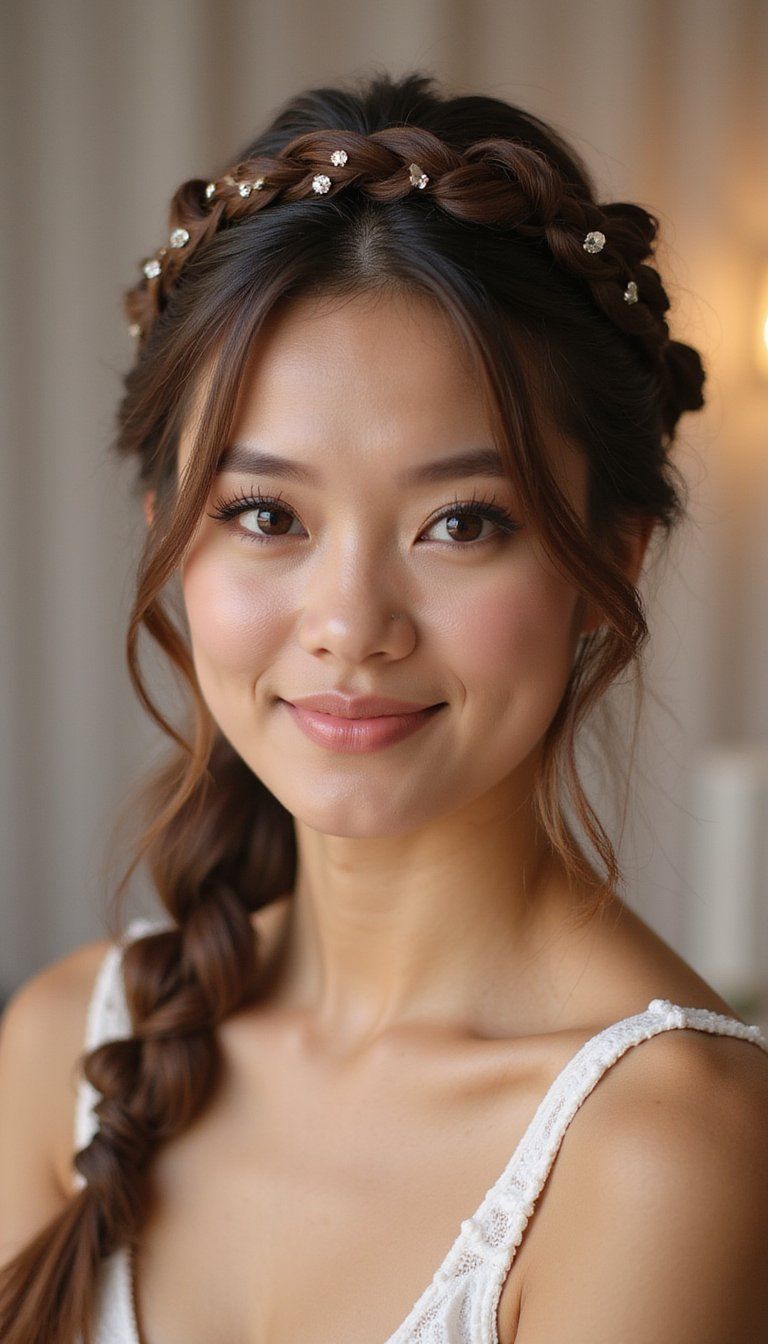
The romantic crown braid with accents layers small braid details around a main crown for a handcrafted look among DIY Braided Hairstyles. Start with a larger braid around the head and weave thin accent braids into the crown or pin them along the side. This style flatters medium to long hair, creating an elegant frame around the face that works well for formal events. Let a few tendrils fall loose to soften the sides, and pair with light jewelry for a refined finish. The added accents transform a single crown into a more dimensional statement.
Styling Tips
- Add thin accent braids for contrast and interest.
- Loosen sections for a softer, romantic feel.
- Secure with pins that match your hair color.