
Story Hook

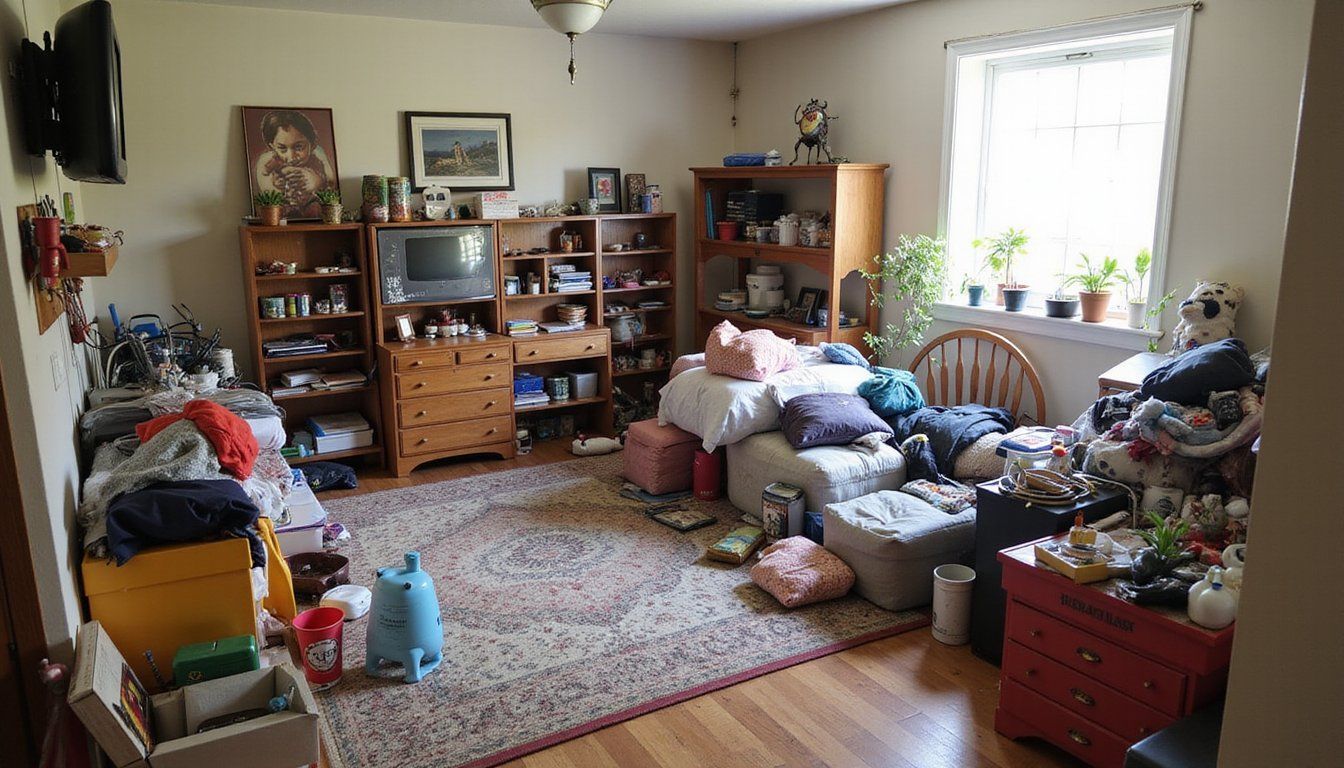
I remember the afternoon the front door barely closed when I first stood in a hallway that was more stacked than walked through, and every breath felt heavy with the weight of things not yet sorted.
The memory stayed with me because that day I learned how small, steady choices can change a room and the rhythm of a household, and I decided to learn how to clear that kind of overwhelm without risking my health or my family’s peace.
A single cleared corner can be the spark that makes the rest possible, and that sense of fresh air is why I started learning safer methods and gentle approaches to tackling hoarded spaces.
The ‘Why’
Clearing a hoarded space is about more than tidiness because the physical mess often ties to stress, safety hazards, and daily friction that wears people down over time.
Understanding the purpose of careful clearing helps you move with patience rather than panic, and focusing on safety and dignity keeps the process humane and manageable for everyone involved.
Overview
This guide offers stepwise support so you can plan, sort, remove, and restore a hoarded room while reducing risk and honoring the person who lives with the belongings.
I will share practical safety notes, decision strategies, and ways to keep progress steady so the work feels doable whether you are helping a family member or tackling your own space.
Tools & Materials
Gathering the right items ahead of time saves stops and starts and keeps you focused during each session so you can work steadily and safely.
- Heavy-duty gloves with nitrile or leather palms for handling unknown items and protecting skin.
- Disposable masks rated N95 or equivalent to reduce dust and allergen inhalation risk.
- Sturdy garbage bags and clear recycling bags for quick visual sorting.
- Boxes and labels for keep, donate, sell, recycle categories to speed decisions.
- Basic cleaning supplies like multi-surface cleaner, paper towels, a broom, and disinfectant wipes.
- Headlamp or strong task light to illuminate corners and avoid trips or missed hazards.
Having water, snacks, and a phone nearby helps sustain energy during long sessions and allows for quick calls if a health or safety concern arises.
Step 1 — Safety and Planning
Start with a calm plan and a quick safety sweep so you know whether there are immediate hazards like mold, pests, sharp objects, broken glass, or blocked exits that need professional attention.
Set realistic session goals such as clearing a three-foot path, sorting one shelf, or tackling a single chair, which keeps momentum steady and reduces overwhelm.
Invite help for heavy lifting and emotional support when a space holds sentimental items or hazardous waste, and call professionals if structural damage or biohazards are present.
Step 2 — Sorting with Simple Categories
Use clear, limited categories to speed decisions so each item can be handled once: Keep, Donate, Recycle, Trash, and Maybe for items that need time or a second opinion.
Handle items quickly and decisively by setting a one-touch rule: pick up, decide the category, and place it in the correct bag or box to avoid reshuffling the same things over and over.
Respect personal attachments while guiding choices by offering a short pause and asking focused questions like when the item was last used and whether it serves a present-purpose.
| Category | Action | Examples |
|---|---|---|
| Keep | Place in box labeled Keep | Daily cookware, current medications |
| Donate | Bag items for pickup or drop-off | Clean clothing, usable housewares |
| Recycle | Follow local recycling rules | Paper, cardboard, select plastics |
| Trash | Double-bag and seal if required | Broken items, contaminated materials |
Step 3 — Clearing, Cleaning, and Safe Disposal
Work from the center outward or from the door inward depending on the layout so pathways form and you can move items out efficiently rather than creating new obstacles.
Clean surfaces as space opens up wiping dust and disinfecting areas to reveal hidden damage like mold or pests that may need a professional response.
Handle sharps and hazardous materials with care placing them in puncture-proof containers and arranging for proper disposal through local services when you encounter chemicals, needles, or contaminated items.
| Item Type | Immediate Action | When to Call Pros |
|---|---|---|
| Mold or heavy water damage | Isolate area and ventilate | Large patches, structural rot |
| Pests (rodents, insects) | Remove food sources and seal entries | Infestations or health risk |
| Sharp or biohazard waste | Contain safely for disposal | Needle cleanup or contamination |
Step 4 — Emotional Care and Decision Support
Be patient with emotional responses because letting go can trigger grief, guilt, or anxiety, and a calm presence or a trusted friend can make a big difference during sorting.
Offer choices rather than directives such as asking whether a keepsake should stay in a special box or be photographed and donated, which preserves dignity while moving things forward.
Use short, consistent sessions to reduce overwhelm and let the person process decisions between meetings, which often results in clearer choices over time.
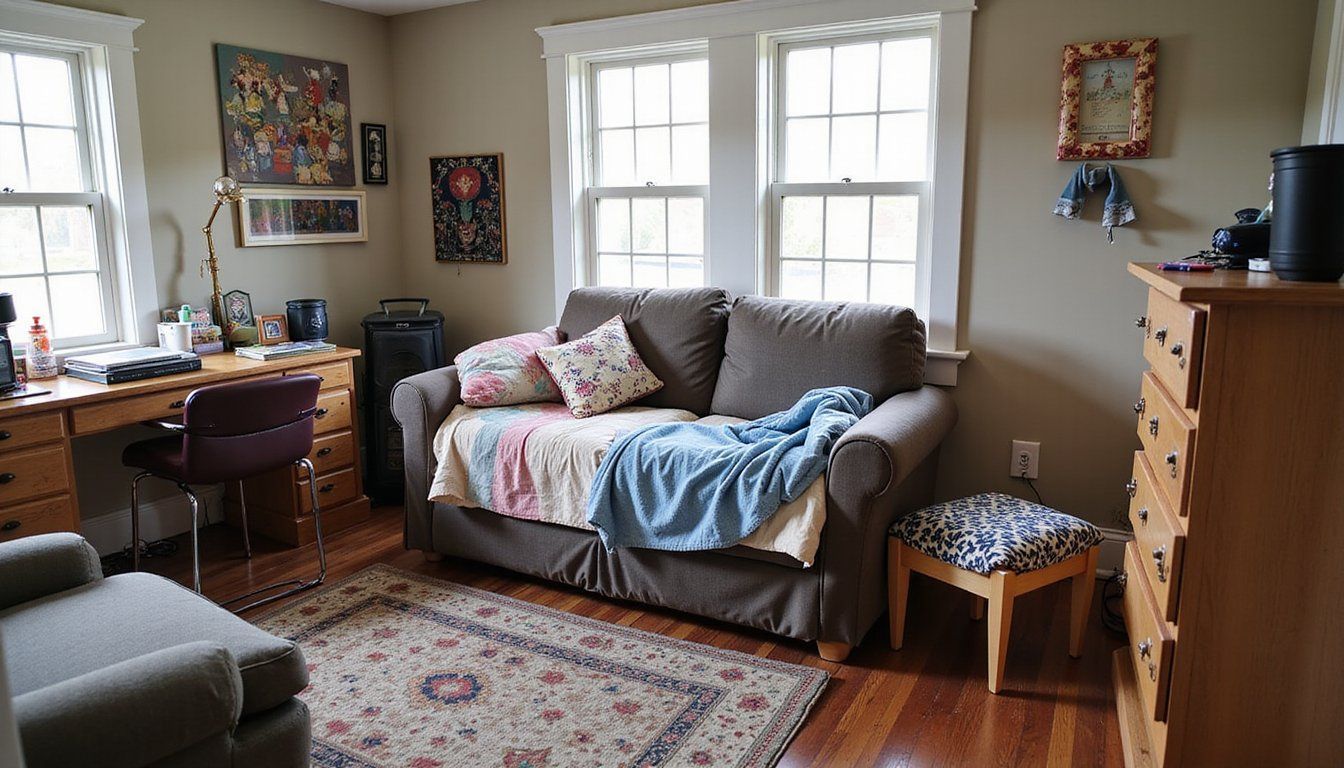
Step 5 — Organizing the Items You Keep
Choose storage that matches how items are used such as open shelves for daily items and labeled boxes for seasonal or rarely used things so access is simple and habits can form around maintenance.
Make the first steps of a new routine obvious by placing frequently used items near the main doorway or kitchen so doing the right thing is the easiest option each day.
| Storage Type | Best For | Cost Range |
|---|---|---|
| Open shelving | Everyday use items | $0 – $150 |
| Stackable bins | Seasonal storage | $10 – $60 |
| Labeled boxes | Keepsakes and paperwork | $5 – $40 |
Maintenance and Aftercare
Create small weekly habits like a ten-minute tidy at the same time each week to prevent accumulation and keep pathways clear so safety stays steady over time.
Check for lingering hazards periodically such as expired food, expired medications, or new pest signs to ensure the space remains safe and liveable for everyone.
Comparison Tables
Using comparison tables helps pick the right approach by making trade-offs visible so you can match solutions to budget, urgency, and the level of help available.
| Option | Cost | Speed | Privacy |
|---|---|---|---|
| Professional service | High | Fast | Lower |
| Family and friends | Low | Medium | Higher |
| Solo with plan | Minimal | Slow | Highest |
Quick Readiness Boolean Table
Quick checks tell you whether to proceed or pause and a simple yes/no table helps communicate readiness at a glance when many people are involved.
| Check | Ready? |
|---|---|
| Clear exit path | Yes / No |
| Protective gear | Yes / No |
| Medical or biohazard concerns | Yes / No |
What to Avoid
Common Pitfalls and How to Recover
Overcommitting to a single day of work often leads to burnout and incomplete tasks, so splitting work into short sessions preserves energy and morale.
Ignoring professional help when it’s needed can make hazards worse, so know when to pause and bring in trained cleaners, pest control, or contractors for repairs.
Letting guilt dictate choices may lead to keeping items that prevent safety or comfort, so balance sentiment with practical measures like photographing items before they go to donation if that eases letting go.
When to Call Professionals
Call trained services for biohazards or structural issues when you find mold covering large areas, sewage, animal carcasses, or anything that poses a health emergency beyond routine cleaning.
Hire specialists for heavy debris and restoration if floors, insulation, or walls show damage, or if the scale of work risks injury to unpaid helpers.
Sustainable Disposal and Donation Options
Choose donation partners that accept your items and call ahead or check websites to avoid wasted trips and rejected donations, which create extra handling for everyone involved.
Recycle responsibly and check local rules because what your municipality accepts can vary and following the guidelines speeds processing and reduces landfill waste.
Small Wins to Keep Momentum
Celebrate tiny progress like a cleared shelf or a swept corner because visible wins fuel motivation and make the next session feel less daunting.
Take photos of progress to show how much has changed over time, which often helps reluctant participants see the value of continuing.
Frequently Asked Questions
Q: How long will it take? The time varies greatly with the room size and condition, and setting short, repeated sessions usually leads to steady progress without exhaustion.
Q: Is it safe to handle everything myself? Minor sorting can be done solo with protective gear, but call professionals for mold, large pest infestations, chemicals, or medical waste to avoid exposure risks.
Q: What if the person resists getting rid of items? Offer gentle options like photographing items, storing keepsakes in labeled boxes, and using slow sessions so trust builds and choices become clearer over time.
Q: Where do I start if the space feels impossible? Begin by creating a single clear pathway or clearing one surface, because small visible change reduces anxiety and invites more action in follow-up sessions.