
Hook & TL;DR
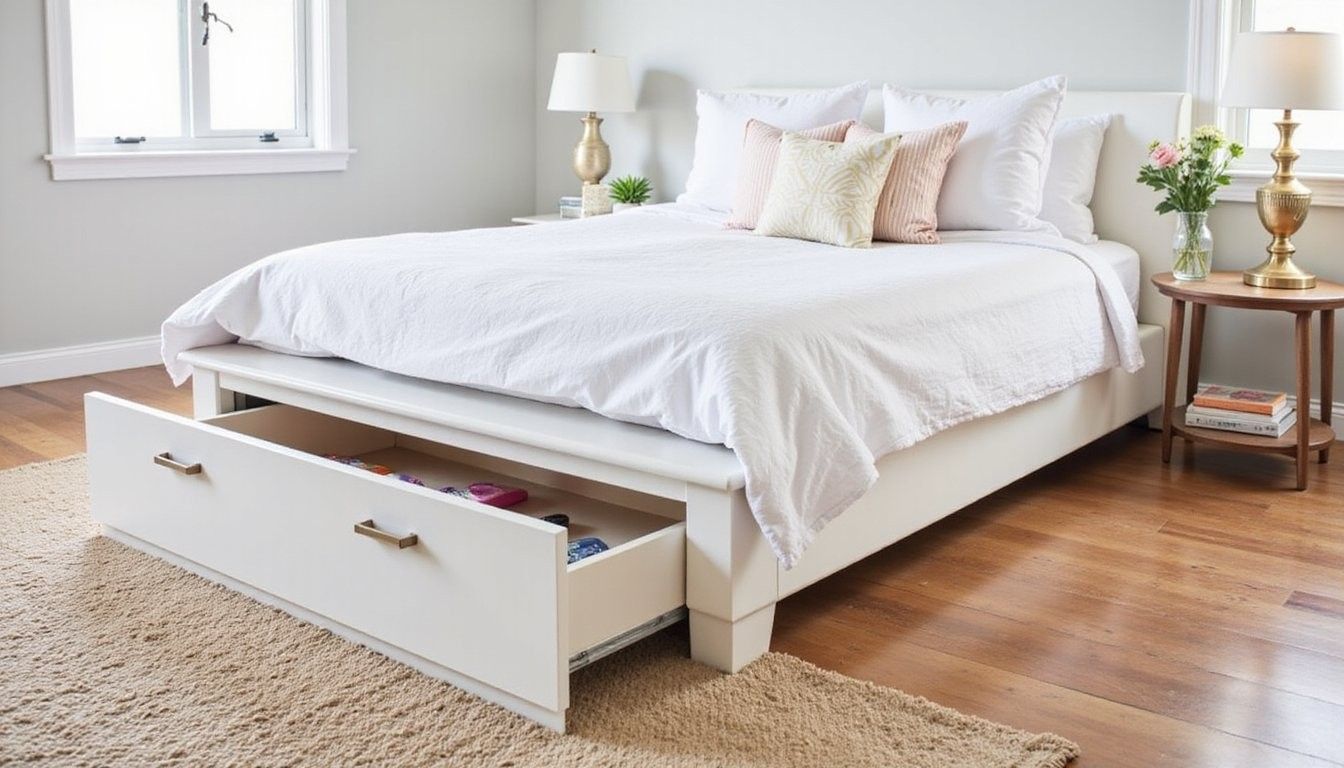
Small change, big payoff: A custom under-bed drawer transforms wasted space into neat, accessible storage while keeping the bedroom tidy and stylish.
Key Takeaways
- Measure twice: Accurate dimensions make the build fit your bed frame and bedding.
- Choose materials wisely: Lightweight plywood and quality runners keep the drawer sturdy and smooth.
- Keep it simple: Basic joinery with screws and glue is enough for a durable project.
- Customize finish: Paint, stain, or fabric can match your room decor.
- Test load: Check how much weight slides smoothly before daily use.
Start Here
Why this works: Building a drawer for under the bed reclaims space that would otherwise collect clutter and makes seasonal storage easy to access.
Who benefits: Anyone with limited closet space, small bedrooms, or a desire for cleaner surfaces will find this project rewarding and practical.
What to expect: The project involves measuring, cutting, assembling, and finishing a wooden box that slides on runners or casters and fits under your bed frame.
Time commitment: Plan for an evening of prep and a weekend to cut, assemble, and finish if you work at a comfortable pace and allow glue and paint to dry.
Skill level: Basic woodworking skills and familiarity with a circular saw, drill, and sander are helpful but not required for a successful result.
Tools & Materials
Prepare these items: Gather tools and materials before cutting so you can work efficiently and avoid interruptions.
- Measuring tools: tape measure, combination square, pencil.
- Cutting tools: circular saw or table saw, jigsaw for curved cutouts.
- Fastening: wood screws, wood glue, corner clamps.
- Hardware: drawer runners or small casters, handles or cutout pulls.
- Materials: 1/2″ to 3/4″ plywood for box, 1×2 or pine strips for reinforcement, sandpaper, paint or stain.
- Finishing supplies: primer, paintbrushes, tack cloth, protective pads.
Optional extras: Non-slip liners, felt pads, and soft-close hardware add refinement and prevent shifting under the bed.
Design and Measurements

Start with careful measuring: Measure inside the bed frame clearance, height from floor to slats, and any obstructions like center support posts to determine maximum drawer dimensions.
Allow clearance: Subtract about 1/4″ to 3/8″ from width and length to ensure smooth movement, and leave 1/2″ to 1″ of height clearance for runners or casters plus bedding.
Decide depth: A shallow drawer works well for linens, while a deeper box stores bulkier items but may reduce maneuverability under the bed.
Weight considerations: Select runners rated for the expected load and add internal reinforcement to prevent sagging over time.
Layout planning: Sketch plans with the cut list before you begin cutting, and mark each piece with its role to avoid mistakes during assembly.
| Material | Estimated Cost | Storage Volume (cu ft) | Build Ease |
|---|---|---|---|
| Baltic birch plywood (3/4″) | $40 – $80 | 4 – 6 | High |
| Standard plywood (1/2″) | $25 – $50 | 3 – 5 | Moderate |
| MDF | $20 – $40 | 3 – 5 | Easy |
Use the table: Compare cost and storage space to pick a material that balances budget and durability for your needs.
Build Steps
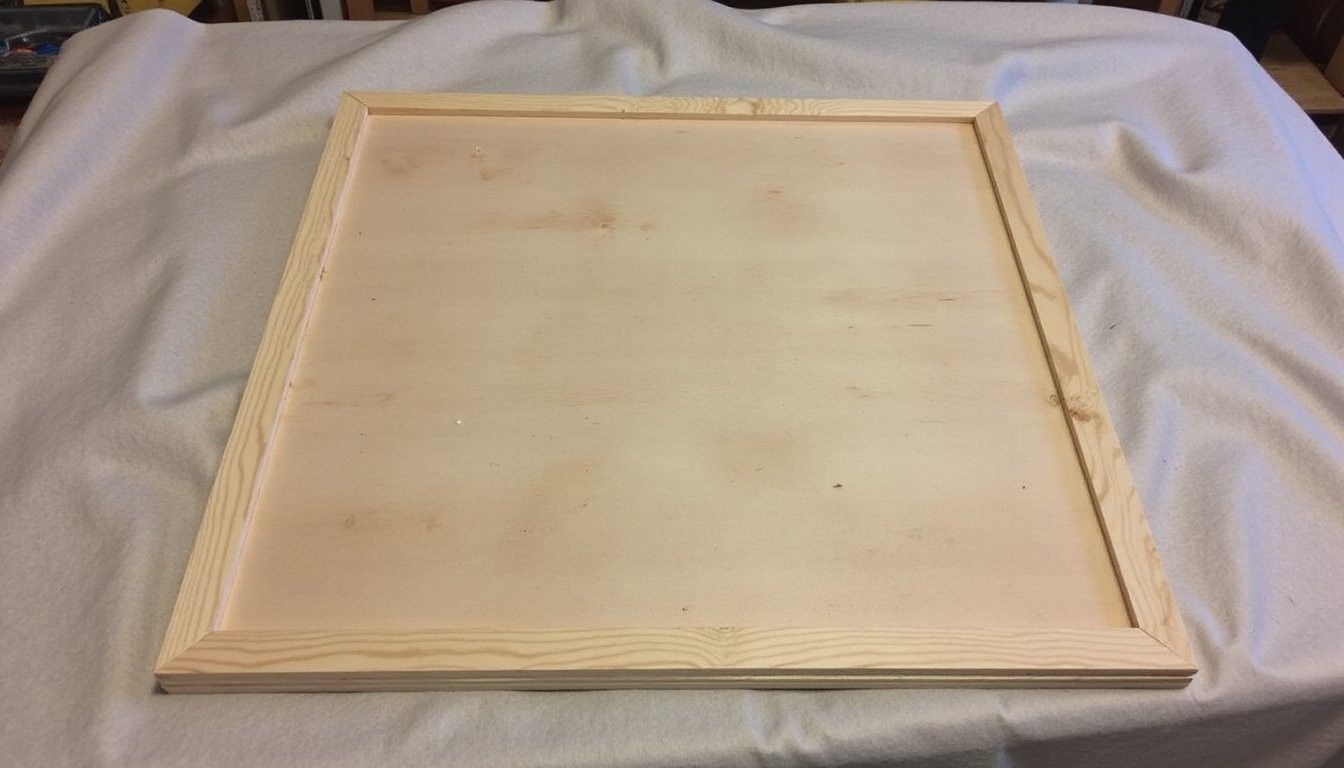
Begin with the box: Cut the bottom and four sides from plywood, use a straight edge to score before cutting, and label pieces to match your sketch.
Reinforce corners: Apply wood glue to mating edges and fasten with screws or brad nails while clamped to hold square during drying.
Install runners or casters: Choose drawer runners for guided movement or low-profile casters for a simple rolling solution, and fasten hardware to match manufacturer recommendations for spacing and pilot hole size.
Test for smooth travel: Place the assembled box on the intended surface and slide it back and forth to confirm clearance and alignment before finishing.
Attach a handle: Use recessed pulls or a cutout at the front to keep the drawer low-profile and avoid snagging bedding when opening or closing.
| Option | Ease of Fit | Cost | Durability |
|---|---|---|---|
| Full-extension runners | Precise | Higher | High |
| Low-profile rollers | Flexible | Moderate | Moderate |
| Casters under base | Loose | Low | Variable |
Choose the right hardware: Match hardware choice to your floor type and how often you will move the drawer to keep performance steady over time.
Finishing and Styling
Sand for a smooth surface: Start with medium grit and finish with fine grit, wiping dust away between grits so paint or stain adheres evenly and feels pleasant to touch.
Prime before paint: Use a good primer on plywood edges and faces to prevent blotchy stains and to seal the surface for an even topcoat.
Choose finishes: Paint gives a clean, modern look while stain highlights wood grain for a warmer, natural style that pairs well with bedroom textiles.
Protect the underside: Add felt pads or fabric runners where the drawer contacts the floor to prevent scratches and reduce noise while sliding.
Personalize the front: Consider a fabric panel, leather strap, or painted accent to tie the drawer visually to bedding or bedroom furniture without adding bulk.
Placement and Use
Test before loading: Place the drawer in position and slide it fully in and out several times to confirm clearance and that the front sits flush with the bed frame.
Balance the load: Store heavier items closer to the center and lighter items near the front so the drawer moves evenly and does not tip when opened.
Keep access easy: Label interior sections with removable tags or use clear bins inside the drawer to find items quickly and avoid shoving things in randomly.
Routine checks: Inspect the runners and fasteners every few months to tighten screws and reapply lubricant if sliding becomes stiff or noisy.
| Question | Yes | No |
|---|---|---|
| Fits under platform bed with 7″ clearance | Yes | |
| Suitable for heavy storage like books | No |
Adapt to bedding: If your bed skirt hangs low, either shorten it or build the drawer so the front tucks neatly under the skirt for a clean look when closed.
Common Pitfalls
Rushing cuts: Cutting pieces without a straightedge or rushed measurements produces gaps at joints that weaken the structure and make the drawer look uneven.
Ignoring runner specs: Attaching runners without following their spacing and mounting instructions can cause binding or premature wear that shortens the life of your drawer.
Overloading: Filling the drawer with weight beyond the runner rating places stress on screws and glue joints and will reduce the smoothness of movement over time.
Skipping finish prep: Skipping sanding or primer often results in blotchy paint, visible glue lines, and a finish that chips more readily with use.
Frequently Asked Questions
How much clearance do I need? Aim for at least a half inch of clearance on each side and top beyond the drawer box and hardware so the drawer slides easily without scraping.
Can I use secondhand runners? Yes, provided they operate smoothly and match the width and load rating you need; clean and lubricate older runners before installing.
What if my floor is uneven? Use adjustable casters or add thin shims under the drawer base to level it so the runners align and the drawer doesn’t drift to one side.
How do I prevent dust inside? Line the interior with a thin fabric or shelf liner and keep folded items in breathable bags to minimize dust while still allowing airflow.
Is plywood better than solid wood? Plywood offers stability and resists warping in a thin panel format, which makes it a strong and often more economical choice for a large box like this.