
The Myth
Big budgets equal great style. Many people believe that only pricey purchases or professional designers can make a home feel polished, and that belief stops people from trying to make simple, clever improvements.
Expensive trends are not required. That pressure to buy new, brand-name, or designer items often leads to overspending without improving comfort or harmony in a room.
Note: A calm plan and a few focused changes can change how a space feels without high cost or waste.
The Truth
Good design is about choices. Thoughtful editing, repainting, smart placement, and layering textures often matter more than the price tag on any single object.
Small moves add up fast. When you prioritize what matters most for function and mood, affordable changes create a cohesive, welcoming space that feels intentional.
Myth-Buster Box
Reality: Thoughtful planning, smart shopping, and a few DIY moves can deliver big visual impact on a tight budget.
Introduction
This guide is a step-by-step companion. It walks through planning, budgeting, sourcing, hands-on projects, and finishing touches so you can create a home that feels cared for without overspending.
Every chapter focuses on practical moves. Expect clear methods you can apply room by room plus checks to avoid wasted time and money while building a style that lasts.
Tools & Materials

Basic toolkit for most projects. Keep this checklist on hand before you start so small projects remain smooth and frustration-free.
- Paint and primer — quality sample cans in your chosen palette.
- Brushes and rollers — a few sizes plus a tray and drop cloths.
- Measuring tape and level — for accurate furniture placement and wall hangings.
- Basic hand tools — screwdriver, hammer, nails, and a small drill for quick fixes.
- Adhesive hooks and mounting strips — damage-free hanging options.
- Textiles — affordable curtains, throws, and pillow covers.
- Cleaning and prepping supplies — all-purpose cleaner, sponges, and tack cloth.
Plan and Prioritize
Start with a clear goal for each room. Decide whether you want comfort, storage, brightness, or a more cohesive color story and write down one to three outcomes before you spend a dollar.
Set a short list of must-fix items. Prioritizing repairs, lighting, and the biggest visual anchors helps you spend on changes that will be noticed first and most.
Measure and map the space. A simple floor sketch with dimensions prevents wasted purchases and helps you visualize optimal furniture placement and traffic flow.
Allocate a realistic budget and timeline. Break the total into categories like paint, textiles, secondhand finds, and small tools so you make visible progress without surprises.
Keep a running notes file or board. Track costs, sources, and ideas so you can compare options and stay committed to choices that support your vision.
Smart Shopping and Thrift
Focus on anchors and finishes. Spend modestly on a long-lasting sofa or mattress if needed, then look to low-cost ways to refresh surfaces and accents.
Use thrift and resale strategically. Good vintage pieces often need only minor cleaning or a fresh coat of paint to look modern and unique while saving money.
Shop sales with a list, not impulse. Waiting for targeted discounts on specific items prevents clutter and keeps the project moving toward your goals.
Compare price per use for each purchase. An item used daily justifies a higher spend more than a trend piece that will be sidelined within months.
Ask sellers for bundle deals. When buying secondhand, offering to take a matching set or multiple items often brings the per-piece price down and reduces trips.
DIY and Upcycling Projects
Small projects multiply impact. Painting a wall, refinishing a thrifted table, or sewing cushion covers transforms a room for a fraction of the cost of new furniture.
Choose projects that match your skills. Start with low-risk upgrades like painting, swapping hardware, or replacing lamp shades before moving on to upholstery or electrical changes.
Learn one technique at a time. A single weekend practice with new skills builds confidence and produces outcomes that feel more personal than store-bought decor.
Use safe methods and test materials first. Try paint samples on small areas and practice stitches on scrap fabric to avoid costly mistakes on key items.
Document before and after. Photos help you track progress, refine techniques, and feel motivated by visible improvement instead of perfection.
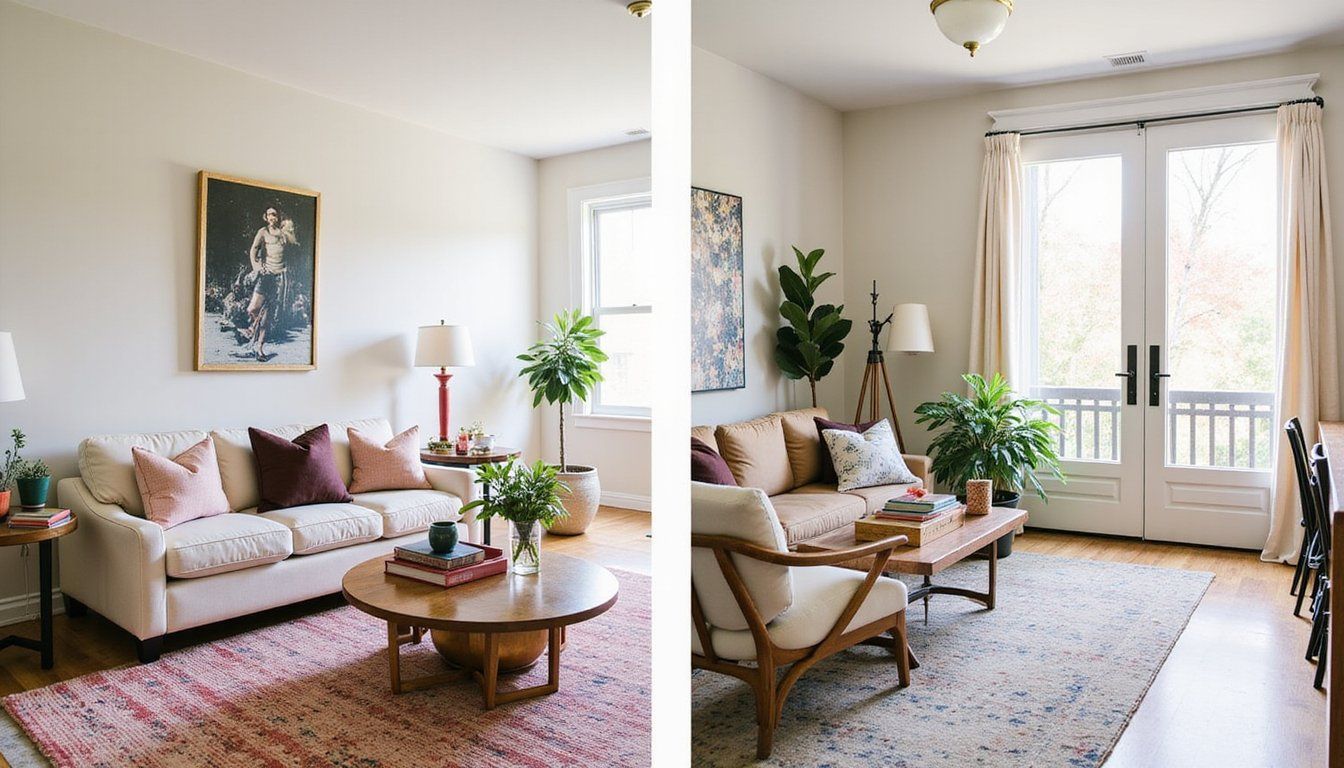
Styling and Layout Tricks
Edit first, add later. Remove excess items to reveal what truly matters in a room; editing clears visual clutter so strategic additions read as intentional.
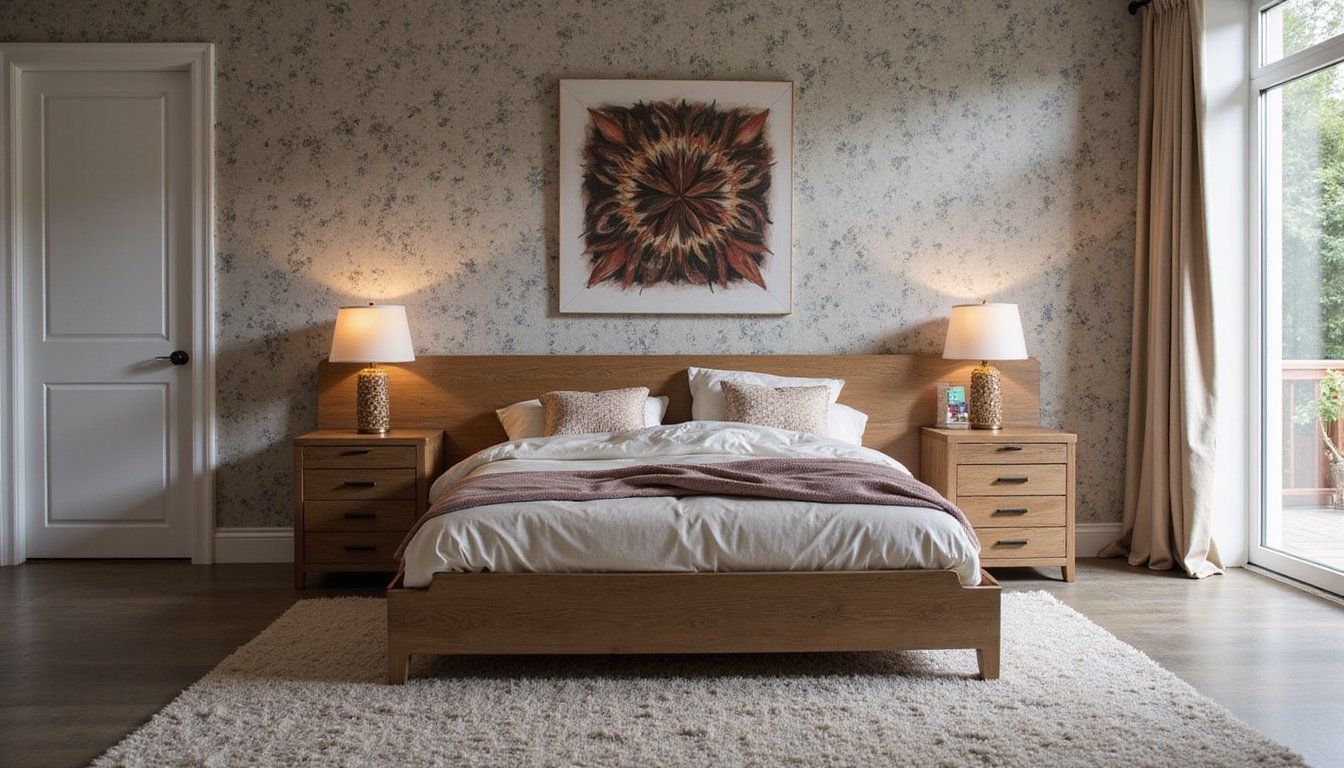
Use textiles to shift mood inexpensively. Rugs, throws, and curtains change color and texture quickly and can unify mismatched furniture at low cost.
Layer lighting for depth and function. Combine overhead, task, and ambient light using budget-friendly fixtures and bulbs to make spaces feel cozier and more polished.
Group objects in odd numbers. Vignettes arranged in threes or fives on shelves and tables feel more composed than single items or even pairs.
Create balance with scale and negative space. Keep sightlines open, float pieces away from walls when possible, and avoid overcrowding so each object has room to breathe.
Cost vs. Impact Comparison
Compare common choices by value. The table below helps you decide where to spend and where to save so your budget goes toward changes that readers notice first.
| Item | Typical Cost | Visual Impact |
|---|---|---|
| Fresh paint | $25–$60 per gallon | High |
| Area rug | $50–$250 | High |
| Throw pillows | $10–$40 each | Medium |
| Secondhand armchair | $30–$200 | Medium–High |
| New designer lamp | $150–$400 | Low–Medium |
Pro vs. DIY: A Quick Boolean View
Decide when to hire help. The small table below clarifies when professional work is worthwhile and when a project suits a confident beginner.
| Task | DIY? | Hire? |
|---|---|---|
| Paint walls | Yes | Optional |
| Electrical rewiring | No | Yes |
| Furniture assembly | Yes | Rarely |
| Plumbing work | No | Yes |
Common Mistakes
Skipping prep costs more later. Failing to prep surfaces, measure properly, or repair small damage before decorating leads to flaking paint, ill-fitting curtains, or furniture that feels awkward and wasted.
Chasing trends without a filter. Buying trendy accessories in every sale can create a mismatched look that erases the cohesive feel you intended; pick one trend and weave it in subtly.
Ignoring scale and proportion. Small rooms require scaled furniture and layered lighting, while oversized pieces in tight spaces make a room feel cramped and heavy.
Frequently Asked Questions
How much should I budget per room? A modest refresh can cost under $100 for paint and textiles, while a fuller update might range from $300 to $1,000 depending on replacements and furniture; decide by listing must-do items first and estimating each cost.
Where are the best places to find bargains? Thrift stores, estate sales, community marketplace apps, clearance sections, and local buy-and-sell groups often have items you can restore or repurpose at low cost if you are patient and selective.
Can painting really change a room? Yes, new color alters perceived size, light, and mood quickly and inexpensively, and an accent wall or fresh trim color can redirect attention away from what you want to minimize.
What if I dislike my DIY result? Start small and test techniques on a low-visibility piece, and remember that many fixes like sanding, repainting, and swapping out hardware can correct early attempts without wasting major funds.
How do I make thrifted items feel modern? Clean surfaces, replace or reupholster textiles, paint frames or legs in a unified color, and anchor vintage pieces with contemporary textiles and lighting to blend old and new harmoniously.