
The Struggle
Tired of flat, uninspired walls that make your space feel cold and cookie-cutter, many homeowners wish for the warmth and character of farmhouse styling but hesitate because the project seems messy and technical.
The Quick Fix
Add beadboard or shiplap to a focal wall for instant farmhouse charm, and follow a clear prep-and-install plan to keep the project tidy and achievable over a weekend; measured cuts, a level layout, and finishing caulk will make the result look professional.
Introduction
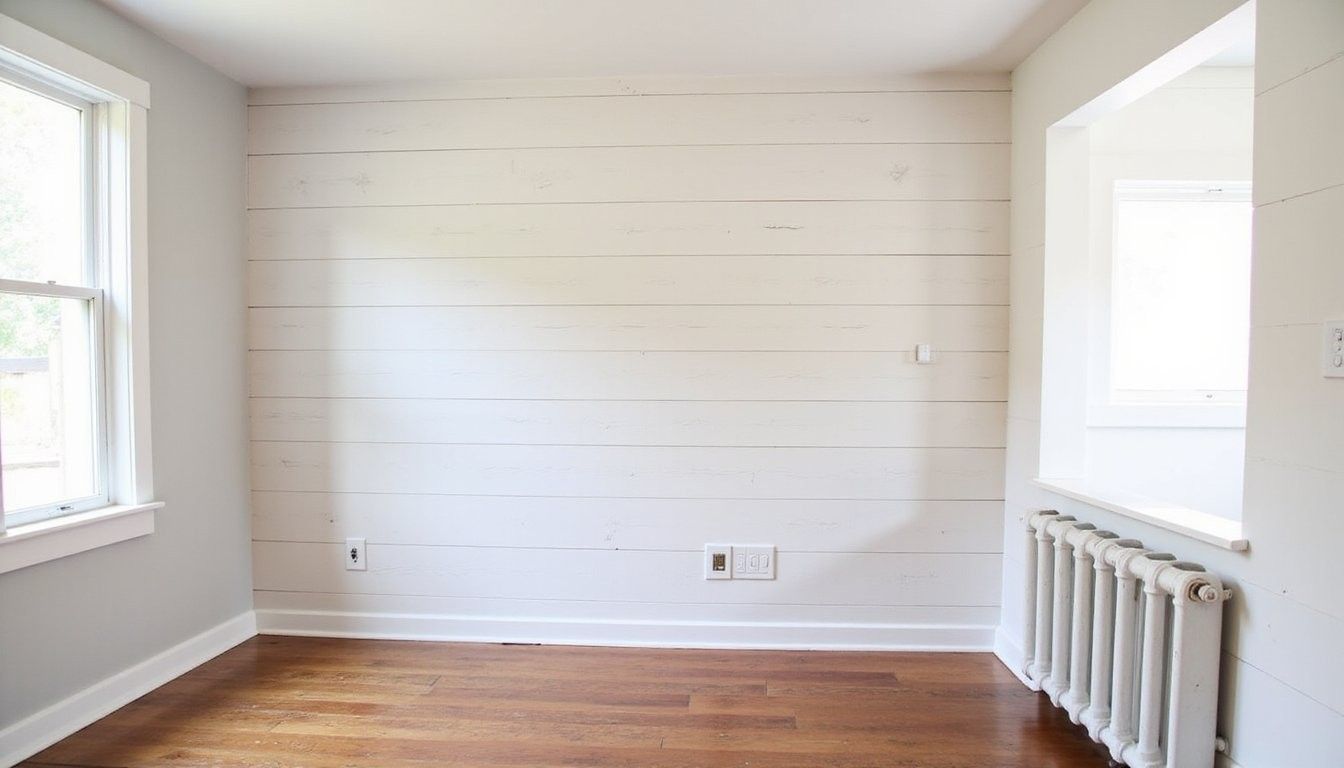
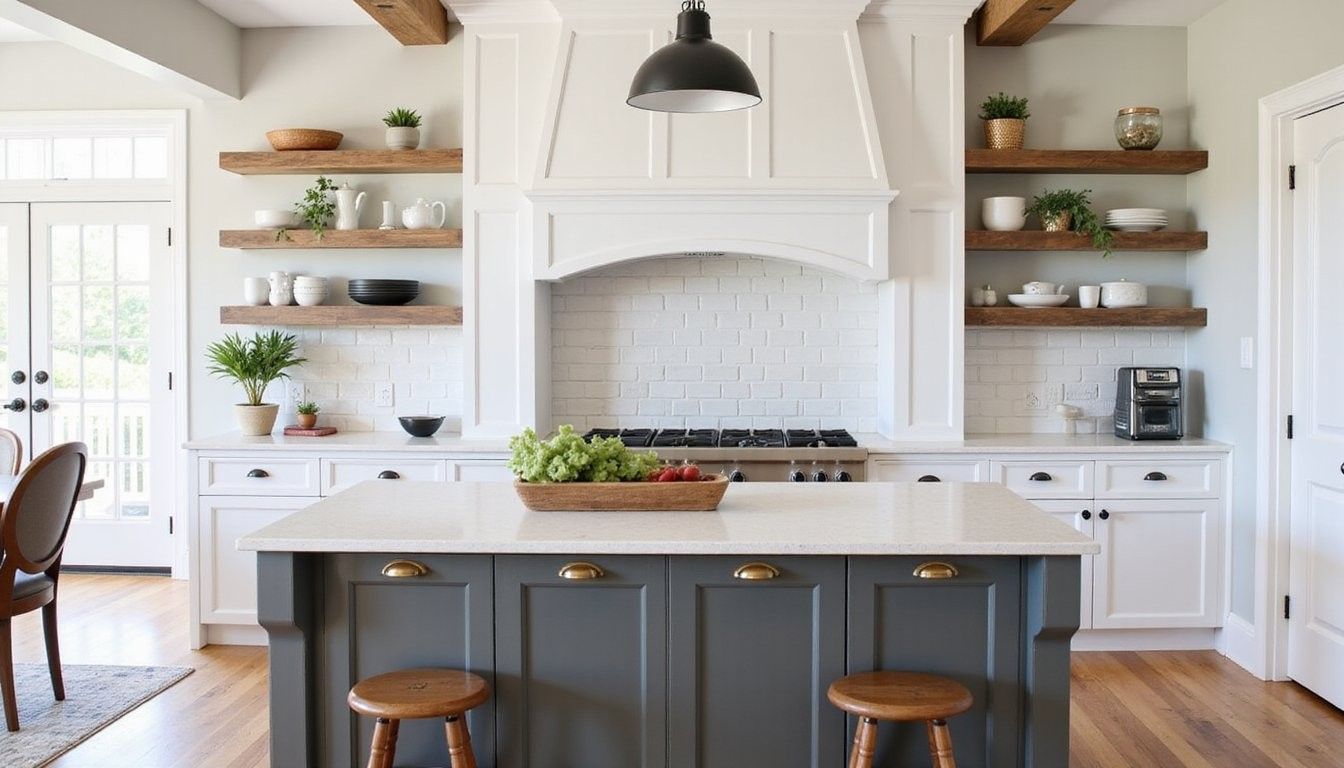
An accent wall can transform a plain room into a cozy, timeless space without a full renovation, and choosing between beadboard or shiplap comes down to the look you want, your budget, and your comfort with tools.
This guide walks through planning, tools, step-by-step installation, finishing, and common pitfalls so you can pick the right material and complete the job with confidence even if this is your first carpentry project.
Tools & Materials
Gathering the right supplies ahead of time prevents mid-project trips to the store and keeps momentum, so set up a staging area for cutting, painting, and storing boards safely.
- Measuring tape and pencil
- Level and chalk line
- Circular saw or miter saw
- Jigsaw (for outlets and trims)
- Finish nailer and 18-gauge nails or brad nails
- Construction adhesive (optional)
- Stud finder
- Caulk gun and paintable acrylic caulk
- Sandpaper and sanding block
- Primer and paint or stain
- Safety gear: goggles, dust mask, ear protection
- Paint brushes and small roller
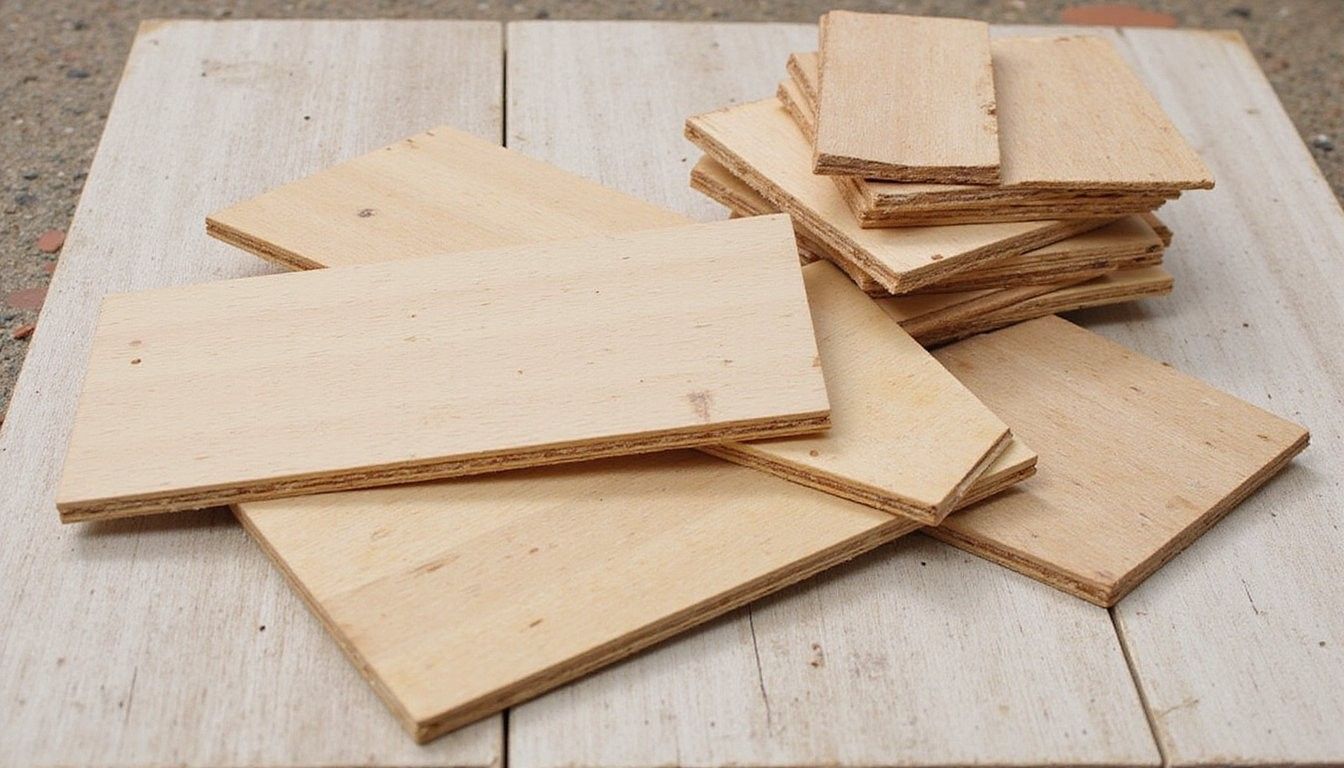
A quality finish starts with primer and the right nails and adhesive, so choose paint-grade MDF or primed pine for easy finishing, or durable cedar or pine tongue-and-groove if you prefer a natural wood look.
Planning and Prep
Measure twice and plan layout by calculating square footage, accounting for trim, outlets, and windows, and deciding whether boards will run horizontally or vertically to complement room proportions and furniture placement.
Sketch a layout on graph paper or a digital tool marking studs and electrical locations so you can plan cut lengths and minimize seams, and always add a small extra to allow for imperfect walls and trim differences.
Preparing the Wall Surface
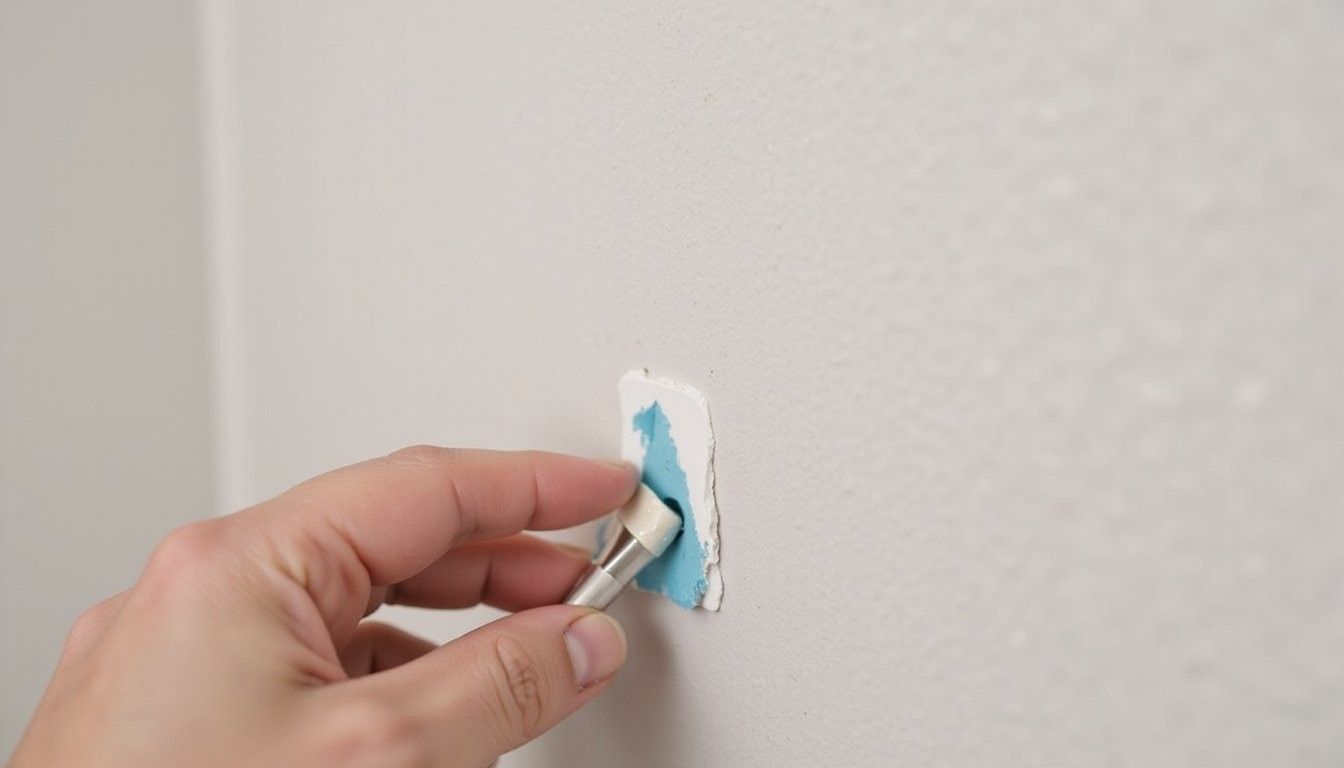
Inspect and prep existing surfaces by removing outlet covers, mirrors, nails, and loose wallpaper, and sand or patch drywall imperfections so boards sit flat and nails hold securely.
Locate studs with a stud finder and mark them clearly, and add vertical furring strips on plaster or uneven walls to create a flat, solid nailing surface that keeps boards aligned during installation.
Cutting and Dry-Fitting Boards
Measure each board carefully and make square cuts with a miter or circular saw, taking into account tongue-and-groove or bead profiles so seams fall where they will be least visible or at natural breaks like corners and trim.
Dry-fit pieces before nailing to confirm fit around outlets, windows, and baseboards, trimming small amounts as needed and labeling boards in sequence if walls have many angled cuts.
Installing Beadboard or Shiplap
Start from a level reference line at the lowest visible point or from the ceiling depending on whether you want full board at the base or top, and use a chalk line to keep the first course perfectly straight as errors compound quickly.
Nail into studs or furring strips every 12 to 16 inches using a finish nailer and countersink nails slightly so a tiny dab of wood filler smooths over the head, and consider construction adhesive behind each board for extra holding power on tricky surfaces.
Finishing: Trim, Caulk, and Paint
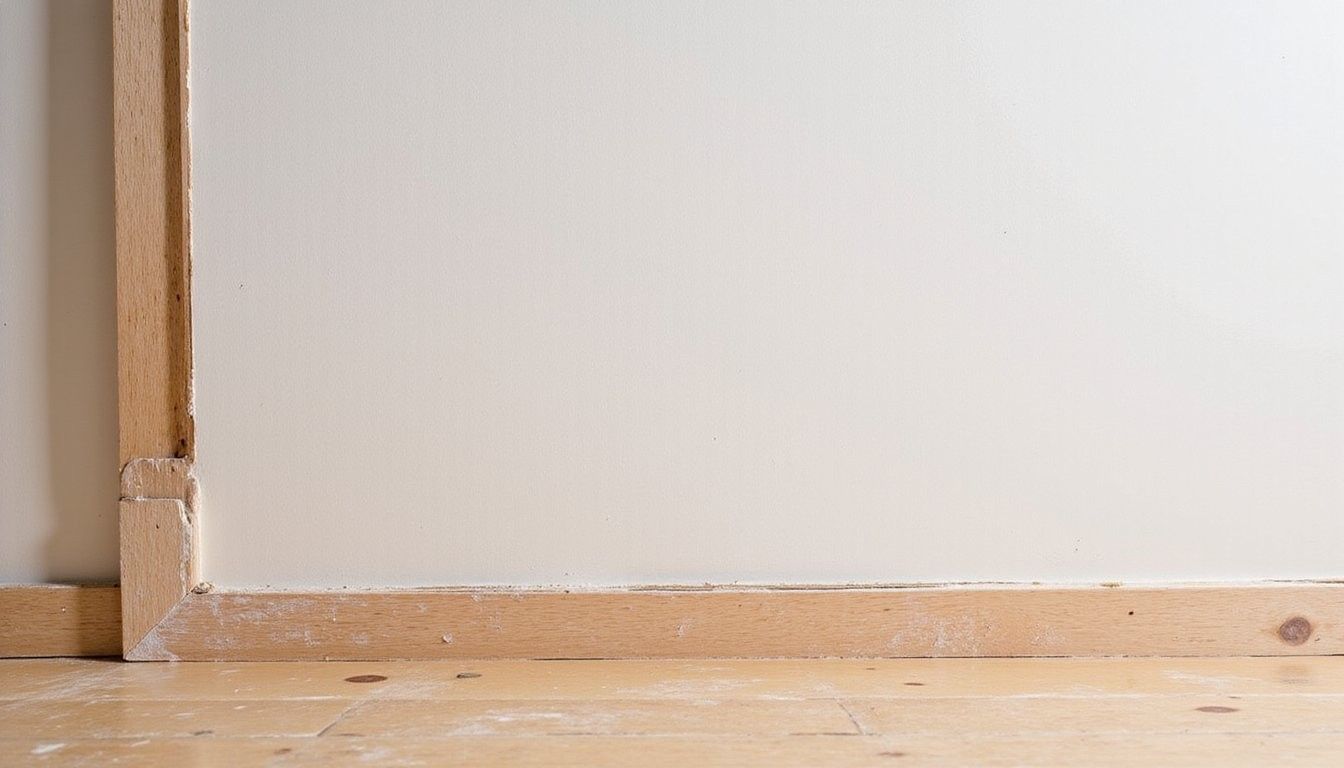
Trim and caulk seams with paintable acrylic caulk where boards meet baseboards, crown, and corners to conceal small gaps and create a polished look, and run a bead of caulk along each seam before painting for seamless results.
Prime and paint or stain after filling nails and sanding lightly, using a quality primer if boards are MDF or raw wood, and allow full drying times between coats to avoid tacky finishes and uneven sheen.
Installation Methods and When to Choose Them
Nail-only installation works well on flat drywall with reliable studs and offers speed, but it can let boards move slightly with humidity so choose thicker boards or add adhesive in kitchens or bathrooms for durability.
Adhesive plus nails is the most forgiving method for uneven walls because the glue holds the board while nails secure it long term, and it reduces squeaks and hollow sounds behind the boards which improves the tactile quality of the wall.
Common Mistakes
Rushing through layout leads to mismatched seams and wasted boards, so take time to plan board direction, stagger joints, and ensure each cut is accurate before nailing to minimize rework and visible seams.
Quick Comparisons and Data
Choosing between beadboard and shiplap depends on look, cost, and installation tolerance, with beadboard offering a classic panel look and narrower seams while shiplap shows broader, horizontal lines that emphasize length and texture.
| Material | Typical Cost per sq ft | DIY Skill Needed |
|---|---|---|
| Beadboard (PVC or MDF) | $2 – $8 | Moderate |
| Shiplap (Pine or MDF) | $3 – $12 | Moderate to Advanced |
Use this table as a quick budgeting snapshot but add 10–20% for waste, trim, and unexpected wall issues when buying material to avoid mid-job shortages.
Pro vs. Con Tables
Comparing benefits and trade-offs helps you decide which look and installation method match your home and schedule; the short table below lays out high-level pros and cons for quick reference.
| Option | Pros | Cons |
|---|---|---|
| Beadboard | Classic texture, hides minor imperfections | Panels can look busy in small rooms |
| Shiplap | Clean horizontal lines, modern farmhouse vibe | Requires tight joints and good leveling |
Quick Boolean Checklist
Use this yes/no table to quickly decide if a DIY accent wall fits your project scope and home.
| Question | Yes / No |
|---|---|
| Is your wall fairly straight? | Yes |
| Are you comfortable with a circular saw? | Yes |
| Do you have more than one weekend to finish? | No |
Finishing Details That Make a Difference
Small details elevate the final look so spend time on corner trim, scribing to uneven floors, and matching paint sheen across walls and trim to make the accent wall feel integrated rather than pasted on.
Hardware and décor choices like matte black hooks, a reclaimed wood shelf, or a subtle gallery arrangement will reinforce the farmhouse vibe and make the wall feel intentionally styled rather than merely decorative.
Frequently Asked Questions
How long does installation take? Most single accent walls can be completed in one to three weekends depending on wall size, prep needs, and drying time for paint, and planning cuts and materials ahead of time shortens the active installation period.
Can I install shiplap over existing wallpaper? It’s best to remove loose wallpaper and prime the wall; firmly adhered wallpaper can sometimes stay but risk of bubbles and poor adhesion increases, so patching and a layer of primer are wise precautions.
What is better for humid rooms? PVC beadboard resists moisture better than MDF and raw wood, making it a smart choice for bathrooms and laundry rooms when painted and sealed correctly to prevent swelling and mold.
Do I need a permit? Cosmetic wall changes rarely require permits, but any electrical work or structural modifications do, so consult local codes if you move outlets or alter wiring while installing the boards.
Closing Thought
A well-executed accent wall offers big visual impact for modest investment and time, and with careful prep, a steady pace, and attention to finishing touches you can achieve a warm farmhouse look that feels authentic and inviting.
Remember: patience in measuring and finishing pays off more than speed during cutting and nailing, and the end result will be a wall you want to show off for years.