
Clay is a versatile material that brings warmth and character to any space. Exploring artisanal home decor ideas using clay can transform your interiors with unique, handcrafted charm.
From rustic pottery to intricate wall hangings, clay offers endless possibilities for creative home accents. I remember the first time I molded clay into a small vase—it was simple yet deeply satisfying, sparking my passion for handmade decor.
Whether you’re a seasoned crafter or a beginner, these 21 artisanal home decor ideas using clay will inspire you to add personalized touches to your living space.
Handmade Clay Vases for Rustic Charm
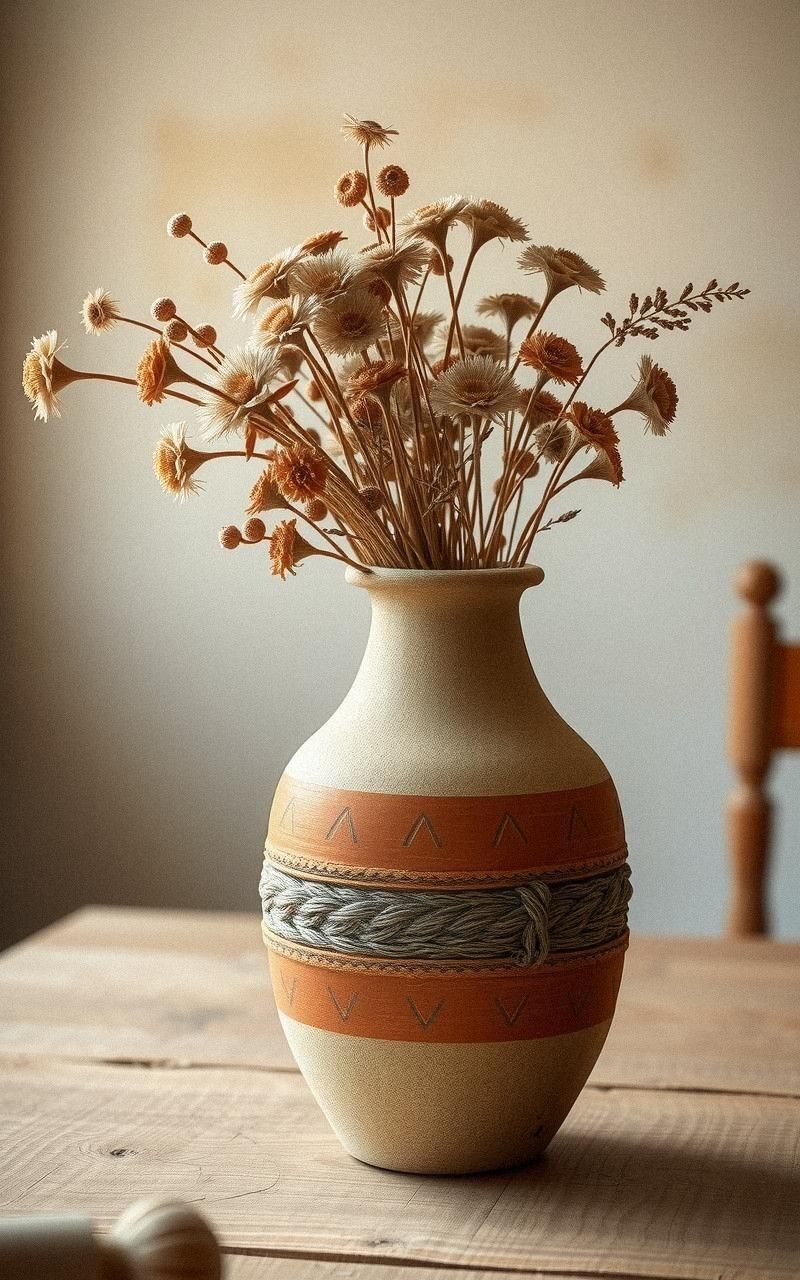
Creating handmade clay vases adds a rustic and natural feel to your home decor. These vases can be shaped into various forms, from sleek modern designs to rough, organic shapes that highlight the texture of the clay.
Finished with a matte or glossy glaze, they become beautiful focal points for displaying fresh flowers or dried botanicals. Making your own clay vases also lets you experiment with colors and patterns to suit your style.
Steps:
- Prepare your clay by kneading it until soft.
- Shape the clay into a vase form using your hands or a pottery wheel.
- Smooth the surface and add any decorative textures or patterns.
- Allow the vase to dry completely.
- Fire it in a kiln or air dry if using air-dry clay.
- Apply glaze or paint as desired and let it dry.
- Seal with a clear coat if needed for protection.
Textured Clay Wall Hangings for Visual Interest
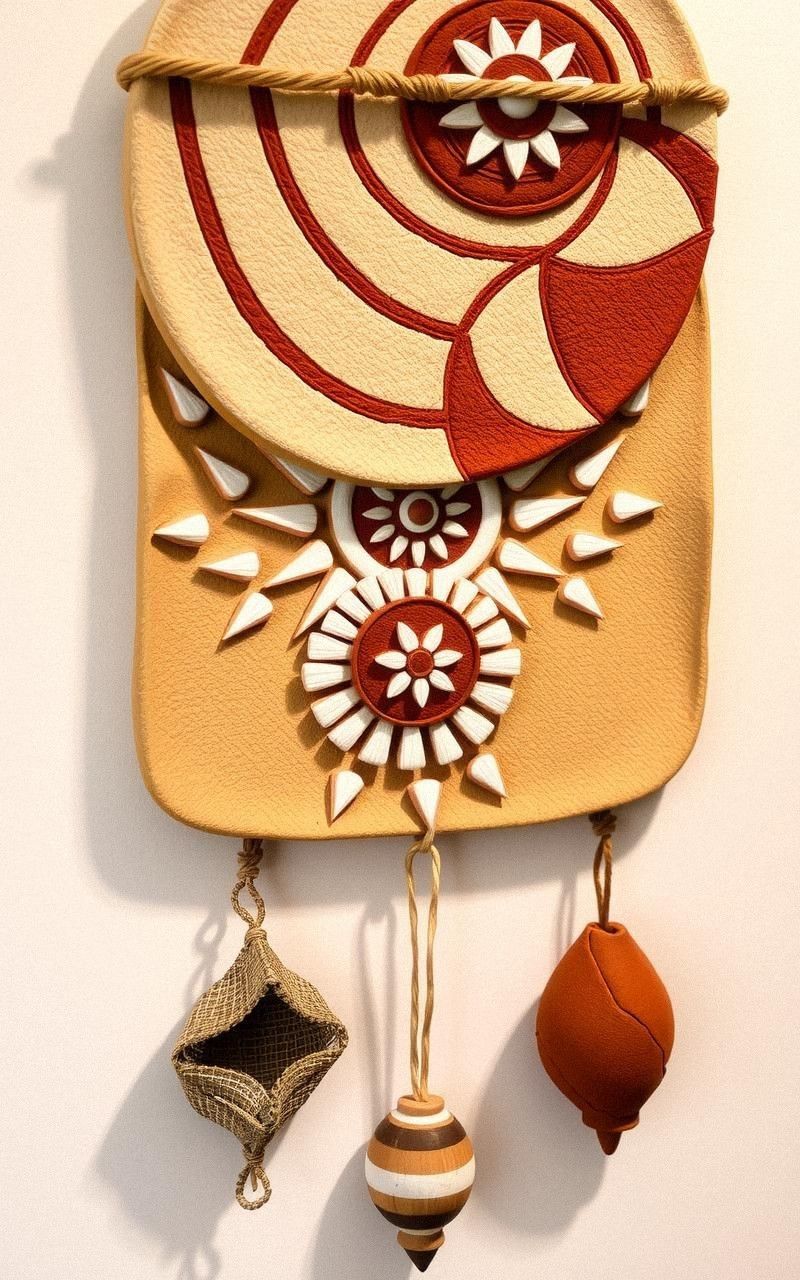
Textured clay wall hangings bring depth and artistry to plain walls. By carving or imprinting patterns onto clay slabs, you can create unique pieces that reflect your personal taste.
These hangings can be painted or left natural to showcase the earthy tones of the clay. Lightweight and versatile, they fit well in living rooms, bedrooms, or hallways, adding a handcrafted touch without overwhelming the space.
Steps:
- Roll out a slab of clay to your desired thickness.
- Use tools or stamps to create textures and patterns.
- Cut the clay into shapes or designs suited for hanging.
- Make holes for hanging hooks or string.
- Dry the pieces thoroughly.
- Fire or air-dry the clay depending on the type used.
- Optionally, paint or glaze the finished pieces.
- Attach hanging hardware or cords.
Custom Clay Candle Holders for Cozy Ambiance
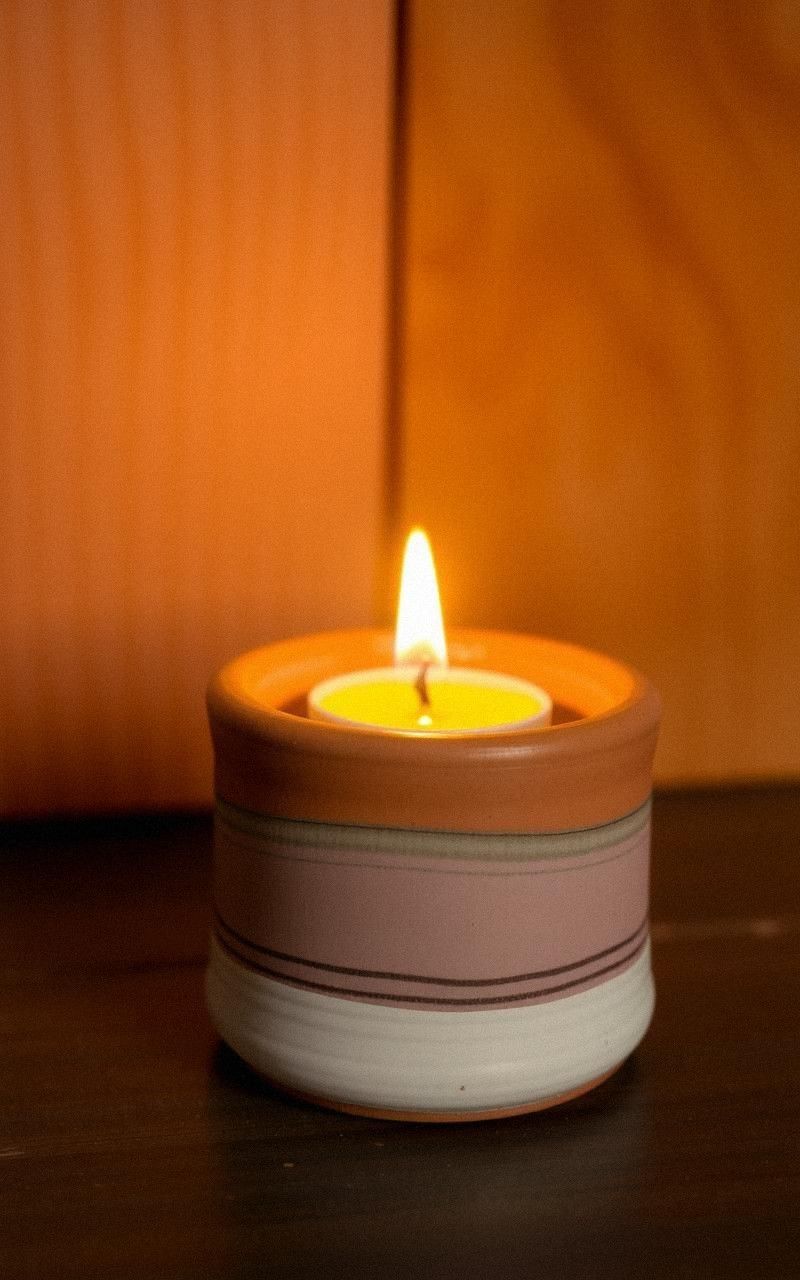
Clay candle holders provide a warm, handmade element to your home’s ambiance. Mold them into simple cups or intricate designs that reflect your decor style.
The porous nature of clay allows for subtle texture that makes each holder unique. Whether for tea lights or pillar candles, these holders add a cozy and inviting glow to any room.
You can personalize them through shapes, sizes, and finishes.
Steps:
- Shape clay into a base and walls suitable for holding a candle.
- Smooth edges and add decorative details.
- Ensure the holder is stable and level.
- Dry the piece thoroughly.
- Fire or air-dry depending on clay type.
- Glaze or paint if desired.
- Place a candle and enjoy the ambiance.
Decorative Clay Bowls for Everyday Elegance
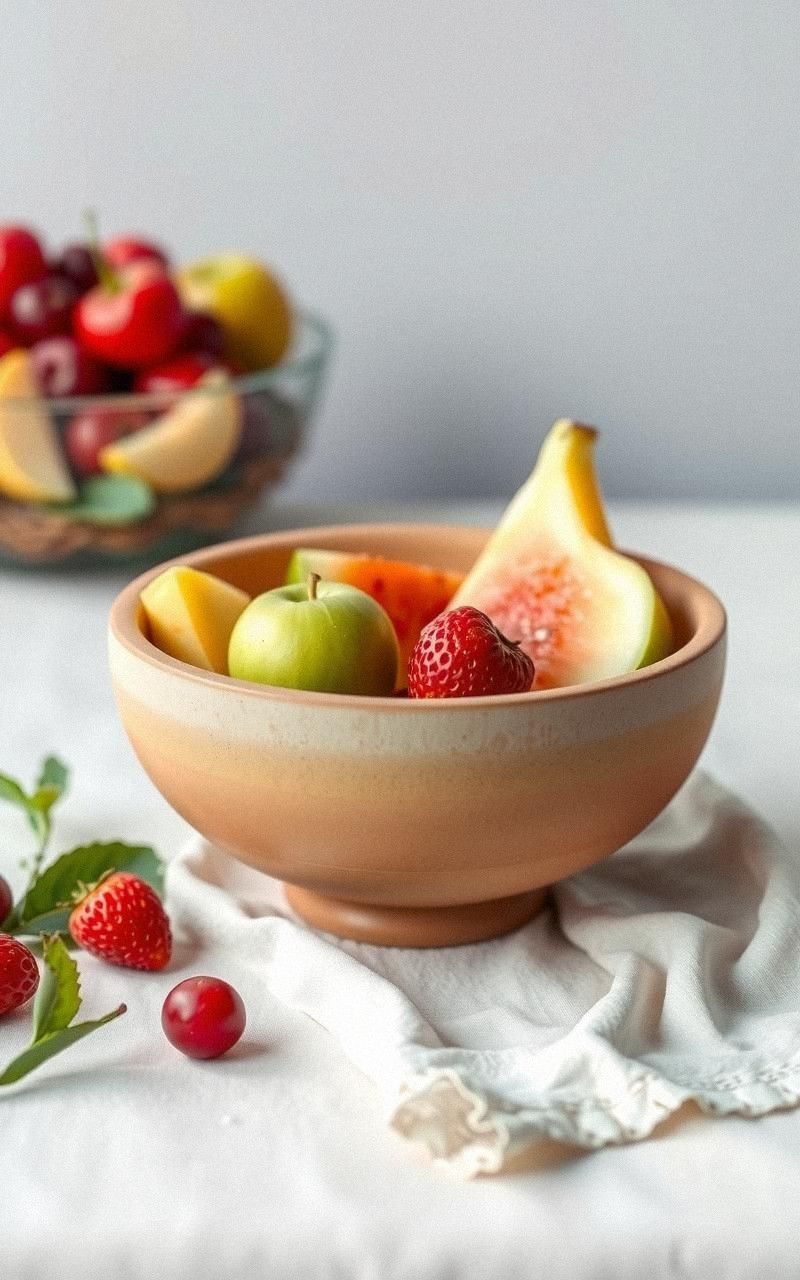
Decorative clay bowls combine functionality and art. These bowls can serve as catch-alls for keys and trinkets or as stylish vessels for fruit and snacks.
By experimenting with shapes and textures, you can create bowls that complement your interior’s vibe. Glazing options range from glossy finishes to natural matte surfaces, making each piece a distinct addition to your home decor.
Steps:
- Start by rolling a ball of clay and pressing it into a bowl shape.
- Refine the edges and smooth the interior.
- Add surface textures or patterns if desired.
- Allow the bowl to dry completely.
- Fire in a kiln or air dry.
- Apply glaze or paint for finishing touches.
- Let the glaze dry and cure before use.
Clay Planters to Showcase Your Greenery
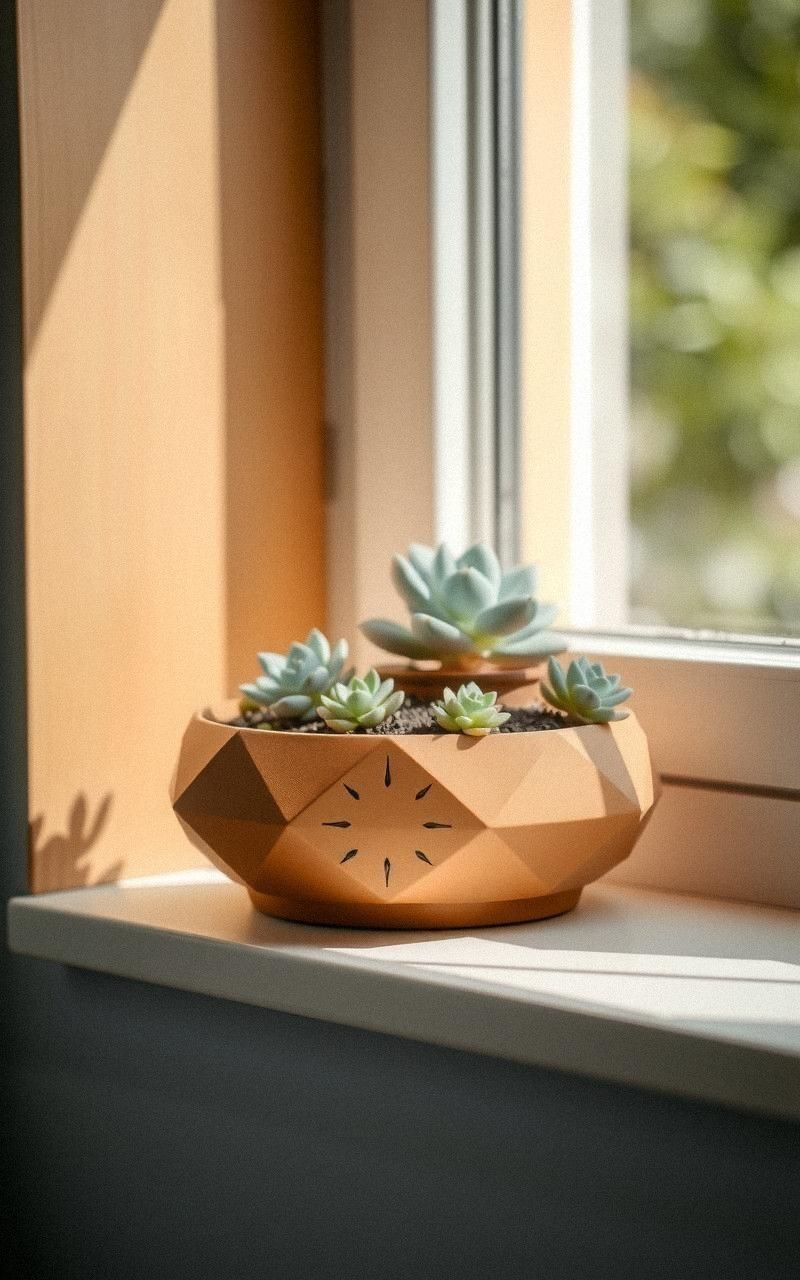
Clay planters are perfect for bringing plant life indoors with a handcrafted flair. You can shape them into traditional pots or modern geometric forms.
Their porous nature helps regulate soil moisture, benefiting plants. Decorating planters with carvings or painted designs enhances their visual appeal.
Creating your own allows you to customize size and style to fit your favorite plants and your decor.
Steps:
- Shape a clay pot with thick walls for durability.
- Smooth the surfaces and add drainage holes.
- Decorate with carvings or textures if desired.
- Dry the planter thoroughly.
- Fire in a kiln or air dry.
- Apply glaze or sealant to protect from water.
- Fill with soil and plants once fully cured.
Elegant Clay Coasters with Intricate Designs
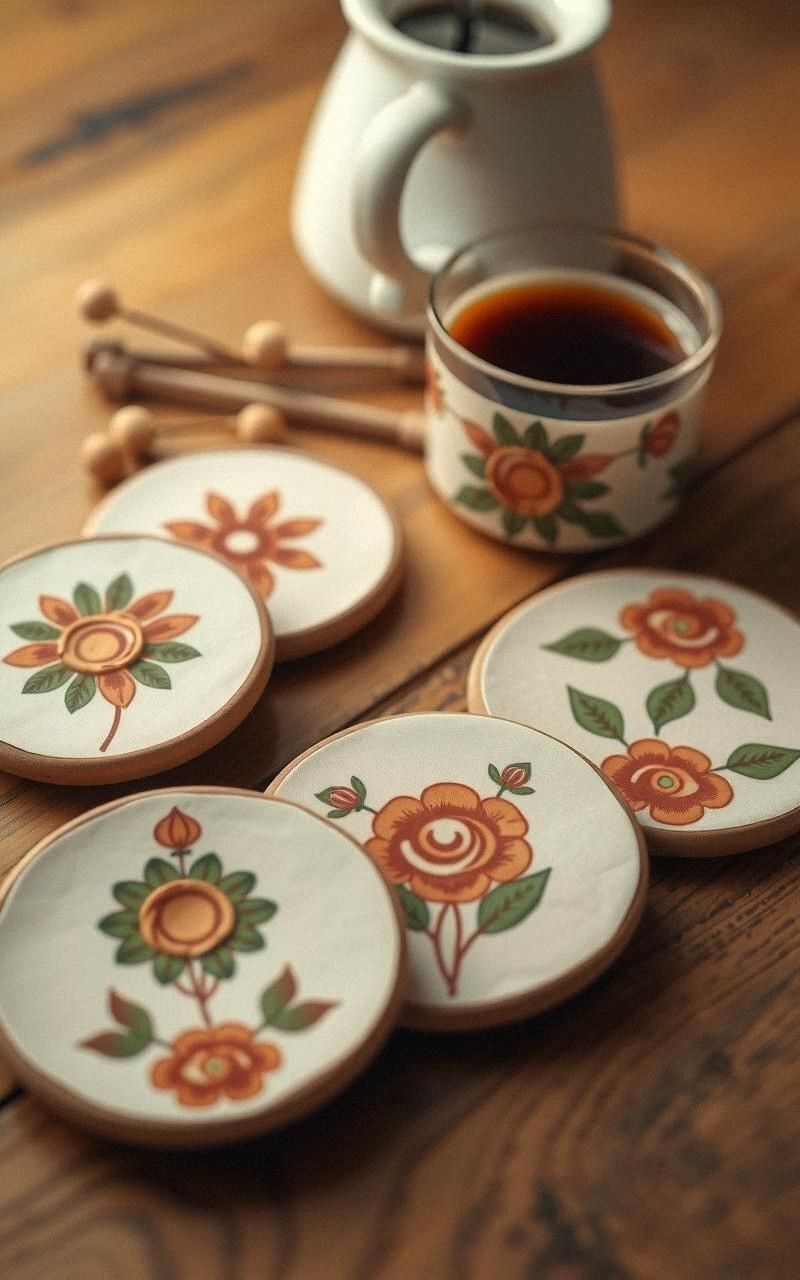
Clay coasters make practical and beautiful additions to your coffee table. By stamping or carving patterns onto thin clay discs, you can create sets that reflect your style.
These coasters protect surfaces while displaying artisanal craftsmanship. Sealing them with a waterproof finish ensures durability and ease of cleaning.
They are ideal for gifting or personal use.
Steps:
- Roll out clay to an even thin thickness.
- Cut into coaster-sized circles or shapes.
- Carve or stamp decorative patterns.
- Dry the coasters completely.
- Fire or air dry according to clay type.
- Apply waterproof sealant or glaze.
- Allow to dry before use.
Personalized Clay Nameplates for Doors
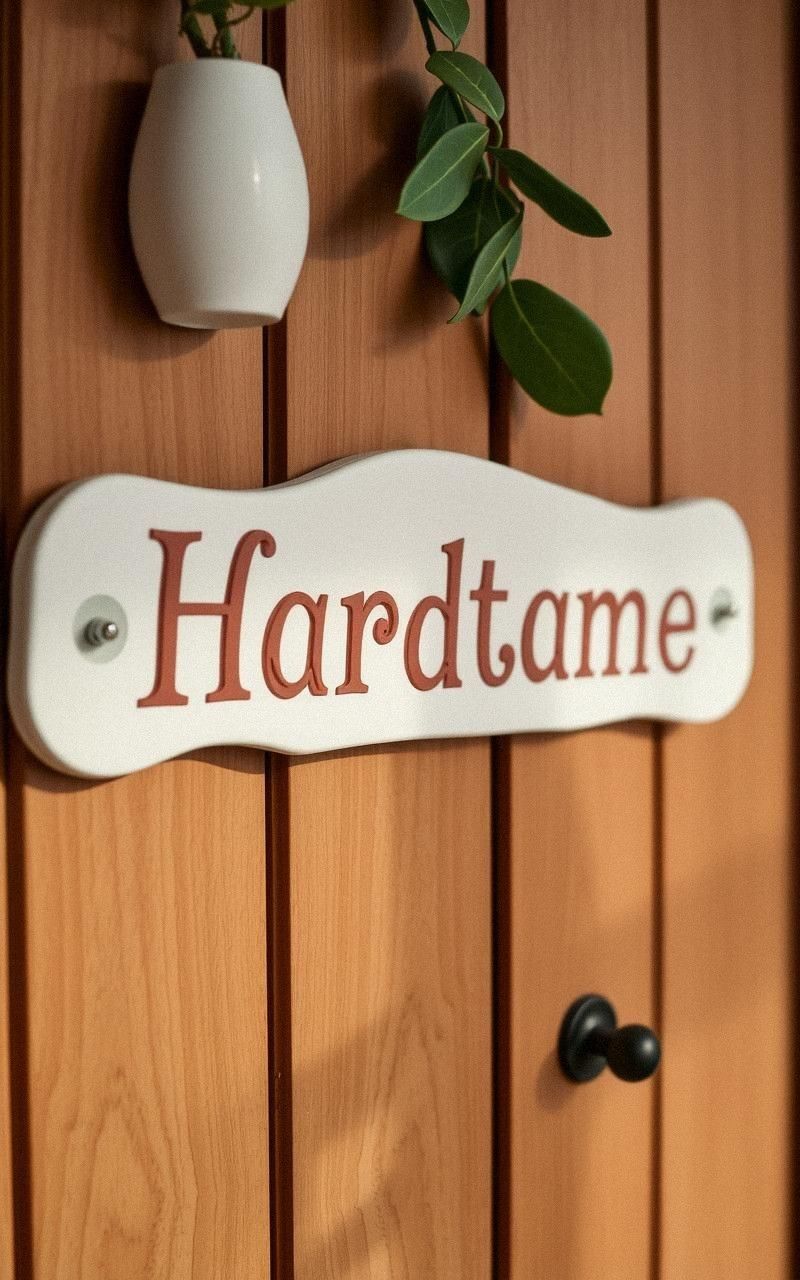
Personalized clay nameplates add a welcoming touch to your home entrance. Mold a slab of clay and inscribe names or messages using stamps or carving tools.
These plates can be left natural or painted in colors that match your exterior decor. Lightweight and weather-resistant when sealed properly, they serve as charming identifiers for your space.
Steps:
- Roll out a rectangular slab of clay.
- Smooth surface and edges.
- Use stamps or carving tools to add text.
- Add decorative elements if desired.
- Make holes for mounting hardware.
- Dry and fire or air dry completely.
- Apply a sealant to protect against weather.
- Mount on your door or wall.
Artistic Clay Jewelry Dishes for Small Treasures
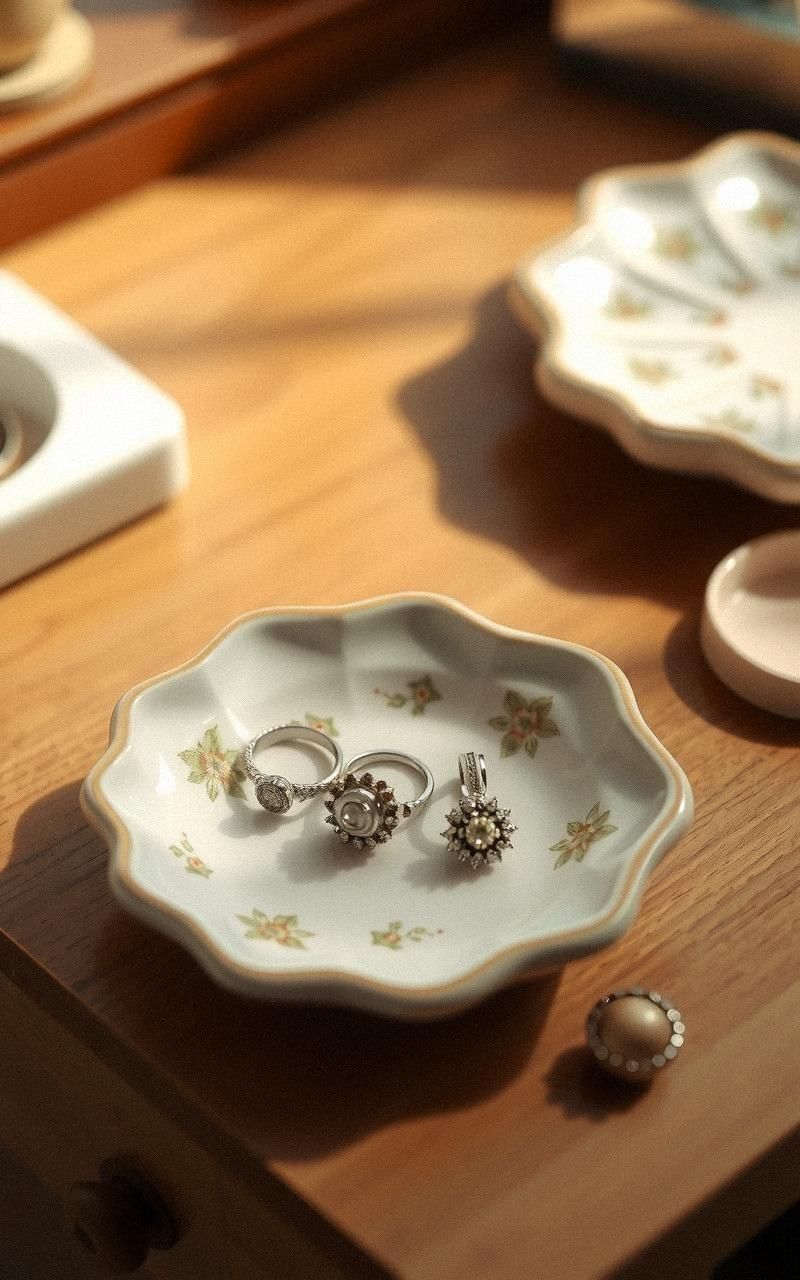
Clay jewelry dishes are lovely for organizing rings, earrings, and other small treasures. You can create shallow dishes with delicate textures or bright colors that enhance your dressing area.
Handmade dishes add personality and charm to your vanity, making them both functional and decorative. Experimenting with shapes like leaves or abstract forms brings an artistic edge.
Steps:
- Shape a shallow dish from clay with raised edges.
- Smooth the surface and add textures or designs.
- Allow the dish to dry fully.
- Fire or air dry the piece.
- Glaze or paint for finishing touches.
- Let the glaze cure before use.
- Place on your dresser or bedside table.
Chic Clay Wall Pockets for Functional Art
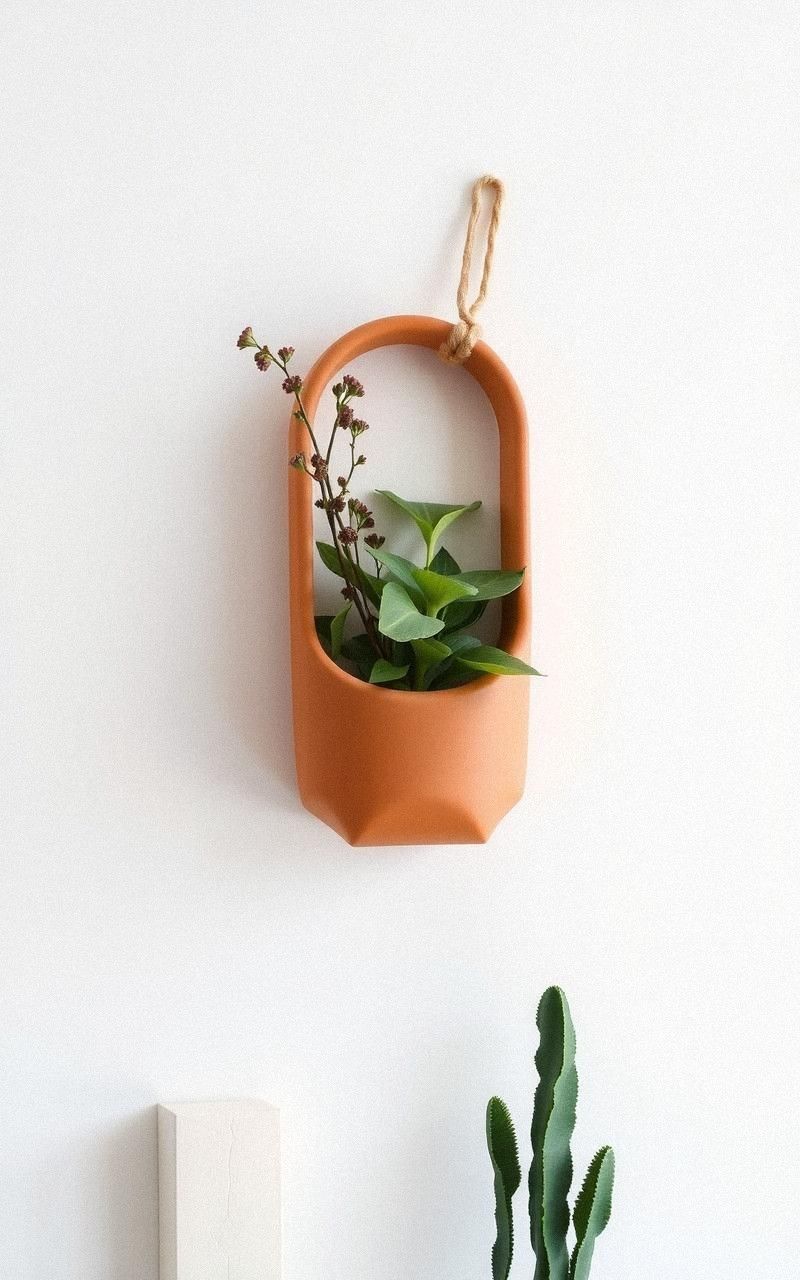
Clay wall pockets combine beauty and utility, offering a stylish way to hold small items like mail, plants, or keys. Molded into minimalist or ornate shapes, they become eye-catching accents.
Hanging these pockets in entryways or kitchens adds handcrafted charm while keeping essentials organized. Their earthy texture contrasts nicely against smooth walls.
Steps:
- Form a clay pocket shape with an open front.
- Smooth surfaces and add decorative elements.
- Create holes or hooks for wall mounting.
- Dry thoroughly to prevent cracking.
- Fire or air dry based on clay type.
- Apply paint or glaze if desired.
- Attach mounting hardware and hang.
Clay Soap Dishes with Drainage Features
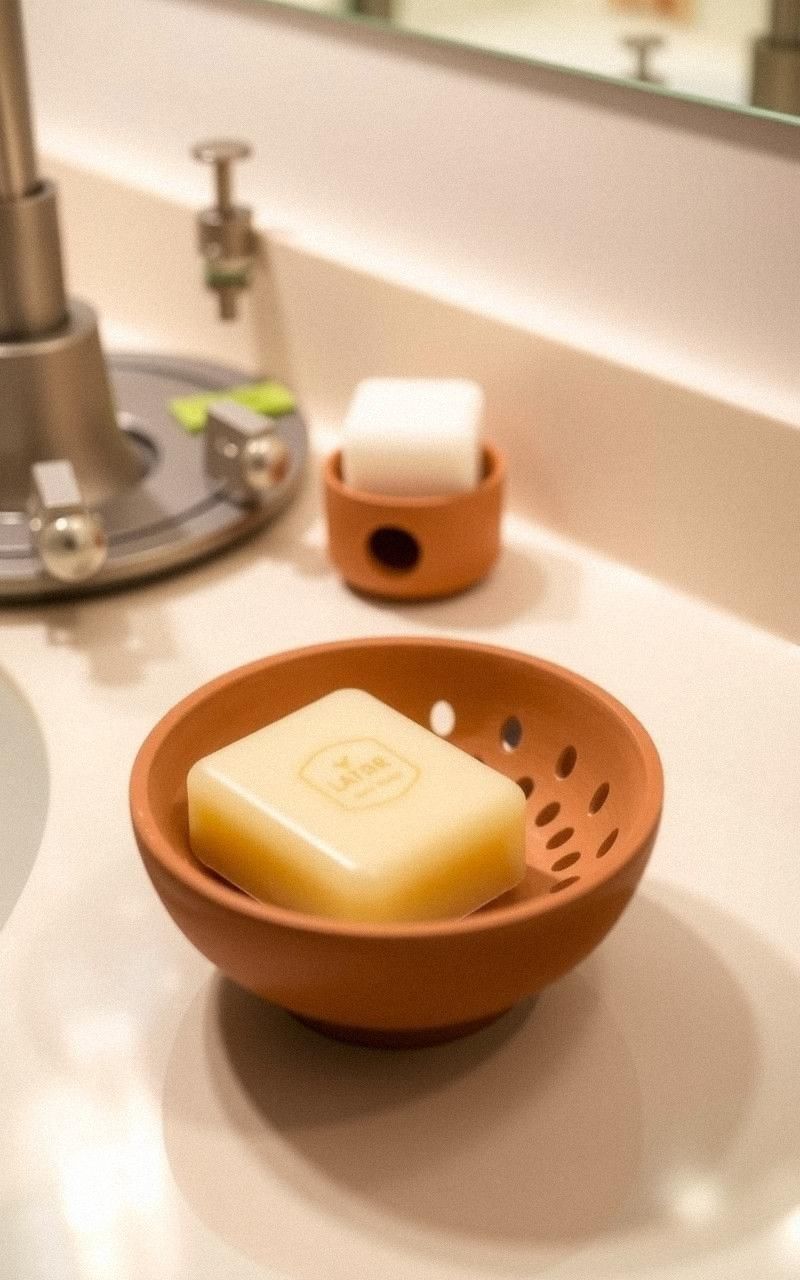
Clay soap dishes with built-in drainage keep your soap dry and extend its life. By carving grooves or holes, these dishes prevent water buildup.
Handmade dishes can be smooth or textured, glazed in colors to brighten the bathroom. Making your own allows you to customize size and style to fit your sink area perfectly.
Steps:
- Shape a shallow clay dish with raised edges.
- Carve drainage grooves or holes in the base.
- Smooth all surfaces.
- Dry the piece completely.
- Fire or air dry according to your clay.
- Apply glaze for water resistance.
- Allow to dry and place near your sink.
Unique Clay Drawer Pulls for Custom Furniture
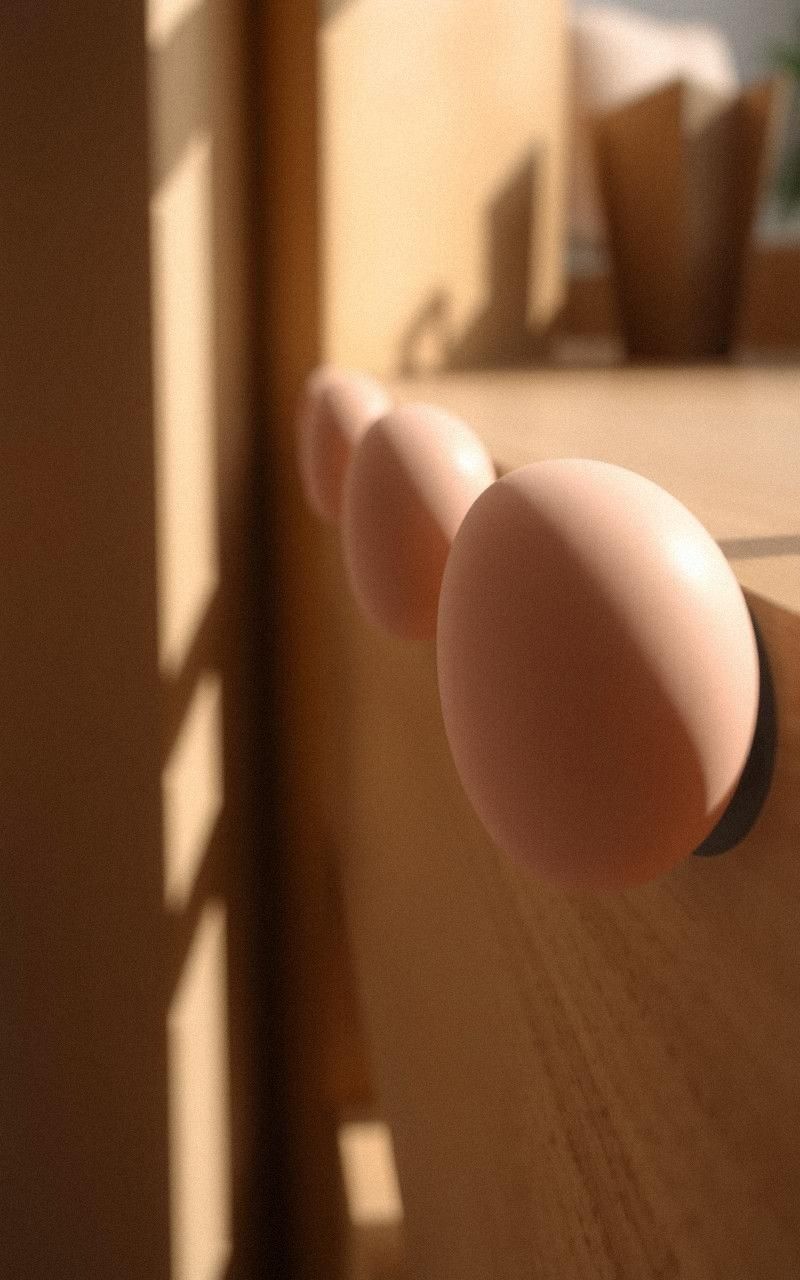
Custom clay drawer pulls give furniture a personal and artistic upgrade. Mold these pulls into simple knobs or decorative shapes, then attach hardware for installation.
Clay’s versatility allows you to match colors and textures with your room’s design. Handmade pulls can transform ordinary drawers into conversation pieces.
Steps:
- Shape clay into desired knob or pull shape.
- Smooth surfaces and add decorative textures.
- Insert or drill hole for screw attachment.
- Dry the pieces thoroughly.
- Fire or air dry based on clay type.
- Glaze or paint for durability.
- Attach hardware and install on drawers.
Clay Hanging Ornaments for Seasonal Decor
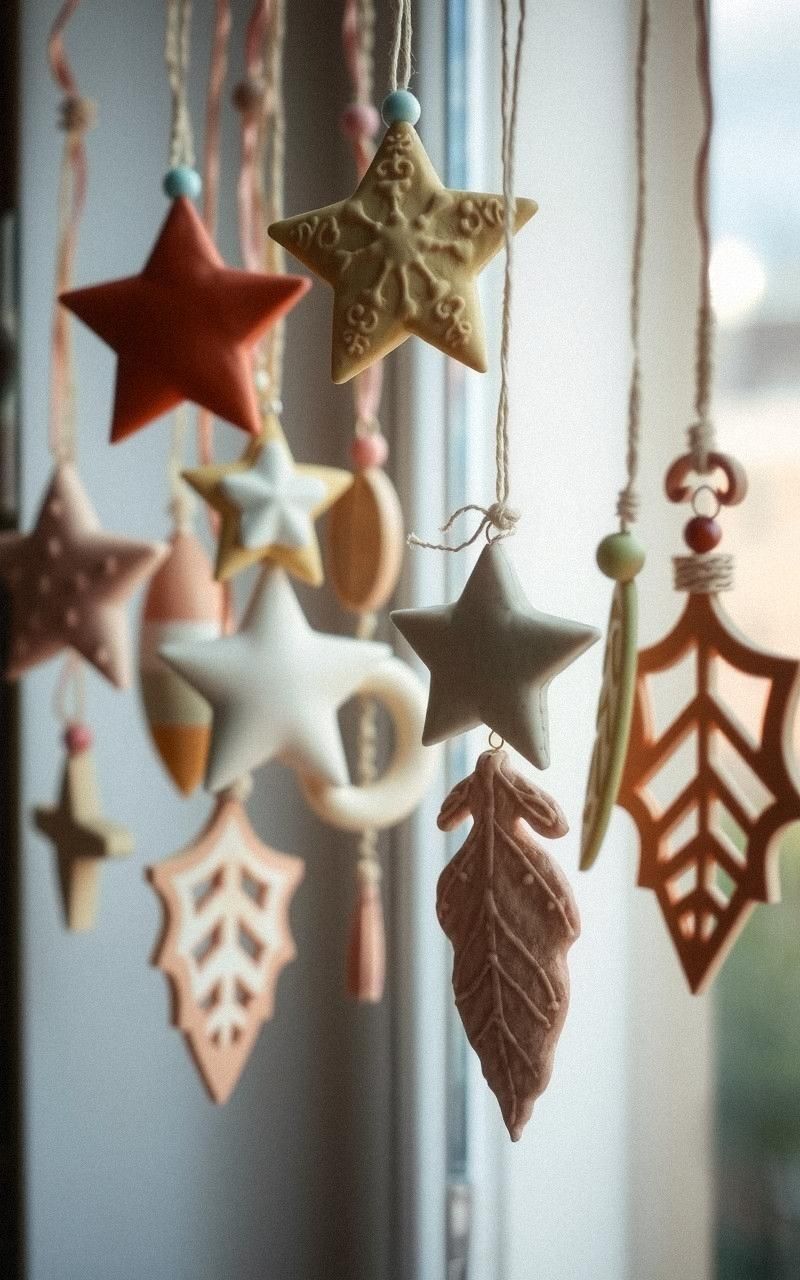
Craft clay hanging ornaments to add charm during holidays or any season. These lightweight creations can be shaped into stars, leaves, or abstract forms.
Painted or left natural, they can hang from windows, walls, or Christmas trees. Making your own ornaments lets you customize colors and designs for festive cheer year-round.
Steps:
- Roll clay and cut into desired shapes.
- Smooth edges and add textures or patterns.
- Make a small hole for hanging string.
- Dry completely.
- Fire or air dry as needed.
- Paint or glaze for final touches.
- Thread string and hang where desired.
Minimalist Clay Desk Organizers for Tidy Spaces
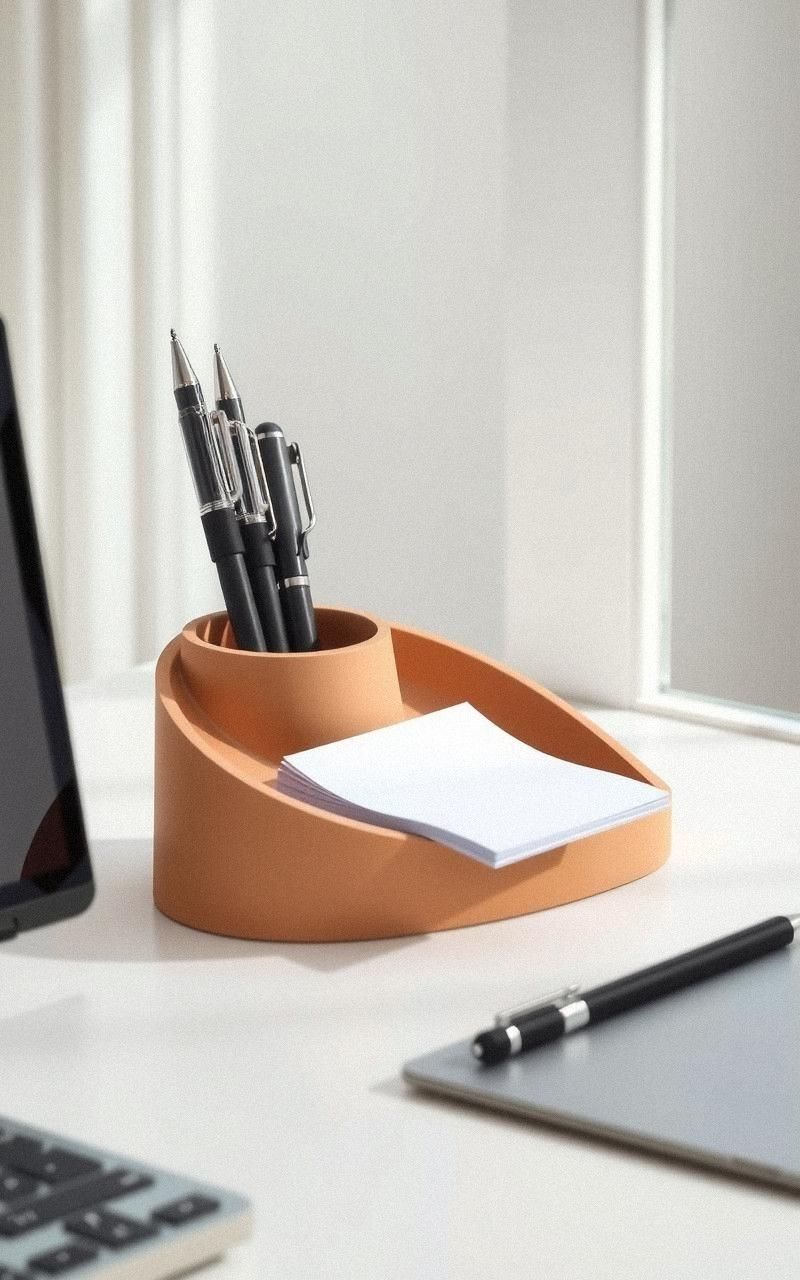
Minimalist clay desk organizers help keep your workspace neat with style. Create compartments for pens, paper clips, and notes in simple geometric forms.
The natural texture of clay adds warmth to office setups. These organizers can be personalized with colors or left unglazed for an earthy feel, making them both practical and decorative.
Steps:
- Shape multiple small clay compartments joined together.
- Smooth edges and surfaces.
- Add texture or leave plain.
- Dry completely before firing or air drying.
- Apply glaze or paint if preferred.
- Let dry and cure fully.
- Place on your desk and organize items.
Clay Picture Frames for a Handmade Touch
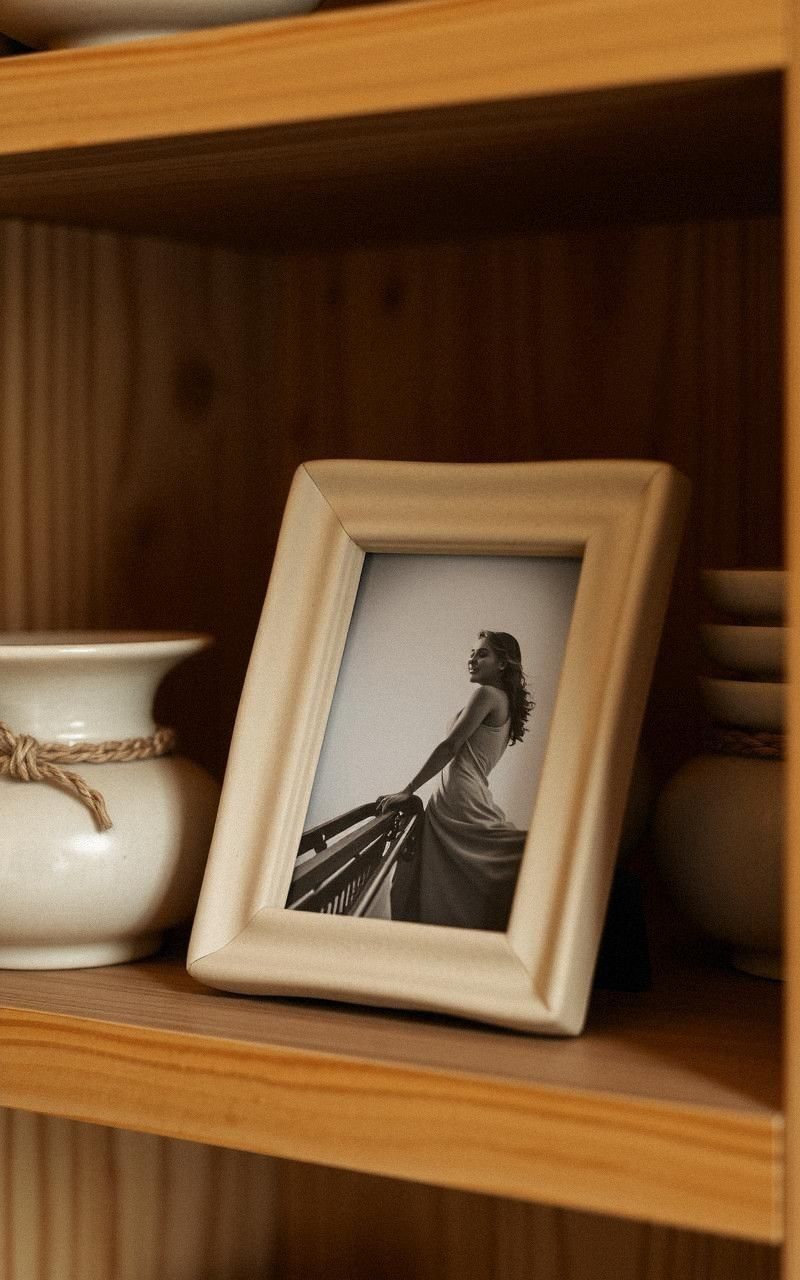
Clay picture frames add a personalized and tactile element to displaying photos or art. Mold the frame with decorative edges or simple lines, then paint or glaze to match your home’s palette.
These frames bring warmth and character, making memories even more special. Crafting your own lets you tailor size and design precisely.
Steps:
- Roll out clay slab and cut to frame size.
- Cut out the center for the photo window.
- Add texture or decorative details on edges.
- Dry the frame thoroughly.
- Fire or air dry depending on clay.
- Paint or glaze and let dry.
- Insert photo and back support.
Charming Clay Napkin Rings for Table Settings
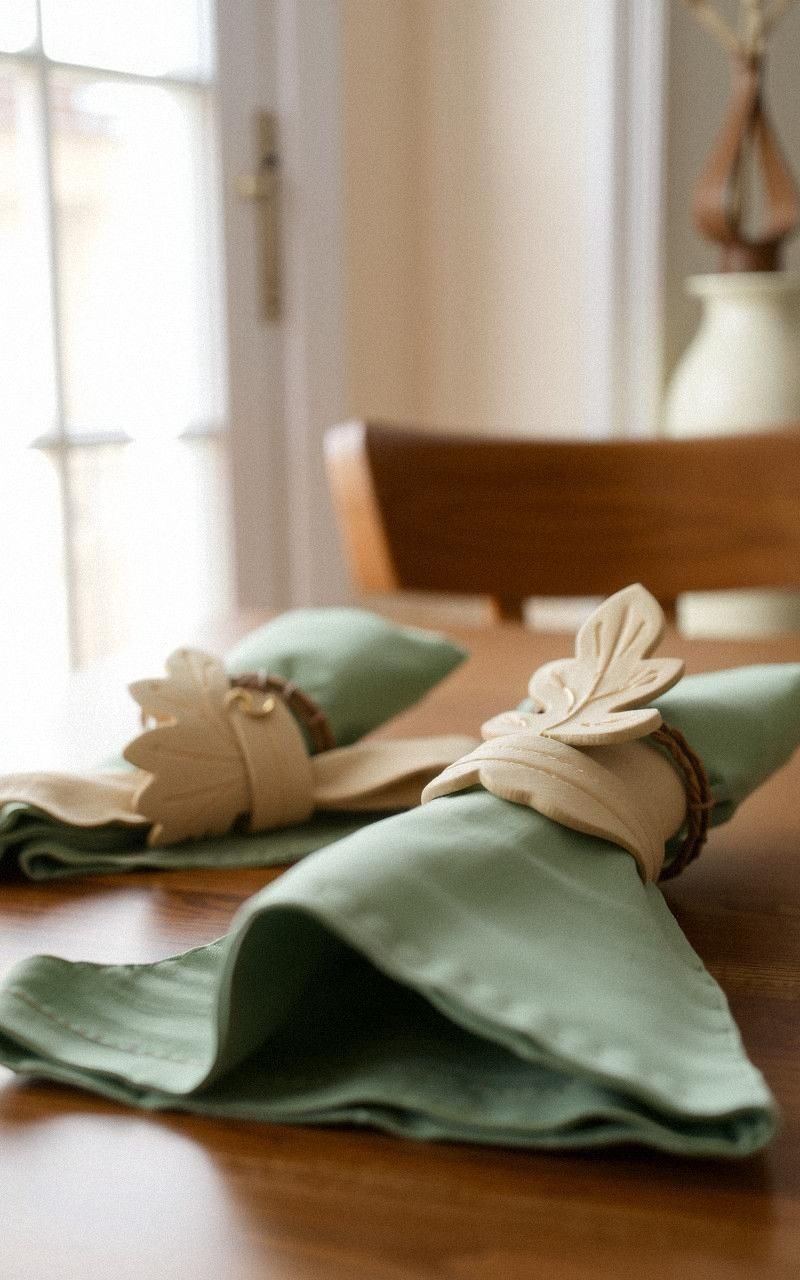
Clay napkin rings are charming additions to table settings that impress guests. Form simple rings or add decorative elements like leaves or geometric shapes.
They can be glazed in colors to complement your dining decor or left natural for a rustic look. Handmade napkin rings make every meal feel special and thoughtfully prepared.
Steps:
- Roll clay into thin coils and shape into rings.
- Smooth and join ends securely.
- Add textures or small decorations.
- Dry completely.
- Fire or air dry depending on clay.
- Glaze or paint if desired.
- Use to hold napkins on your table.
Decorative Clay Magnets for Fridge Art
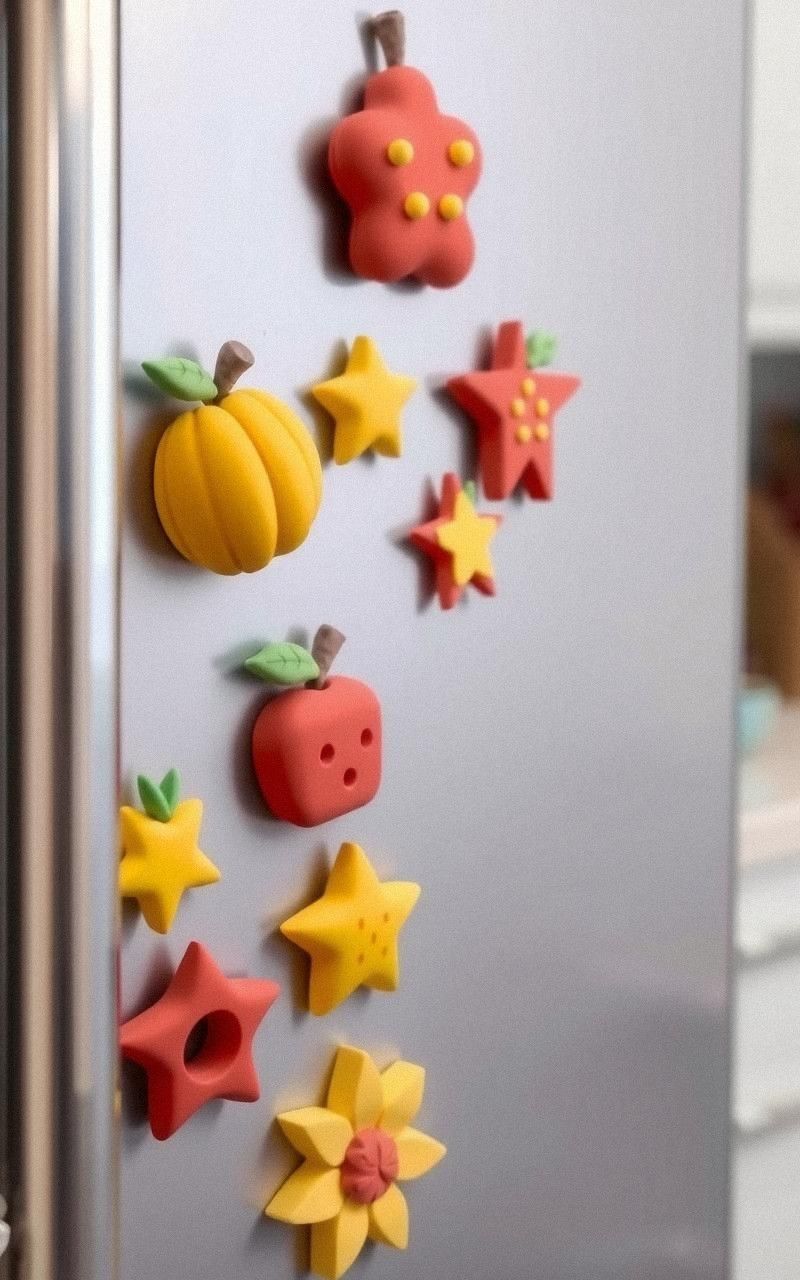
Decorative clay magnets brighten up your fridge with a handcrafted touch. Shape small, colorful pieces in fun forms like fruits, shapes, or abstract designs.
Attach magnets on the back and display notes or photos. These playful magnets add personality to your kitchen and make great personalized gifts.
Steps:
- Shape small clay pieces into desired designs.
- Smooth and add textures or paint details.
- Dry and fire or air dry completely.
- Attach strong magnets to the back with glue.
- Allow glue to set.
- Place magnets on your fridge or magnetic board.
Artisan Clay Trivets to Protect Surfaces
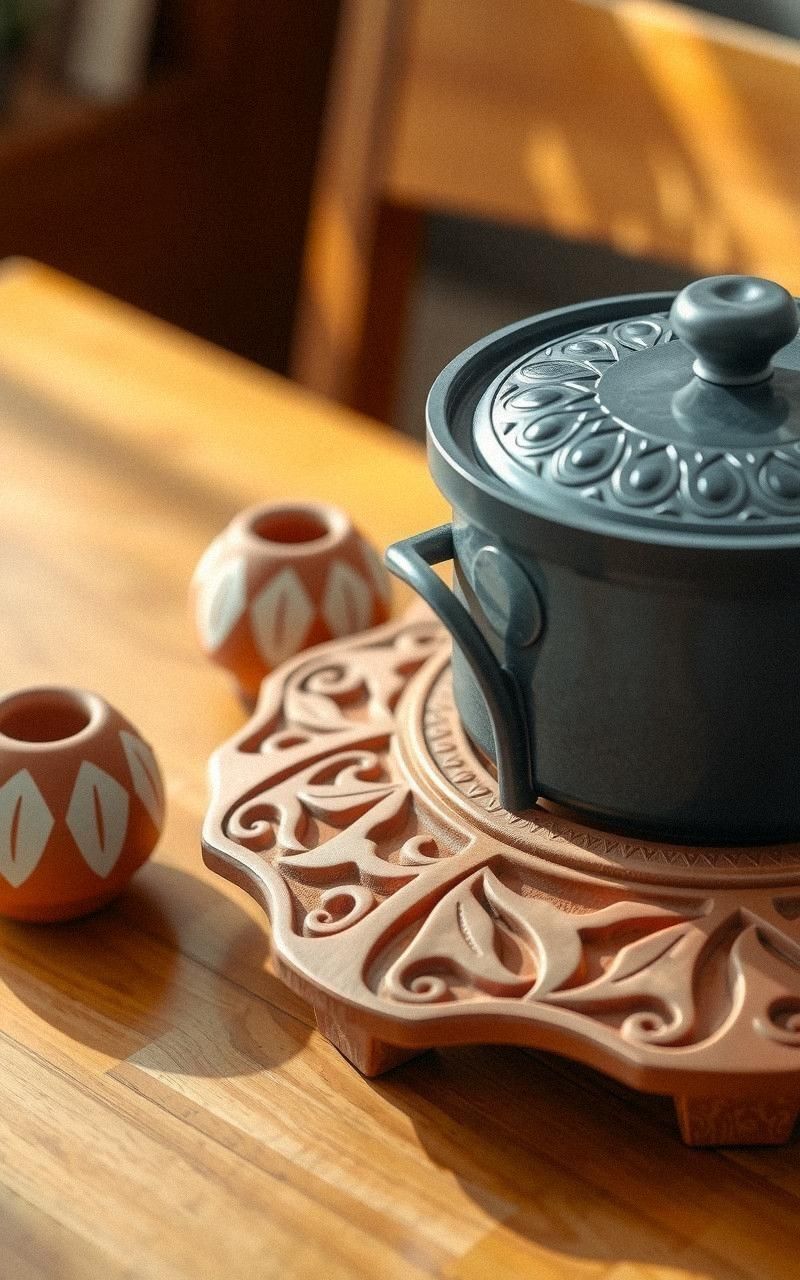
Artisan clay trivets protect your tables from hot pots while adding a handcrafted look. Create thick clay slabs with carved or stamped patterns that provide heat resistance and grip.
These trivets can be glazed for easy cleaning or left natural. Their aesthetic appeal turns them into kitchen art pieces when not in use.
Steps:
- Roll clay to a thick slab suitable for a trivet.
- Carve or stamp decorative patterns.
- Smooth edges and surfaces.
- Dry thoroughly to avoid cracks.
- Fire or air dry depending on clay.
- Apply glaze if desired for protection.
- Use under hot dishes or display when idle.
Clay Incense Holders for Relaxing Atmospheres
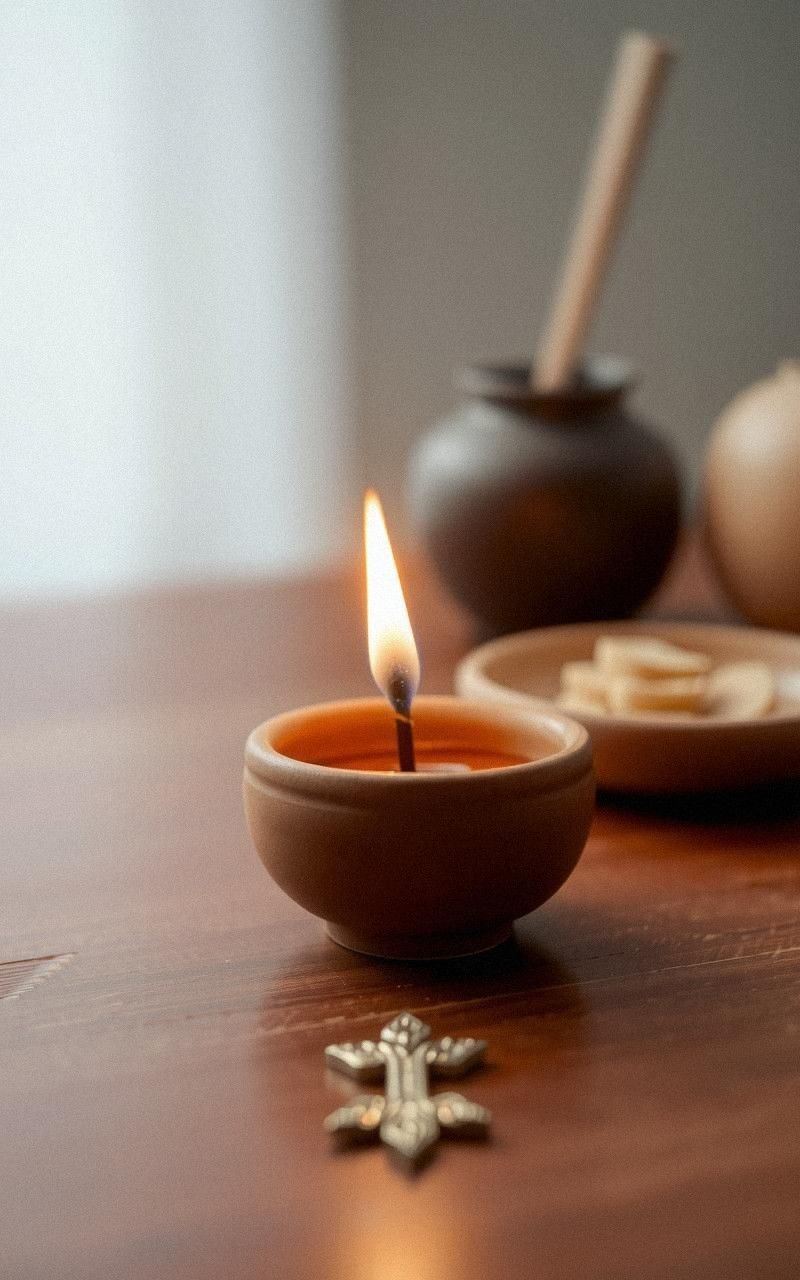
Clay incense holders bring a calming presence to any room. Shape them to hold sticks or cones securely, adding aesthetic appeal through texture or color.
Their handmade quality enhances the relaxing ritual of burning incense. You can customize holders to match your decor or spiritual practice.
Steps:
- Form a base with a narrow hole or groove for incense.
- Add decorative elements or keep minimalist.
- Dry the holder fully.
- Fire or air dry.
- Glaze or paint as desired.
- Place incense and enjoy the ambiance.
Elegant Clay Serving Plates for Special Occasions

Elegant clay serving plates elevate dining experiences with artisanal craft. Handmade plates can feature smooth or textured surfaces and organic shapes.
Glazing allows for vibrant or muted finishes that highlight food presentation. These plates add a unique charm to gatherings, celebrating both form and function.
Steps:
- Shape clay into plate forms with raised edges.
- Smooth surfaces and add textures if desired.
- Dry completely.
- Fire or air dry as required.
- Apply glaze or paint.
- Allow glaze to cure before use.
- Serve food with artistic flair.
Clay Bookends to Organize with Style
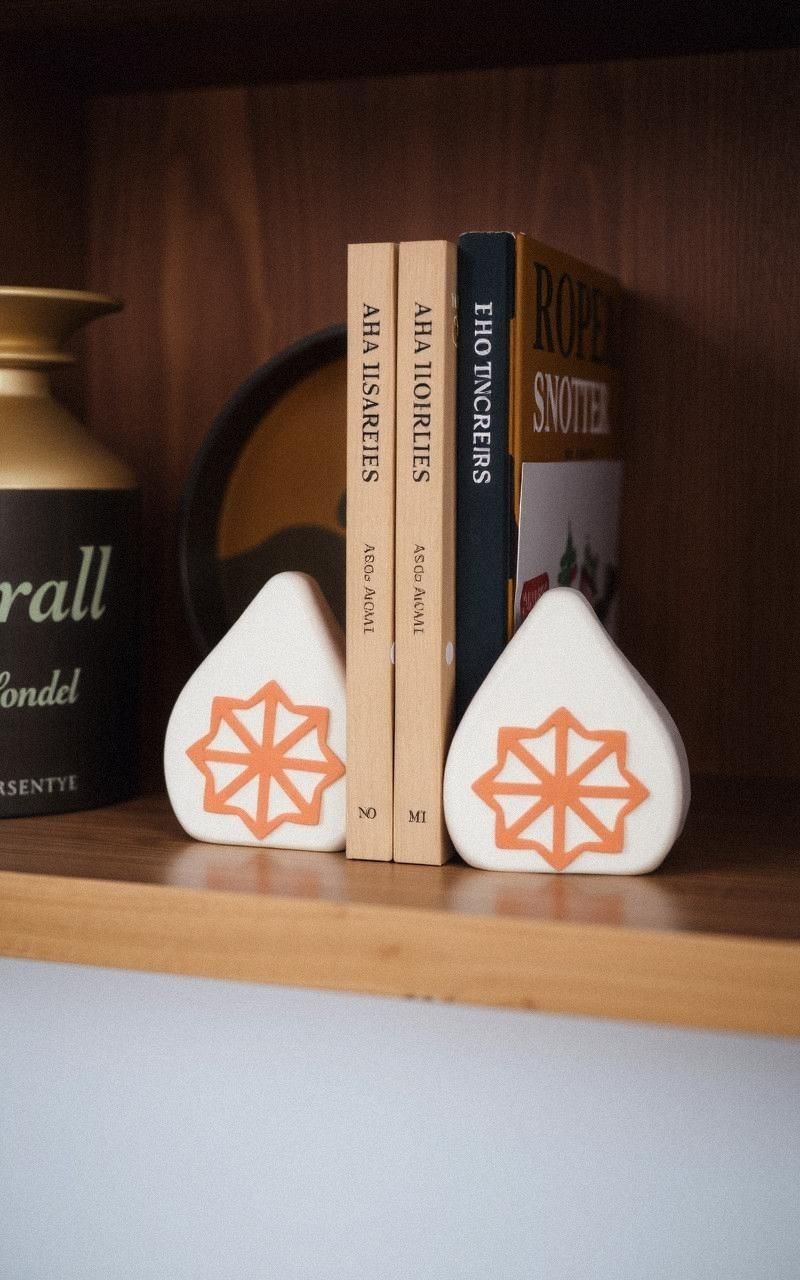
Clay bookends keep your books upright while adding a handcrafted touch to shelves. Mold solid shapes or abstract designs that are heavy enough to support books.
Painting or glazing allows you to coordinate with your room’s colors. They combine utility and artistry, making book storage an aesthetic feature.
Steps:
- Shape two solid clay pieces with flat bases.
- Add decorative textures or shapes.
- Dry thoroughly.
- Fire or air dry depending on clay.
- Paint or glaze for finishing touches.
- Place on shelves to hold books upright.
Whimsical Clay Animal Figurines as Decor Accents
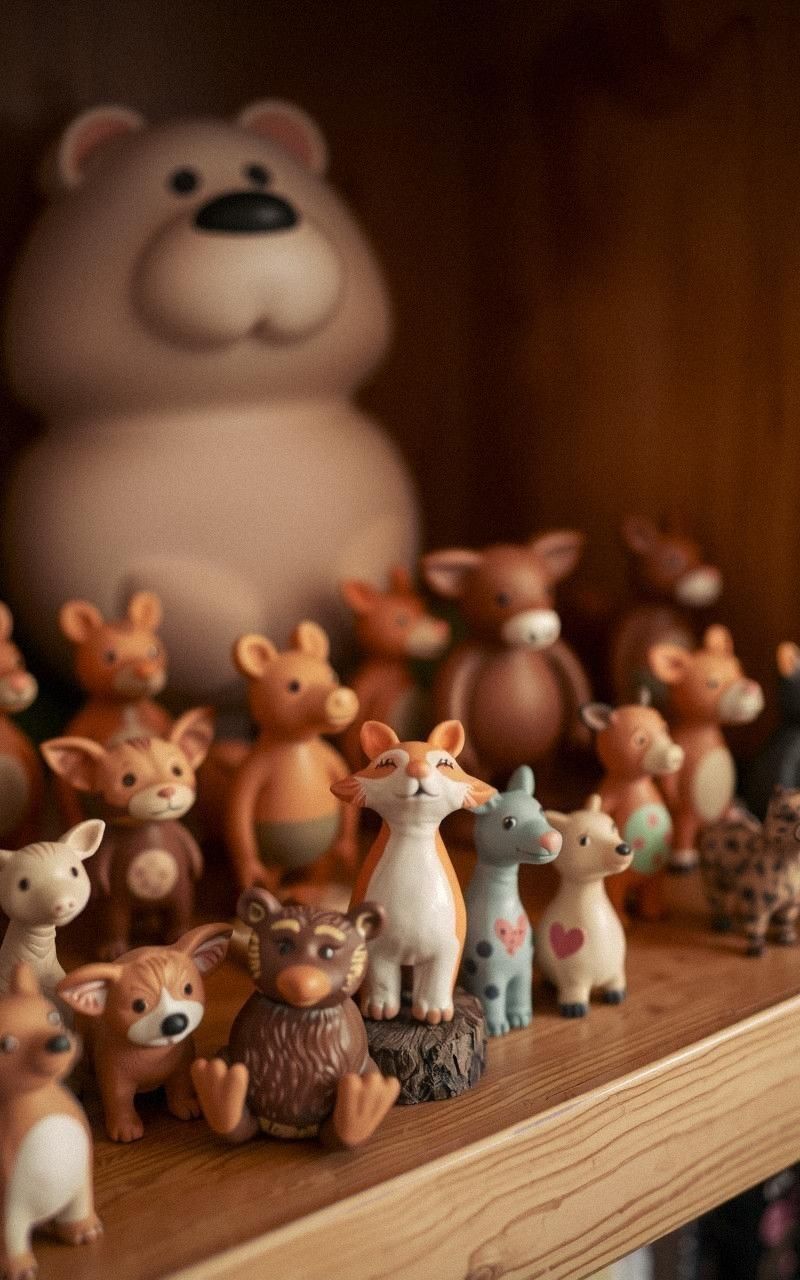
Whimsical clay animal figurines bring joy and personality to your home decor. Sculpt small animals with charming details and playful expressions.
Painted or natural, these figurines brighten shelves, desks, or mantels. Creating your own adds a delightful and personal touch to your space.
Steps:
- Model clay into animal shapes with basic features.
- Add fine details with sculpting tools.
- Dry completely.
- Fire or air dry as needed.
- Paint or glaze for color and protection.
- Display figurines in your favorite spots.