
The Struggle
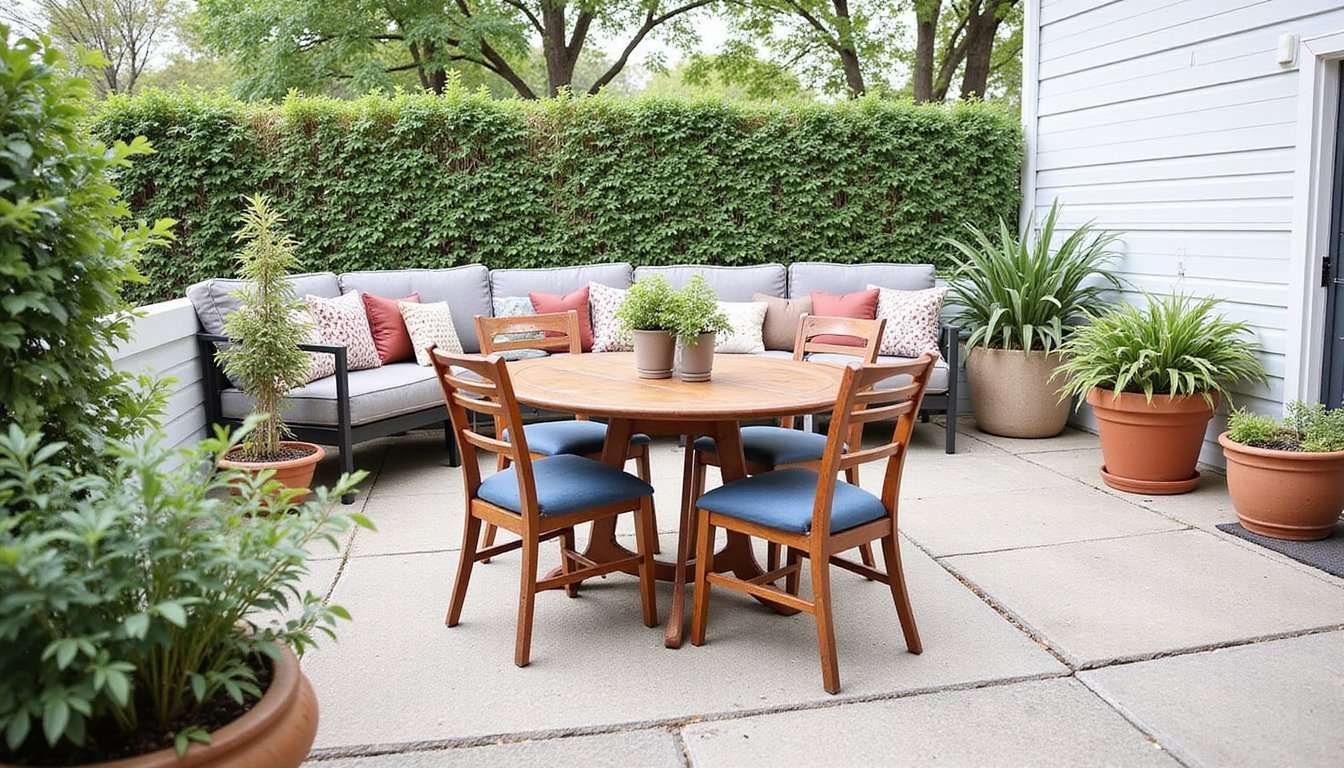
Frustration on the patio: You love the idea of a green patio but feel held back by cramped space, sad store-bought pots, and the cost of ready-made planters, which makes outdoor styling feel out of reach and cluttered rather than inviting.
Feeling stuck at the hardware store: You may have stood in the lumber aisle wondering where to start, unsure which wood or tools match your skill, and worried that a project will take a weekend plus a big repair bill.
The Quick Fix
Build one simple planter box: Choose an easy rectangular design with treated pine or cedar, cut four sides, assemble with screws, line for drainage, and add potting mix and plants to transform your patio in a single afternoon.
Intro
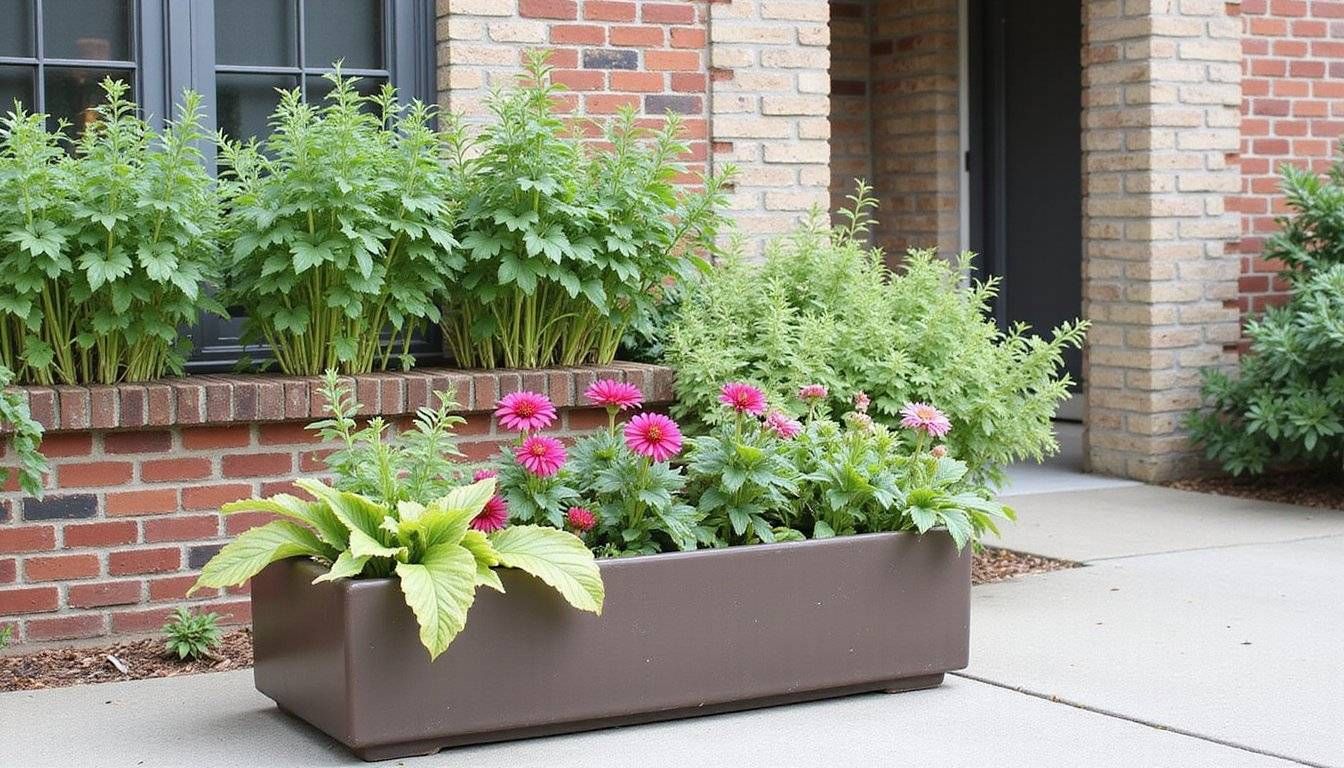
Big change with a small build: A modest planter can lift a patio visually and functionally by providing height, color, and a tailored home for herbs, annuals, or vegetables without needing a garden plot.
Why DIY makes sense: Building your own saves money, lets you pick durable materials and finishes for your climate, and produces a piece that fits your style and measurements better than mass-market options.
Skill level and time: You do not need advanced carpentry skills to complete this project; with basic measuring, a saw, and a drill you can have a functional planter box in a few hours that will last for seasons.
Tools & Materials
Start with this list: The following checklist covers everything to finish a simple rectangular planter suitable for most patios and balconies, and each item ties directly to a step in the build so you can shop with confidence.
- Wood: Cedar or pressure-treated pine boards (1×6 or 1×8) for sides and a 1×4 for bottom slats if using a slatted base.
- Fasteners: Exterior-grade wood screws (1 1/4″ to 2 1/2″) and exterior wood glue for joints.
- Tools: Tape measure, combination square, circular saw or miter saw, cordless drill/driver with pilot bit and screwdriver bits, sander or sandpaper, and a clamp or two.
- Liner and drainage: Landscaping fabric, coarse gravel or broken tile for the bottom, and exterior paint or sealer if finishing the box.
- Planting supplies: Quality potting mix suited to your plants and starter plants or seeds.
Measure and Plan
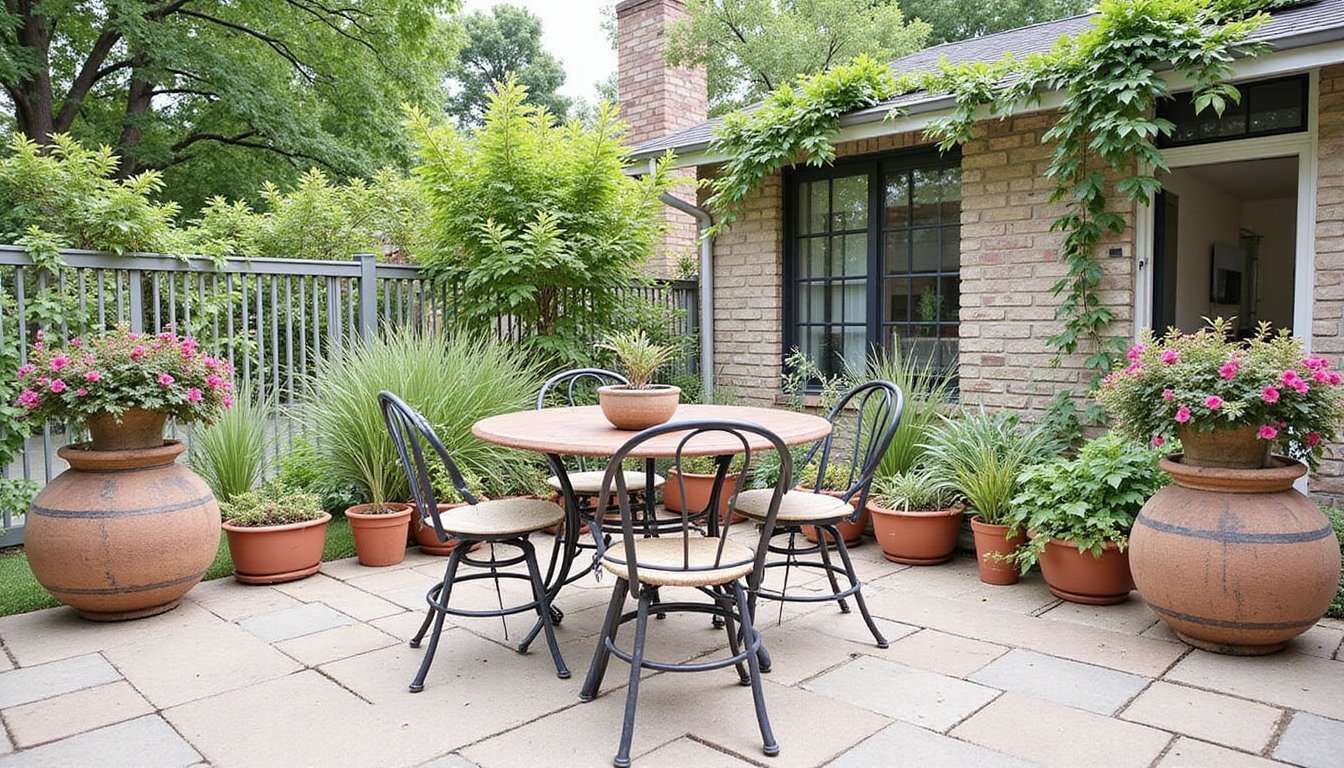
Start with measurements: Measure the patio area where the planter will live and decide on dimensions that allow walking space and match other furniture, because a planter that is too deep or too tall can overwhelm a small area.
Proportion and function: Aim for a box depth of 8–12 inches for herbs and shallow-root plants or 12–18 inches for vegetables and deeper-root perennials, and plan width and length so the box looks balanced with your seating and railings.
Design choices matter: Decide whether the box will be freestanding against a wall, placed on legs for easier watering, or designed as a railing planter, since each option changes the joinery and reinforcement needed.
Cut list and layout: Prepare a clear cut list with board lengths and note any corner post pieces, which will make cutting faster and reduce waste while helping you visualize the assembly steps.
Cutting and Assembly
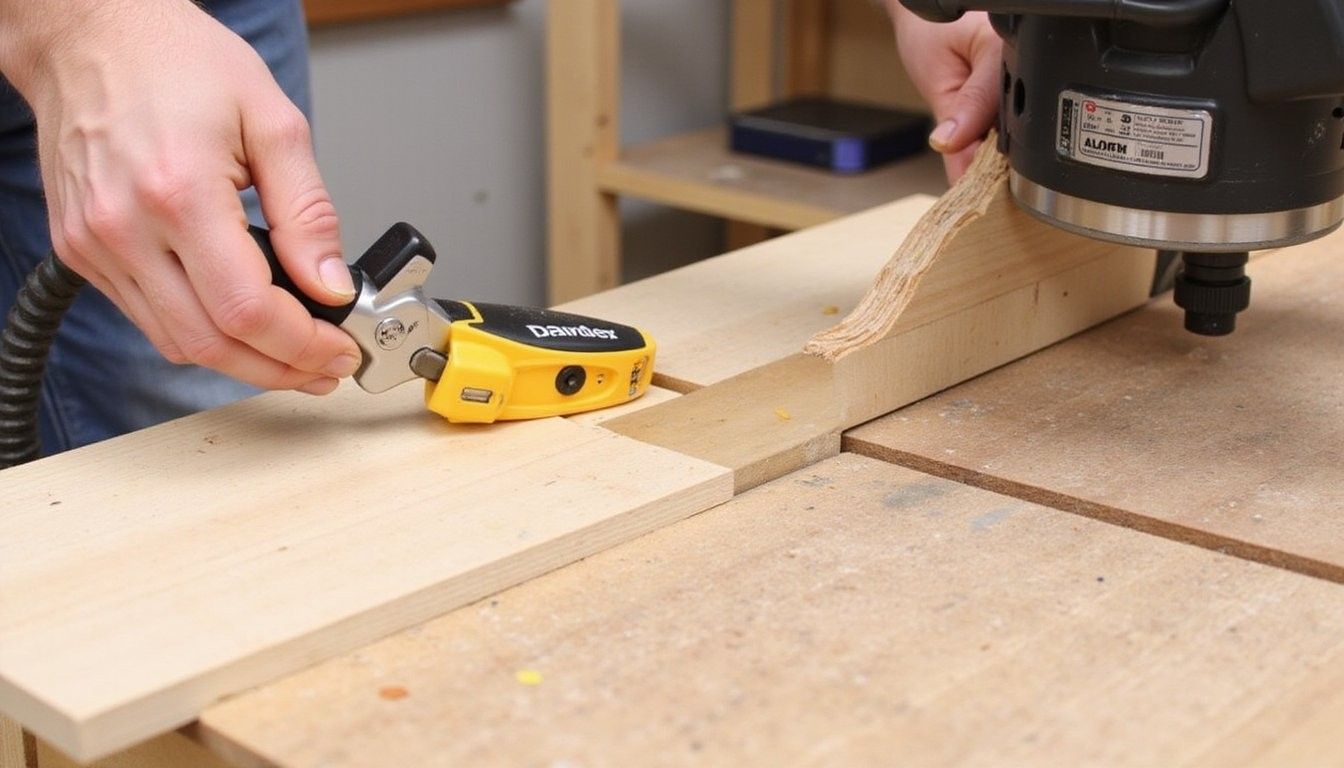
Cut with care: Use a miter saw or circular saw to make straight, square cuts following your cut list, and clamp boards before each cut to reduce tear-out and achieve cleaner edges for tight-fitting joints.
Dry-fit before fastening: Assemble the sides with clamps and check alignment so corners sit square and the top edges are flush, which helps prevent racking when you add screws and glue.
Joinery that holds: For simplicity, attach ends to a longer side using exterior screws driven through pre-drilled pilot holes and a dab of exterior glue at the seams to increase holding power and reduce movement over time.
Reinforce the base: If you are adding a slatted bottom, attach cross supports inside the planter to carry weight and prevent sagging, spacing slats to allow drainage while keeping soil from falling out.
Finishing and Planting
Protect the wood: Sand edges smooth to remove splinters and apply an exterior-grade sealer or paint to the outside surfaces to guard against moisture and UV damage, which helps the planter last through heat and rain without frequent maintenance.
Inside protection: Line the interior with landscaping fabric, stapled or glued in place, to block soil from direct contact with the wood while still allowing water to drain, and add a layer of coarse gravel at the bottom to improve drainage if desired.
Choose the right soil: Fill the box with a well-draining potting mix that matches your plant choices, firming lightly to remove large air pockets while keeping the soil fluffy enough for roots to spread easily.
Planting technique: Arrange taller plants toward the back and trailing varieties near the front for visual balance, firm soil around roots gently, and water thoroughly until water drains from the bottom to settle soil and start root contact.
Placement and Care
Placement strategy: Position the planter where your chosen plants will get the right sun exposure, and consider mobility by placing it on casters or plant feet if you expect to move it for seasonal light changes.
Watering routine: New planters can dry quickly in warm weather, so set a regular watering schedule, check soil moisture with your finger below the surface, and avoid overwatering by ensuring good drainage through the liner and bottom slats.
Small habit, big payoff: A weekly check for moisture and pests keeps plants healthy and prevents small issues from becoming time-consuming problems.
Seasonal care: In cooler months, move the planter closer to a shelter or wrap it with breathable material to reduce freeze damage, and refresh the top few inches of soil each spring to replenish nutrients for the growing season.
Tables and Comparisons
Cost vs outcome snapshot: This table summarizes typical material costs and what those choices give you in durability and look, helping you pick materials that match budget and lifestyle without guesswork.
| Material | Estimated Cost | Durability | Aesthetic |
|---|---|---|---|
| Pressure-treated pine | $20–$40 | Good for years | Traditional, painted well |
| Cedar | $35–$70 | Very good, rot resistant | Warm, natural grain |
| Redwood or teak | $80+ | Excellent longevity | Premium look |
Quick decision aid: Use the table to weigh upfront cost against how long you want the planter to last and how it should look with your patio furnishings.
Feature checklist table: The boolean table below simplifies whether a choice gives a certain feature so you can compare at a glance before buying materials.
| Feature | Pressure-treated pine | Cedar |
|---|---|---|
| Rot resistance | Yes | Yes |
| Natural finish | No | Yes |
Pro Tips
Extra life for wood: Use stainless steel or coated screws to avoid rust stains and to ensure joints remain tight through wet seasons and temperature cycles for a neater long-term appearance.
Mobility idea: If you want to move the planter to chase sun or protect it in storms, add locking casters beneath a base or raise it on small feet to improve airflow and ease relocation rather than lifting the full box.
What to Avoid
Overbuilding caution: A planter that is heavily reinforced and very heavy is harder to move and can stress balcony railings or decking, so match the build strength to the weight limits of your outdoor space.
Poor soil choice: Using garden dirt or heavy clay often leads to compaction and poor root growth, so choose a quality potting mix to keep plants vigorous and ensure better water management.
Frequently Asked Questions
How long will a basic planter last? With cedar or treated lumber and a sealed exterior, expect multiple years of service; the life span varies with exposure, so inspect annually and reapply sealer when the finish looks worn.
Can I place a planter directly on decking? Yes, but protect the deck with small feet or pavers under the planter to permit airflow and to prevent moisture staining or trapped rot from direct contact with damp wood surfaces.
Do I need a liner? A breathable landscape fabric liner extends the life of the wood while allowing drainage and is preferred over rigid plastic liners that can trap water against the boards.
What plants work best? Herbs, compact vegetables like lettuces and radishes, and annual flowers perform well in shallow to medium-depth boxes, while tomatoes and large shrubs need deeper, reinforced containers for root space and stability.
How often should I water? Frequency depends on sun, wind, and plant type, but a good rule is to check soil moisture daily when warm and water until excess drains out, then adjust to avoid both drought stress and waterlogged roots.