
The Struggle
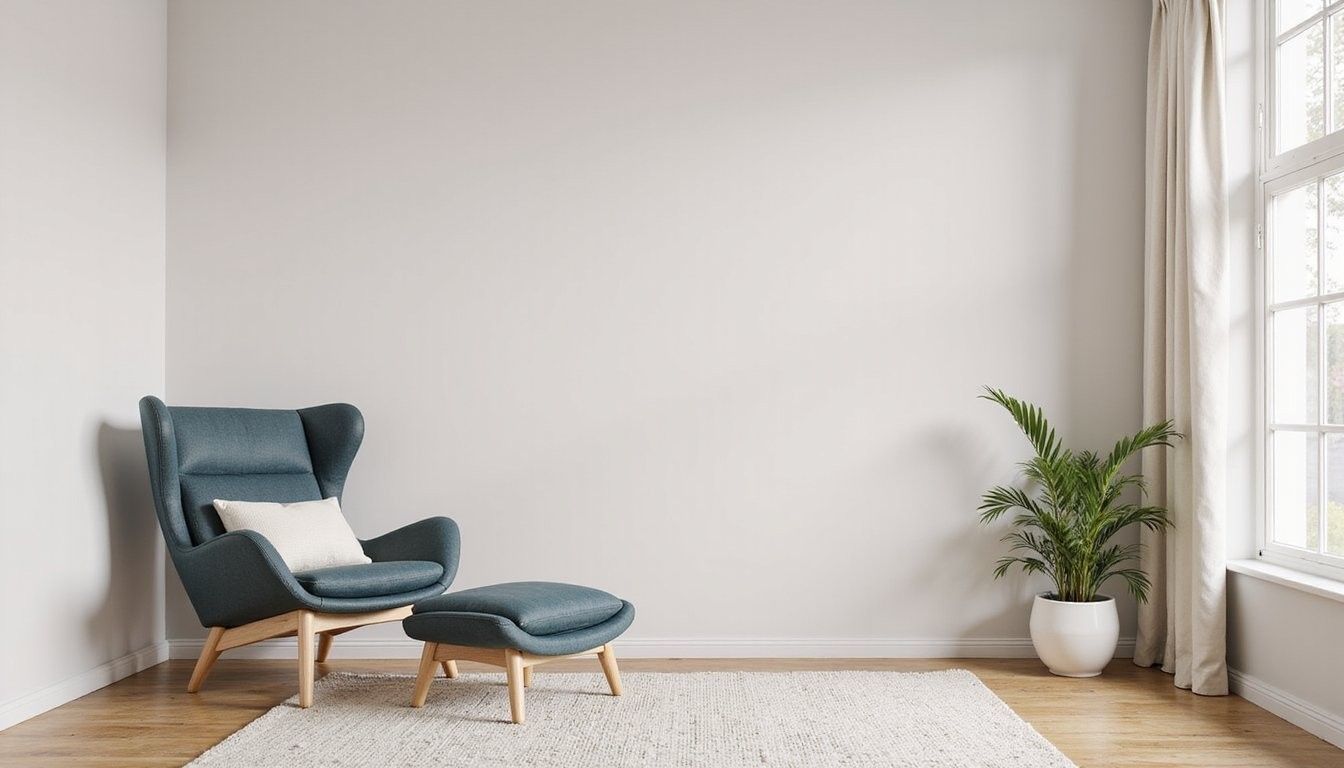
Feeling stuck with bland walls? Many homes have rooms that lack personality, and watching a plain expanse of paint day after day can sap joy and make a space feel unfinished, so finding affordable ways to refresh a wall can feel overwhelming when budgets are small and time is limited.
The Quick Fix
Small changes create big mood shifts. A single accent wall painted or papered with a bold idea lifts the whole room without a full renovation, and many techniques here are beginner friendly and budget-aware so you can refresh a space in a weekend.
Start
Think of an accent wall as a focal shortcut. You only need to treat one wall to guide color and style choices for furnishings and textiles, and picking the right wall makes arranging furniture simpler and gives a room instant character.
Keep the scope small to control cost. Choosing paint or peel-and-stick paper keeps materials cheap, and planning a clear color story prevents wasted materials from mismatched samples or multiple coats of the wrong shade.
Tools & Materials
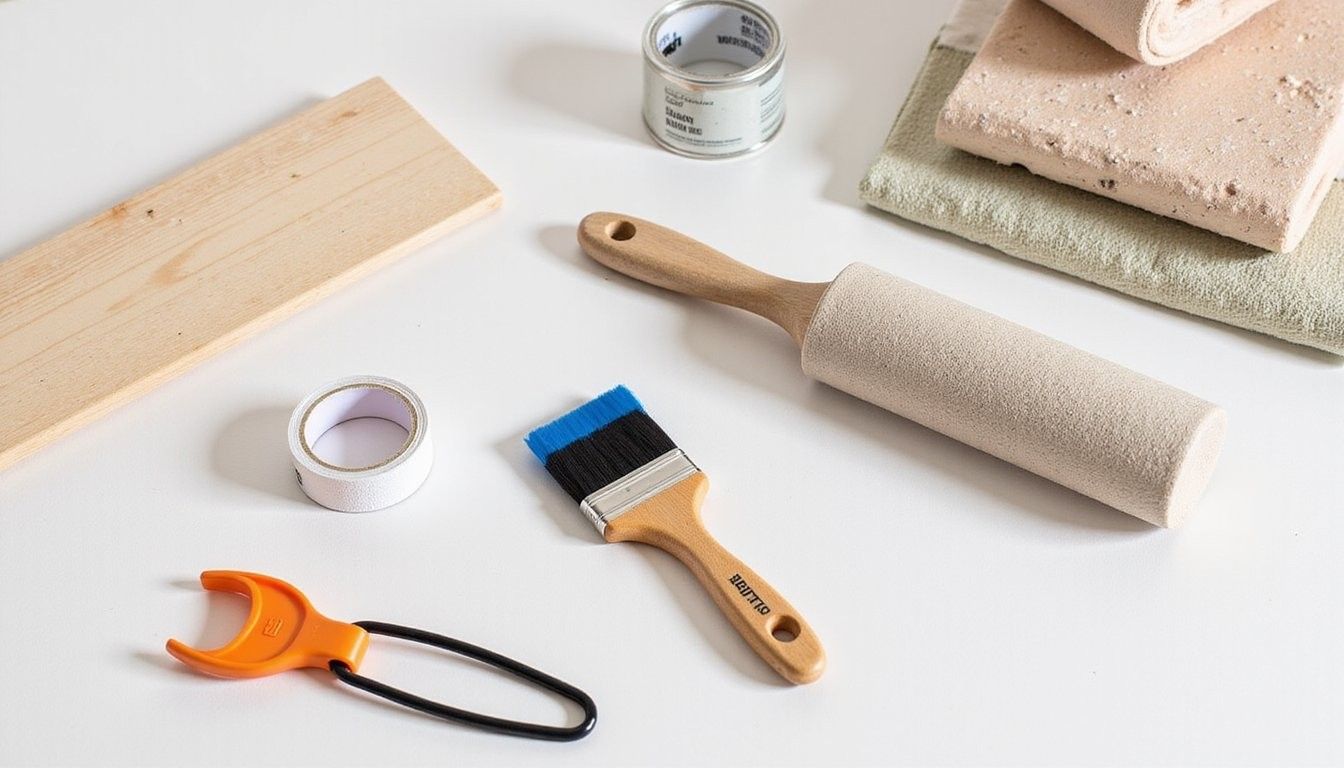
Gather basic supplies before you start. Having the right brushes, rollers, tape, drop cloths and a level saves time and prevents mistakes that cost money and patience, and small extras like a foam roller for smooth coverage or a wallpaper smoother for peel-and-stick make a big visual difference.
- Paint: Primer, one or two colors of latex paint, sample sizes for testing.
- Brushes & Rollers: Angled brush for edges, 9″ roller frame with nap depending on wall texture.
- Masking Supplies: Painter’s tape, drop cloths, and a pencil with a level.
- Wallpaper Tools: Seam roller, smoothing tool, sharp utility knife, spray bottle for repositioning peel-and-stick.
- Prep Items: Sandpaper, spackling paste, sponge, bucket, and rags for cleanup.
Work smart with samples and small purchases. Testing paint on foam core and applying a small peel-and-stick sample patch reduces the chance of a costly redo and helps you confirm pattern scale and sheen before committing to an entire wall.
Idea 1 — Geometric Painted Mural
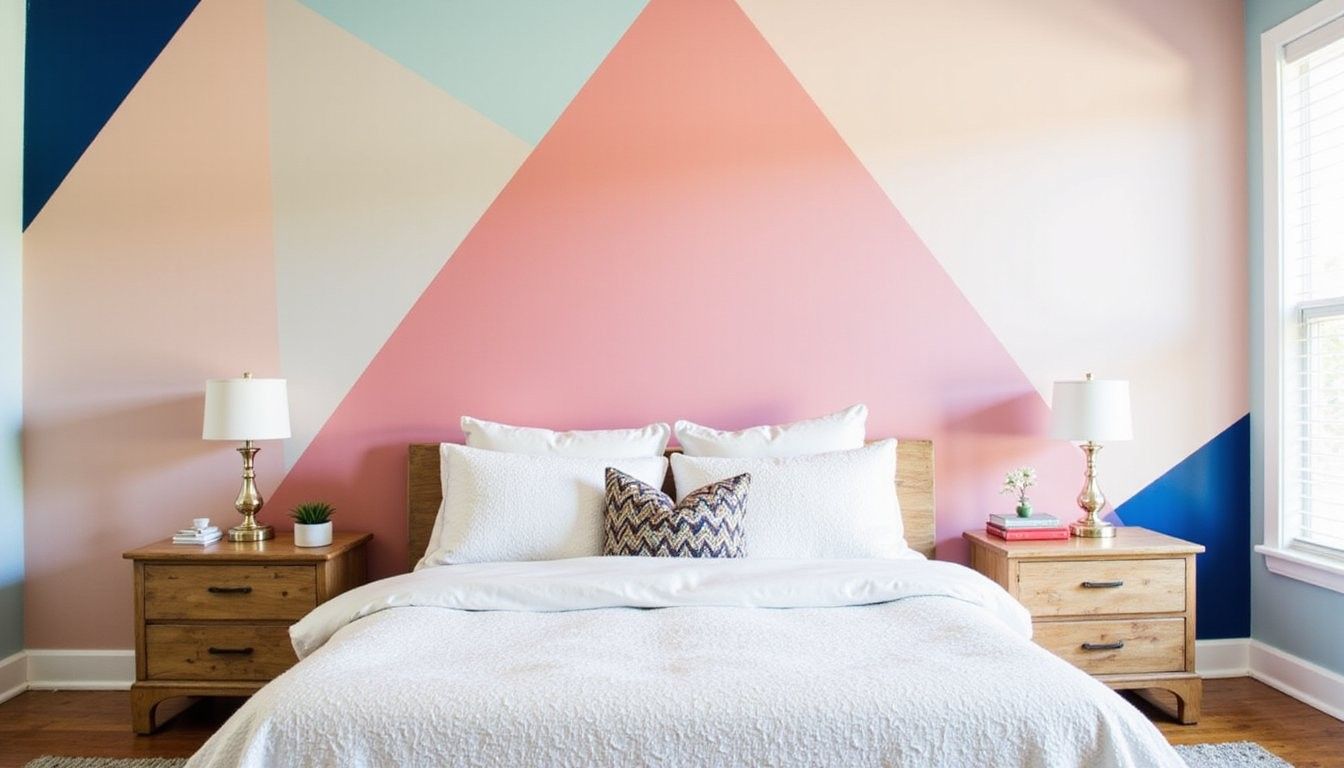
Geometric murals add drama with minimal cost. By using painter’s tape and two or three coordinating paints, you can create bold triangles, chevrons or intersecting shapes that read like custom art without expensive wallpaper or contractor time, and the process is forgiving because you can repaint sections if proportions feel off.
Plan the layout on paper and mask carefully. Sketch full-scale on kraft paper or use a level and chalk line to map shapes directly on the wall, then tape, prime if needed, and roll the largest sections before cutting in edges with a small brush for crisp lines.
Idea 2 — Bold Color Block Stripes
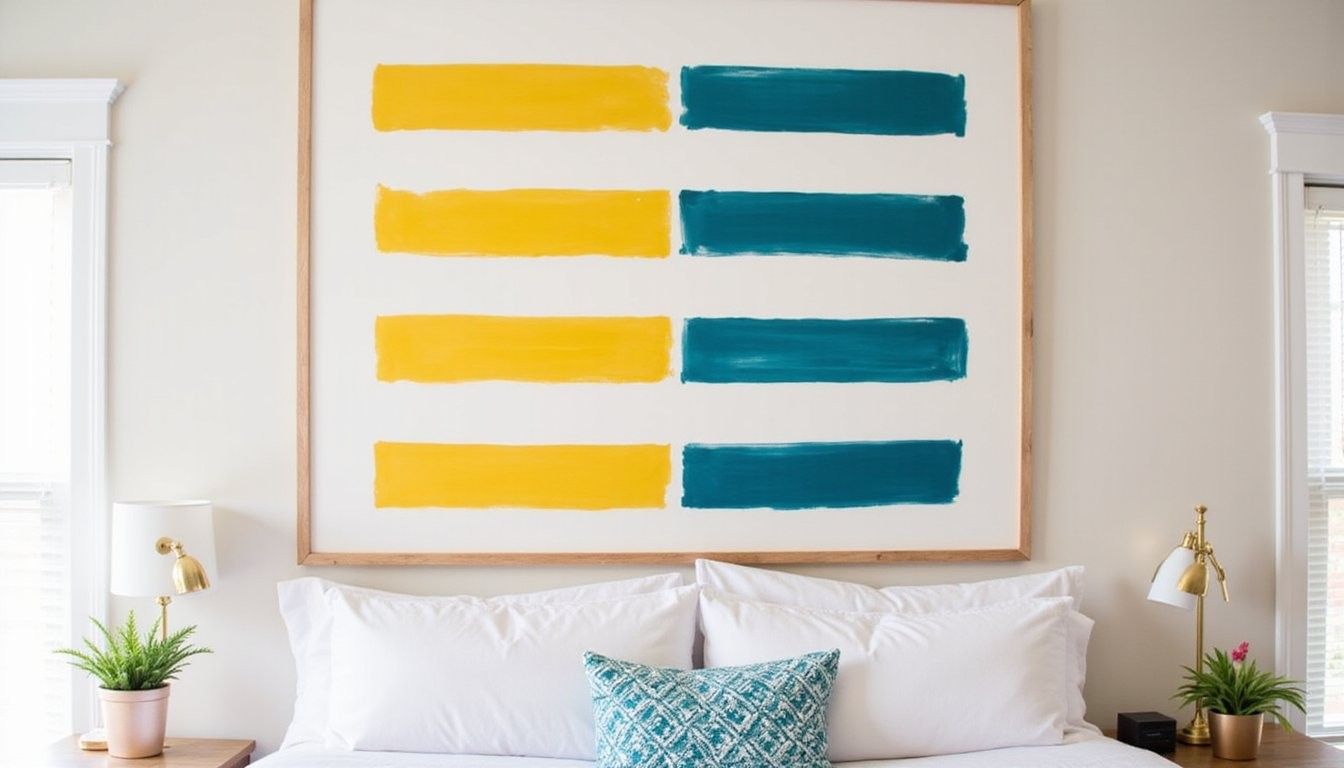
Stripes stretch or ground a room depending on direction. Horizontal bands widen a space visually while vertical bands add height, and choosing two contrasting paints or alternating color pairs can create a modern, custom look at the cost of paint and tape alone.
Measure and tape once, paint twice. Mark consistent widths across the wall using a level and stretching string, press tape edges firmly to avoid bleed, then apply two thin coats for even color and remove tape while paint is still slightly tacky for sharp lines.
Idea 3 — Soft Ombre Fade Wall
Ombre brings a gentle, high-end vibe without cost-heavy materials. Blending from dark at the base to light at the top (or vice versa) creates a tranquil backdrop that masks small imperfections and pairs beautifully with neutral furniture, and the technique relies on feathering blends rather than perfect edges.
Work wet and blend with a dry brush or sponge. Apply bands of graded color and use a clean, dry brush to soften the transitions while paint is still damp, and practice blending on a test board to get the rhythm before touching the main wall.
Idea 4 — Stenciled Accent Pattern
Stencils give custom pattern without wallpaper costs. Repeating a geometric motif or floral stencil with a single color over a neutral base delivers designer flair at a low price, and using a pouncer brush with light pressure prevents bleed under the stencil for clean repeats.
Anchor with a guide line and work in sections. Start from a centered focal point or wall corner, use registration marks to align repeats, and clean the stencil often to avoid smudging so the pattern stays crisp across large areas.
Idea 5 — Faux Brick with Paint Techniques
Painted faux brick creates texture at low cost. Using a brick stencil or a sponge technique over a textured primer gives the look of masonry without structural work, and antique glazing or dry brushing adds depth so the finish reads authentic from a distance.
Layer colors and glaze sparingly for realism. Start with a darker base and layer lighter tones for highlights, then step back frequently to avoid overworking the surface and to keep the effect believable rather than overly perfect.
Idea 6 — Peel-and-Stick Wallpaper Statement
Removable wallpaper offers pattern without permanence. Modern peel-and-stick options include bold botanicals, geometric repeats, and textured looks that apply directly to clean walls, and the peel-away backing makes it friendly for renters who want a high-impact look with no adhesive mess.
Match seams and work with natural light in mind. Start from a corner with the most visible light source, butt seams tightly and smooth from center outward, and trim any overhang with a sharp blade for a clean finish.
Idea 7 — Painted Board-and-Batten Accent
Board-and-batten adds architectural interest affordably. Narrow battens installed on a painted base create shadow lines that read like built-in detail, and painting battens and background the same color lends a subtle, modern texture while choosing contrast makes a bolder statement.
Use lightweight MDF and strong adhesive for quick install. Measure and space battens evenly, adhere with construction adhesive and finish nails for security, then caulk seams and paint the entire surface to unify the look and hide fasteners.
Idea 8 — Painted Chalkboard or Magnetic Wall
Functional finishes marry style and use. A chalkboard or matte magnetic paint wall is both playful and practical for kitchens, kids’ rooms, or workspaces, and layering chalkboard paint over a well-primed surface ensures smooth erasability and long life.
Frame the wall to keep it intentional and tidy. Painting trim around the chalk or magnetic surface or adding a simple shelf at the base contains marks and provides a place for chalk, erasers or magnetic notes so the surface reads like design rather than chaos.
Idea 9 — Two-Tone Half Wall with Wallpaper Chair Rail
Mix paint and paper for layered interest. Paint the lower half of a wall in a durable mid-tone and apply a patterned peel-and-stick above a narrow rail to get the look of wainscoting without carpentry, and the contrast visually anchors furniture and protects high-contact areas.
Choose washable paints below and lighter patterns above. A satin or semi-gloss lower paint stands up to wear while a matte or low-sheen wallpaper above keeps glare down, and a thin molding or paint line provides a neat transition between finishes.
Idea 10 — Subtle Textured Paint for Soft Drama
Textured paint adds depth without pattern busyness. Using a tinted glaze, sponge technique, or a stone-effect roller produces a surface that reads rich and tactile while staying neutral enough to work with many decor styles, and the texture helps hide minor wall imperfections.
Practice technique on a board and layer thin coats. Build texture gradually so you can control contrast, and seal with a compatible clear coat if the wall will face heavy use or moisture to protect the finish and keep the soft effect intact.
Prep & Paint Techniques
Good prep is the foundation of a professional result. Cleaning, filling holes, sanding glossy spots and priming where needed ensures paint adheres properly and patterns line up cleanly, and skipping these steps is the most common reason a DIY wall looks amateur or peels prematurely.
Layer thin coats for even texture and tone. Thick paint hides detail and creates drips, so roll or brush in thin passes and allow full drying time between coats to keep edges crisp and sheen uniform across the wall.
Wallpaper Application Guide
Preparation is as important for paper as it is for paint. Ensure the wall is smooth, dry, and free of dust, and if you have textured plaster consider a lining paper or vinyl options that better tolerate surface irregularities to prevent bubbles and poor adhesion.
Work with full strips and align patterns before trimming. Hang the first strip plumb from a corner or a plumb line, smooth seams carefully, and keep extra length at the top and bottom until trimming for perfect alignment and to avoid visible mistakes at the ends.
Finishing Touches & Styling
Accessories make the wall feel planned and finished. Mirrors, framed art, simple shelving or coordinated textiles help integrate the accent wall into the room so it feels intentional rather than a single isolated statement, and scale matters: keep decor proportionate to the wall size.
Layer soft light for mood and texture. Floor lamps and picture lights wash the surface in depth and reveal subtle finishes like glaze or texture that flat overhead lighting can flatten, so plan flexible lighting along with the wall treatment.
Budget Breakdown
Cost choices shape the final look and timeline. Paint-only projects start low with primer, two finish coats and tape while wallpaper or faux finishes can add material cost but save time compared with intricate hand painting, so match the technique to budget and skill set.
| Approach | Approx. Materials Cost | Time Investment |
|---|---|---|
| Solid Paint Accent | $20–$60 (samples to small cans) | 4–8 hours |
| Peel-and-Stick Wallpaper | $50–$200 depending on coverage | 2–6 hours |
| Stenciled or Mural | $25–$120 (stencils, paint) | 6–18 hours |
Compare price to visual payoff when picking a method. A higher material cost for a dramatic wallpaper may still be cheaper than lengthy hand-painting, and planning ahead prevents last-minute upgrades that raise the final price.
Common Mistakes
Don’t overcomplicate scale or color choices. Selecting a pattern that fights your room’s existing scale or a hue that clashes with fixed elements like flooring or large upholstery creates friction that is harder and more costly to fix than choosing a simpler, cohesive option from the start.
Quick Comparison: Cost vs. Visual Impact
Weigh cost against how dramatic you want the result to be. The table below helps balance expense, time, and the wow factor so you can choose a method that suits both your budget and your patience level.
| Method | Cost Range | Visual Impact | Difficulty |
|---|---|---|---|
| Solid Paint | Low | Medium | Easy |
| Peel-and-Stick Wallpaper | Medium | High | Easy–Medium |
| Hand-Painted Mural | Low–Medium | High | Medium–Hard |
Final Workflow Checklist
Follow a clear sequence to avoid rework. Clean and repair walls first, prime glossy or patched areas, map and measure your design, apply paint or paper in controlled sections, and finish with trim and styling so the wall reads as a deliberate part of your room scheme.
| Step | Quick Check |
|---|---|
| Prep | Surface clean, holes filled, sanded |
| Priming | Tinted primer for coverage |
| Execution | Tape, paint/paper, smooth seams |
| Finish | Trim paint, caulk, style |
Frequently Asked Questions
How long does a simple paint accent take? A single-color painted accent wall can be completed in a day including prep if walls are already smooth, and drying time between coats may extend the timeline so plan for two sessions to get professional coverage.
Is peel-and-stick wallpaper safe for rental homes? Removable peel-and-stick papers are formulated to come off without damaging most painted walls when installed on clean, smooth surfaces and removed gently, but always test a small hidden area first and follow the manufacturer’s guidance for removal.
Can I paint over existing wallpaper? Painting over wallpaper is possible if the paper is firmly adhered and in good condition, but trapped seams and loose edges often reappear so removing old paper or installing lining paper is the safer long-term approach if you plan to stay in the space.
What finishes work best on accent walls? Matte or eggshell finishes hide surface imperfections while satin offers easier cleaning, so choose based on wall traffic and the look you want; use a finish that complements the rest of the room for cohesion.
Which wall should I pick for an accent? Choose a wall visible upon entry or behind a focal piece like a bed or sofa, and avoid walls with doors or too many interruptions so the design reads clearly and furniture placement feels natural.